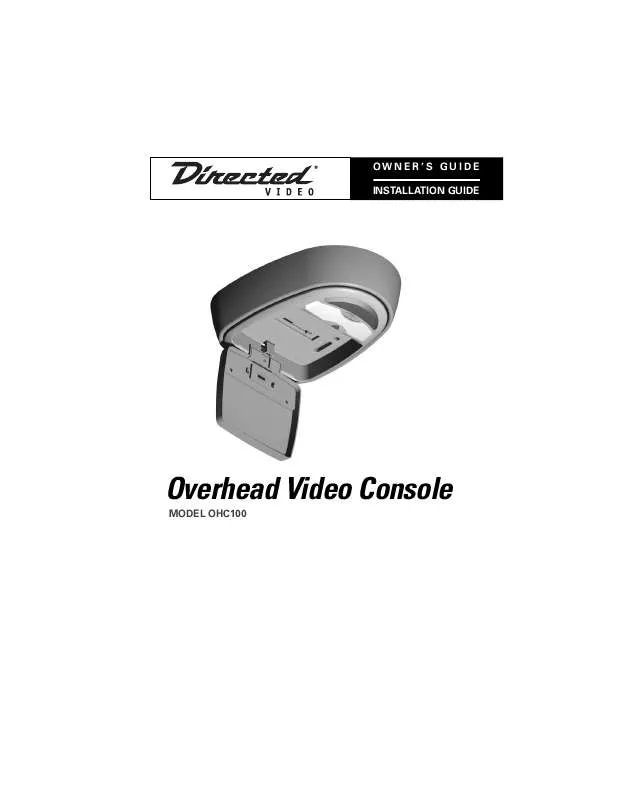
User manual DEI OHC100 Installation Guide
Lastmanuals offers a socially driven service of sharing, storing and searching manuals related to use of hardware and software : user guide, owner's manual, quick start guide, technical datasheets... DON'T FORGET : ALWAYS READ THE USER GUIDE BEFORE BUYING !!!
If this document matches the user guide, instructions manual or user manual, feature sets, schematics you are looking for, download it now. Lastmanuals provides you a fast and easy access to the user manual DEI OHC100. We hope that this DEI OHC100 user guide will be useful to you.
Lastmanuals help download the user guide DEI OHC100.
Manual abstract: user guide DEI OHC100Installation Guide
Detailed instructions for use are in the User's Guide.
[. . . ] CALIFORNIA STATE LAWS AND APPLICABLE FEDERAL LAWS SHALL APPLY AND GOVERN THE MAXIMUM RECOVERY UNDER ANY CLAIM AGAINST DIRECTED SHALL BE STRICTLY LIMITED TO THE AUTHORIZED DIRECTED DEALER'S PURCHASE PRICE OF THE UNIT. DIRECTED SHALL NOT BE RESPONSIBLE FOR ANY DAMAGES WHATSOEVER, INCLUDING BUT NOT LIMITED TO, ANY CONSEQUENTIAL DAMAGES, INCIDENTAL DAMAGES, DAMAGES FOR THE LOSS OF TIME, LOSS OF EARNINGS, COMMERCIAL LOSS, LOSS OF ECONOMIC OPPORTUNITY AND THE LIKE. NOTWITHSTANDING THE ABOVE, THE MANUFACTURER DOES OFFER A LIMITED WARRANTY TO REPLACE OR REPAIR THE CONTROL MODULE AS DESCRIBED ABOVE. Some states do not allow limitations on how long an implied warranty will last or the exclusion or limitation of incidental or consequential damages. [. . . ] Hold the monitor with the top tilted away from the monitor door, and then place the bottom of the monitor into the two mounting hooks at the bottom of th monitor door. Push the top of the monitor toward the monitor door until a distinctive click is heard. the wiring connector at the rear of the monitor is self guiding and will automatically complete the connection.
HP050 WIRELESS HEADPHONES
OPERATION
I I I
The headphones automatically turn on when placed on your head. Adjust the volume to the desired level using the volume dial. The headphones must be in line of sight of the IR lens (10) on the OHC100 to receive an audio signal.
I
REMOVING THE MONITOR
I
BATTERY REPLACEMENT Remove the slide door on the inside of the headphones to access the batteries. Replace with standard AAA batteries making sure the batteries are inserted according to the polarity marked on inside of the headphone case.
With the monitor door in the viewing position, press the monitor release button (1). At the same time, gently tilt the top of the monitor away from the monitor door then lift the monitor up and out of the mounting hooks.
ADJUSTING THE VIEWING ANGLE The viewing angle can be adjusted by sliding the view angle adjuster from side to side.
I
DOME LIGHT OPERATION
If the OHC100 has a built-in dome light (8) that can be used if the factory dome light must be removed to accommodate the installation. Insert a pick tool or pin through the cutout templates center point indicator and the center point mark on the headliner to align the cutout template with the center of the vehicle.
NOTE: For extra support it is suggested that the minimum amount of the headliner be removed.
INSTALL THE MOUNTING PLATE 1. After removing the headliner cutout, thoroughly clean the inside sheet metal of the vehicle roof with a degreaser so no dust or residue remains. This will allow the mounting posts to securely adhere to the vehicle roof. Extremes in temperature can diminish the life of some adhesives allowing the overhead monitor to vibrate or come loose.
NOTE: When installing the mounting plate it is always advisable to use any available metal roof supports in conjunction with the mounting posts.
2. Sight down the center of the vehicle from the rear and align the template so it runs square to the vehicle and other interior components. Make sure the arrows point toward the front of the vehicle. Attach the template to the headliner using masking tape. Using both hands for control, cut the headliner with a razor or sharp knife, being careful not to slip. DO NOT cut past the heavy line marked CUT LINE. It is the maximum cut size when using the trim ring for installation. The only time the headliner should be cut past this line is when the monitor mount is being installed directly to the headliner without the use of the trim ring. 3.
3.
Place the mounting plate against the vehicle roof or headliner and mark the location of the slotted holes that will give the most support. As with the template, make sure the position of the mounting bracket is square to the vehicle and interior components. Using these marks as a guide, remove the double-stick tape from the mounting posts and apply to the vehicle roof. Position the mounting posts at the approximate center of the slotted holes. [. . . ] The OHC100 can now be installed following the Installation Procedure of this guide. 2.
3.
12
© 2002 Directed Electronics, Inc.
Wiring Guide
I
Accessory - The RED wire should be connected to a fused (+) 12 volt wire that turns on/off with the key. Ground - The BLACK wire should be connected to a chassis ground, preferably scrap sheet metal. AV Input - Connect to MCB1000 or AV source.
I
IR Connector - Connect to MCB1000 or AV source
I
NOTE: When using the MCB1000 with the OHC100, to only use the DIN to DIN cable supplied with the MCB1000, not the DIN to RCA cable. [. . . ]
DISCLAIMER TO DOWNLOAD THE USER GUIDE DEI OHC100 Lastmanuals offers a socially driven service of sharing, storing and searching manuals related to use of hardware and software : user guide, owner's manual, quick start guide, technical datasheets...manual DEI OHC100


