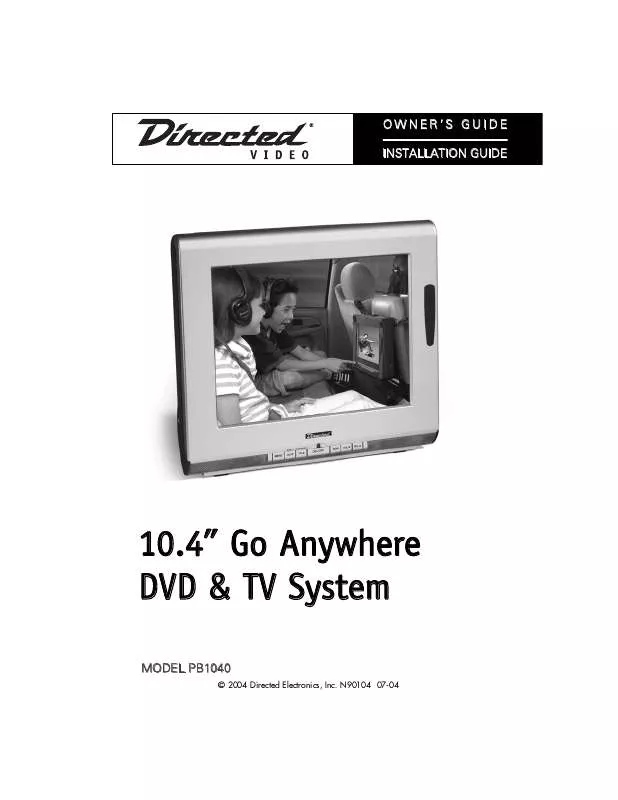
User manual DEI PB1040 Owners Guide
Lastmanuals offers a socially driven service of sharing, storing and searching manuals related to use of hardware and software : user guide, owner's manual, quick start guide, technical datasheets... DON'T FORGET : ALWAYS READ THE USER GUIDE BEFORE BUYING !!!
If this document matches the user guide, instructions manual or user manual, feature sets, schematics you are looking for, download it now. Lastmanuals provides you a fast and easy access to the user manual DEI PB1040. We hope that this DEI PB1040 user guide will be useful to you.
Lastmanuals help download the user guide DEI PB1040.
Manual abstract: user guide DEI PB1040Owners Guide
Detailed instructions for use are in the User's Guide.
[. . . ] OWNER'S GUIDE INSTALLATION GUIDE
10. 4" Go Anywhere DVD & TV System
MODEL PB1040
© 2004 Directed Electronics, Inc. N90104 07-04
NON-TRANSFERABLE LIMITED ONE YEAR CONSUMER WARRANTY Directed Electronics, Inc. (Directed) promises to the original purchaser that the new automotive video monitor and/or source unit(s) (the Product) that is purchased and installed from a Directed authorized dealer more than ninety (90) days after the purchase of a new vehicle are warranted for a period of one (1) year from date of purchase of the Product. Directed promises to the original purchaser that all video accessories will be free from defects in materials and workmanship under normal use and condition for a period of ninety (90) days after the date of purchase. [. . . ] Or, press Sys Menu button on the remote to exit the Main Menu.
VIDEO ADJUST SATURATION SHARPENESS BRIGHTNESS CONTRAST TINT PRESET EXIT 8 4 7 4 7
1. /8. 2. /4.
6.
TINT
26
© 2004 Directed Electronics, Inc.
PRESET
1. Press the MENU button on front control panel or the Sys Menu button on remote, the Main Menu options will display on the LCD screen. Press the Vol / buttons on front control panel or the Up/Down ( / ) buttons on remote to select the VIDEO ADJUST option. Press the MENU button on front control panel or the ENTER () button on remote to confirm the selection. Press the Vol / buttons on front control panel or the Up/Down ( / ) buttons on remote to select the PRESET option. Press the MENU button on front control panel or the ENTER () button on remote, the text of the selected option will now be highlighted in RED. Press the Vol / buttons on front control panel or the Left/Right ( / ) buttons on remote to reset the Video Adjustments to the factory preset levels. Press the MENU button on front control panel or the ENTER () button on remote to save the settings. Press the Vol / buttons on the front control panel to highlight EXIT and press the MENU button on the front control panel to exit the Main Menu. Or, press Sys Menu button on the remote to exit the Main Menu.
VIDEO ADJUST SATURATION SHARPENESS BRIGHTNESS CONTRAST TINT PRESET EXIT 8 4 7 4 7
1. /8. 2. /4.
6.
.
© 2004 Directed Electronics, Inc.
27
FM TRANSMITTER
This setting allows selection of the FM frequency on which to receive the audio from the LCD screen on either your car FM radio or an FM receiver in your house. Press the MENU button on front control panel or the Sys Menu button on remote, the Main Menu options will display on the LCD screen. Press the Vol / buttons on front control panel or the Up/Down ( / ) buttons on remote to select the FM TRANSMITTER option. Press the MENU button on front control panel or the ENTER () button on remote to confirm the selection. Press the Vol / buttons on front control panel or the Up/Down ( / ) buttons on remote to select the CH-X option, the text of the selected channel will be highlighted in BLUE. Press the MENU button on front control panel or the ENTER () button on remote, the text of the selected option will now be highlighted in RED. Press the MENU button on front control panel or the ENTER () button on remote to save the setting. Press the Vol / buttons on the front control panel to highlight EXIT and press the MENU button on the front control panel to exit the Main Menu. Or, press Sys Menu button on the remote to exit the Main Menu.
FM TRANSMITTER OFF CH-1 CH-2 CH-3 CH-4 RETURN 88. 1 88. 3 88. 5 88. 7 OFF Mz Mz Mz Mz
1. /7. 2. /4.
28
© 2004 Directed Electronics, Inc.
OTHER SETTINGS
CHANNEL SCAN
1. Press the MODE button on the front control panel or the remote control until LCD screen is in TV mode. [. . . ] Check that the power cord is plugged into the main socket and the power is turned on at the front of the unit. Check the contrast and brightness settings.
.
© 2004 Directed Electronics, Inc.
43
c. d.
Check the antenna connection to see if it is properly connected to the unit's input terminal (TV ANT) located on the back of the unit. Be sure you have selected the correct source mode (TV or CABLE).
2. [. . . ]
DISCLAIMER TO DOWNLOAD THE USER GUIDE DEI PB1040 Lastmanuals offers a socially driven service of sharing, storing and searching manuals related to use of hardware and software : user guide, owner's manual, quick start guide, technical datasheets...manual DEI PB1040


