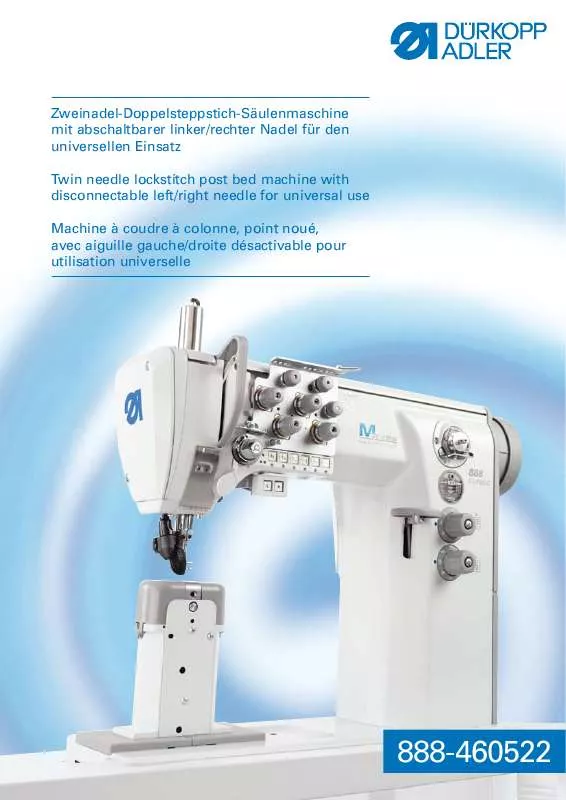
User manual DURKOPP 888-460522 BROCHURE
Lastmanuals offers a socially driven service of sharing, storing and searching manuals related to use of hardware and software : user guide, owner's manual, quick start guide, technical datasheets... DON'T FORGET : ALWAYS READ THE USER GUIDE BEFORE BUYING !!!
If this document matches the user guide, instructions manual or user manual, feature sets, schematics you are looking for, download it now. Lastmanuals provides you a fast and easy access to the user manual DURKOPP 888-460522. We hope that this DURKOPP 888-460522 user guide will be useful to you.
Lastmanuals help download the user guide DURKOPP 888-460522.
Manual abstract: user guide DURKOPP 888-460522BROCHURE
Detailed instructions for use are in the User's Guide.
[. . . ] Property of Dürkopp Adler AG and copyrighted. Reproduction or publication of the content in any manner, even in extracts, without prior written permission of Dürkopp Adler AG, is prohibited. Copyright © Dürkopp Adler AG - 2010
Foreword
This instruction manual is intended to help the user to become familiar with the machine and take advantage of its application possibilities in accordance with the recommendations. The instruction manual contains important information on how to operate the machine securely, properly and economically. [. . . ] For this hook, the tension is set up by 10 - 20 % lower than for the hook on the right.
GB
Hook thread tension mean value
Sewing category light medium heavy
Used needle-Number 70 - 80 90 - 110 120 - 160
Thread tension in grams 50 65 90
13
6. 4. 2
Adjusting the needle thread tension
1
2 3
4
5 Adjusting the pre-tensioner (1) Adjust the supplementary tensioner (1) so that it has the lowest tension possible, but so high that, when taking out the sewn material after the preceding trimming (when the tensioners (2) and (3) are switched off), the thread is not pulled out of the tensioner (1). (Tensioner (1) is not switched off at the foot lifting). Adjusting tensioners (2) and (3) ECO and CLASSIC machines with electro-magnetic control The machine can be equipped with a lever (4) for the tensioner (2) temporary switching off. In this case, two thread tension values can be pre-selected and a good stitch tightening can be achieved when sewing over a variable number of layers of the sewn material with one seam. Switch the tensioner off (2) with the lever (4) and sew on a smaller number of layers. Regulate the thread tension with the tensioner (3), till a good thread loop is achieved (see below). Switch the tensioner on (2) by the lever (4) shifting out and sew on a greater number of layers. Regulate the thread tension with a tensioner (2), till a good thread loop is achieved (see below). If the machine is not equipped with the lever (4), regulate the tension by both tensioners (2) and (3) at the same time so that their nuts are screwed approximately in the same height.
14
Adjusting tensioners (2) and (3) CLASSIC machines with pneumatic control Through pressing the key (5) the additional tension (2) will be switched off. If the key (5) is pressed anew, the additional tension will be activated again. The connectable additional tension (2) helps in quick adjustment of the needle thread tension, for example in order to get a tight stitch formation with regular seams when sewing different materials. The needle may only be changed with the sewing machine switched off Draw the lever (1) in your direction to loosen the screw fixing the needle. Remove the needle and insert a new one with the needle scarf (2) to the left [see section (3) or (4)]. The needle may not be oriented as shown at section (5). Turn the lever (1) back to tighten the screw fixing the needle.
Caution!A false orientation of the needle may damage the hook point. When changing to another needle size, the distance between hook and needle, as well as the position of the throat plate towards its post must be readjusted (see service instructions).
20
6. 9
Changing the needle with double-needle machines
1
2
MA X. The needles may only be changed with the sewing machine switched off. Remove the needle and insert new ones with the needle scarf (2) oriented as shown above [see section (3) or (4)]. The needles may not be oriented as shown at section (5). Tighten the screws (1).
GB
Caution!A false orientation of the needle may damage the hook point. [. . . ] Remove the material.
37
9.
9. 1
Maintenance
Cleaning and checking
Caution!Maintenance may only be carried out with the machine switched off!Maintenance work must be carried out no less frequently than at the intervals given in the tables (see "operating hours" column). Maintenance intervals may need to be shorter when processing heavy-shedding materials. [. . . ]
DISCLAIMER TO DOWNLOAD THE USER GUIDE DURKOPP 888-460522 Lastmanuals offers a socially driven service of sharing, storing and searching manuals related to use of hardware and software : user guide, owner's manual, quick start guide, technical datasheets...manual DURKOPP 888-460522


