User manual FUTUBA 14MZ
Lastmanuals offers a socially driven service of sharing, storing and searching manuals related to use of hardware and software : user guide, owner's manual, quick start guide, technical datasheets... DON'T FORGET : ALWAYS READ THE USER GUIDE BEFORE BUYING !!!
If this document matches the user guide, instructions manual or user manual, feature sets, schematics you are looking for, download it now. Lastmanuals provides you a fast and easy access to the user manual FUTUBA 14MZ. We hope that this FUTUBA 14MZ user guide will be useful to you.
Lastmanuals help download the user guide FUTUBA 14MZ.
Manual abstract: user guide FUTUBA 14MZ
Detailed instructions for use are in the User's Guide.
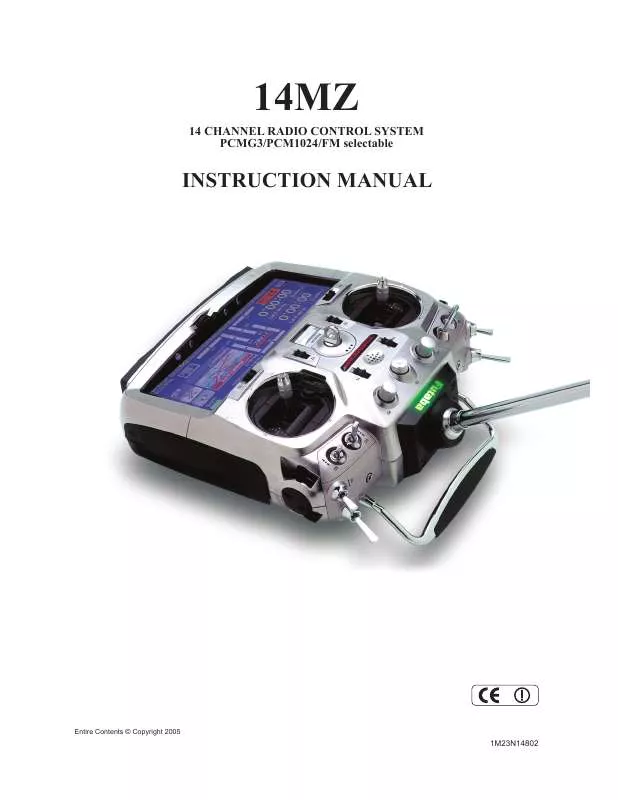
[. . . ] 14MZ
14 CHANNEL RADIO CONTROL SYSTEM PCMG3/PCM1024/FM selectable
INSTRUCTION MANUAL
Entire Contents © Copyright 2005
1M23N14802
TABLE OF CONTENTS
INTRODUCTION . . . . . . . . . . . . . . . . . . . . . . . . . . . . . . . . . . . . . . . . . . . . . . 4 Support and Service . . . . . . . . . . . . . . . . . . . . . . . . . . . . . . . . . . . . . . . . . 4 Application, Export, and Modification . . . . . . . . . . . 5 Definitions of Symbols . . . . . . . . . . . . . . . . . . . . . . . . . . . . . . . . . . . . . . [. . . ] The display returns to the preceding screen.
*The same control can be assigned to multiple channels.
<Linkage Menu>
59
Trim change
1. Touch the Trim button to call the Trim setup screen. The following items can be set at the Trim setup screen. Hardware setting (Selection of switch, etc. which controls trim) (The select screen is called by touching the [H/W Select] button. ) Rate setting Operation step setting Trim mode setting
Normal mode: Normal trim (parallel shift trim) operation
ATL mode: ATL operation mode. CTRM mode: Maximum change near center by center trim operation
Separate/combination mode: Trim data are set to flight conditions
Separate mode: Trim adjustment for each flight condition
Return to Linkage Menu
Return to last page
(The display screen is an example. The screen depends on the model type. )
60 <Linkage Menu>
Sub-Trim
Setting of neutral position of each servo.
The Sub-Trim function is used to set the servo neutral position, and may be used to make fine adjustments to the control surface after linkages and pushrods are hooked up. When you begin to set up a model, be sure that the digital trims are set to their center position.
Touch the [Sub Trim] button in the Linkage Menu to call the setup screen shown below. Return to Linkage Menu
(The display screen is an example. The screen depends on the model type. )
Sub trim adjustment
1. Touch the trim display part of the channel you want to adjust. Adjustment buttons appears on the Sub Trim menu screen. Use the adjustment buttons to adjust the sub trim. Initial value: 0 Adjustment range: -240~+240 (steps)
*See above
3. Repeat this step for each channel.
<Linkage Menu>
61
Servo Reverse
Use to reverse the throw direction.
Servo Reverse changes the direction of an individual servo's response to a control stick movement. For CCPM helicopters, be sure to read the section on Swash AFR before reversing any servos. With CCPM helicopters, always complete your servo reversing prior to any other programming. If you use pre-built Airplane/Sailplane functions
that control multiple servos, it may be confusing to tell whether the servo needs to be reversed or a setting in the function needs to be reversed. See the instructions for each specialized function for further details. Always check servo direction prior to every flight as an additional precaution to confirm proper model memory, hook ups, and radio function.
Touch the [Servo Reverse] button in the Linkage Menu to call the setup screen shown below. Return to Linkage Menu
(The display screen is an example. The screen depends on the model type. )
Servo reversing procedure After setting up a new model, be sure to define all special menus. [. . . ] *The point is deleted.
(Line curve)
(Spline curve)
(Rate adjustment buttons)
The curve can also be offset horizontally in the vertical direction.
[Offsetting the curve horizontally in the vertical direction] 1. Use the adjustment buttons to move the curve horizontally up and down. *Initial value: +0. 0%
<Data>
125
Switch selection method
The various functions used in the T14MZ can be selected by switch. The switch (including when stick, trim lever, or VR are used as a switch) setting method is common to all functions. [. . . ]
DISCLAIMER TO DOWNLOAD THE USER GUIDE FUTUBA 14MZ Lastmanuals offers a socially driven service of sharing, storing and searching manuals related to use of hardware and software : user guide, owner's manual, quick start guide, technical datasheets...manual FUTUBA 14MZ


