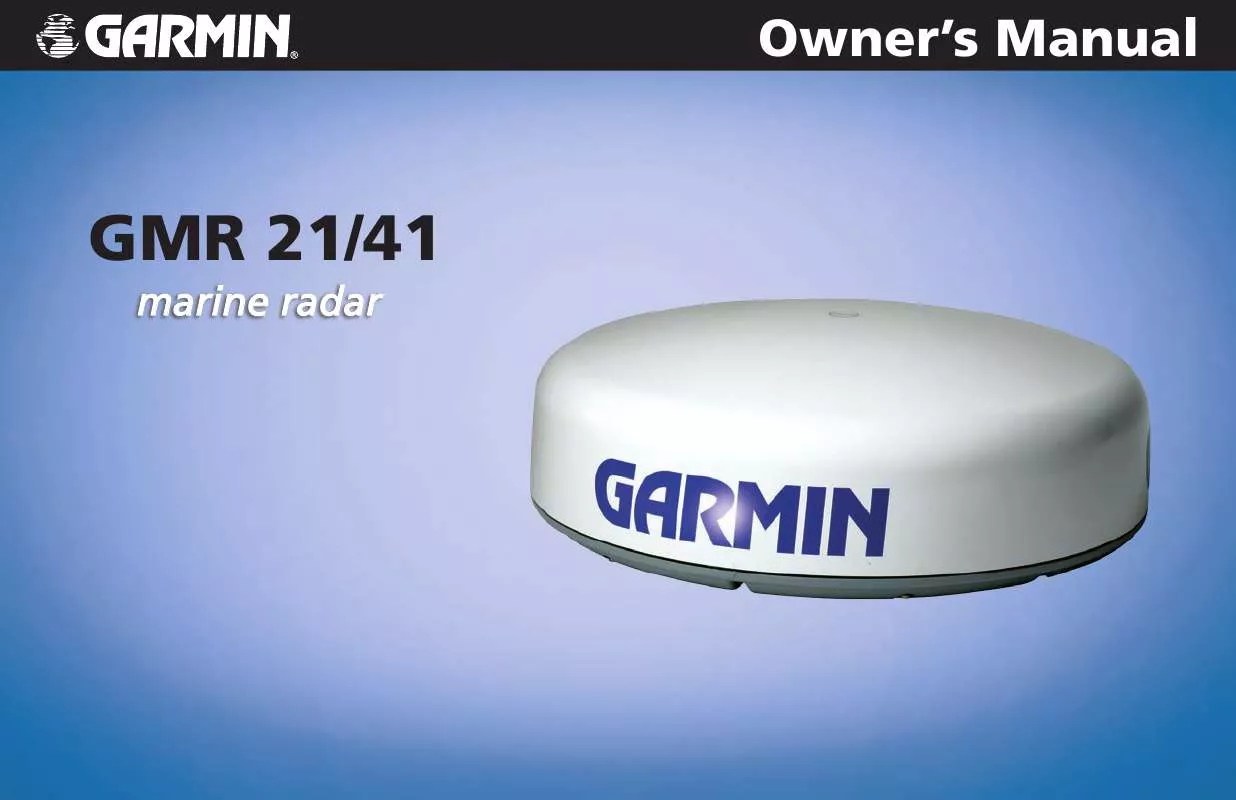
User manual GARMIN GMR 21
Lastmanuals offers a socially driven service of sharing, storing and searching manuals related to use of hardware and software : user guide, owner's manual, quick start guide, technical datasheets... DON'T FORGET : ALWAYS READ THE USER GUIDE BEFORE BUYING !!!
If this document matches the user guide, instructions manual or user manual, feature sets, schematics you are looking for, download it now. Lastmanuals provides you a fast and easy access to the user manual GARMIN GMR 21. We hope that this GARMIN GMR 21 user guide will be useful to you.
Lastmanuals help download the user guide GARMIN GMR 21.
You may also download the following manuals related to this product:
Manual abstract: user guide GARMIN GMR 21
Detailed instructions for use are in the User's Guide.
[. . . ] Owner's Manual
GMR 21/41
marine radar
© Copyright 2006 Garmin Ltd. or its subsidiaries Garmin International, Inc. 1200 East 151st Street, Olathe, Kansas 66062, U. S. A. 913/397. 8200 or 800/800. 1020 Fax 913/397. 8282 Garmin (Europe) Ltd. [. . . ] The VRM (Variable Range Marker) and EBL (Electronic Bearing Line) tools measure range and bearing to a target. The center point of the VRM can be moved, allowing measurement from one target to another. Two V/E tools can be active at the same time. The VRM/EBL Menu has two areas, "VRM/EBL 1" and "VRM/EBL 2. " Each area has two settings, Show/Hide and Adjust. To activate VRM/EBL 1 or 2:
Use the Rocker to highlight Show VRM/EBL 1 or 2 and press ENTER.
VRM/EBL
Variable Range Marker (VRM) 10
Electronic Bearing Line (EBL) GMR 21/41 Owner's Manual
GMR 21/41 OPERATION > THE RADAR ADJUSTMENT MENU 1. Use the Rocker to highlight Move and press ENTER. Using the Rocker, move the center point of the VRM to the selected location. Press ENTER to set the new location.
To move the center location of the VRM:
performance. Each target being tracked by MARPA is represented by a symbol. The symbols indicate the current state of the target.
Acquiring target
To use the VRM/EBL, expand the diameter of the VRM so that the outer edge touches the target. Rotate the EBL until it intersects the VRM at the target location. The measured range and bearing are displayed in the lower left corner of the screen. The Mini Automatic Radar Plotting Aid (MARPA) function helps with collision avoidance. MARPA can track up to ten designated targets. Detailed information including Bearing, Range, Course, Speed, Closest Point of Approach, and Time to Closest Point of Approach for each target is displayed in the MARPA list.
NOTE: The MARPA function requires the use of a heading sensor. The heading sensor must output the NMEA sentence HDM or HDG at format 0183, v2. 30 or higher. The Gamin Marine Network has been tested using the KVH® 1000 heading sensor using 6 second dampening.
Target is safe
MARPA
Target is dangerous
Lost target
For each target, a number and Vector Line is displayed with the symbol. The Vector Line is a visual reference of the target's course and speed.
1. Use the Rocker to highlight Acquire Target and press ENTER. On the Radar Page, using Rocker, move the pointer to the target, and press ENTER.
To designate a MARPA target:
MARPA relies on a Heading Sensor to provide accurate own vessel heading information. Accurate heading data enhances MARPA's
GMR 21/41 Owner's Manual
continued 11
GMR 21/41 OPERATION > THE RADAR ADJUSTMENT MENU
While a target is being designated, a box is placed around the target. When MARPA begins tracking the target, the box is replaced with the appropriate symbol.
To display the MARPA List:
Use the Rocker to highlight MARPA List and press ENTER.
Acquiring Target
Tracking Target
MARPA List
MARPA Setup
The MARPA Setup Menu contains settings for Vector Length, Target History, Own Vessel Safe Zone, Tine To Safe Zone, Safe Ring Zone, and Velocity Reference. [. . . ] To obtain warranty service, an original or copy of the sales receipt from the original retailer is required. Garmin will not replace missing components from any package purchased through an online auction.
NOTE: The GMR 21/41 does not contain any user-serviceable parts. Repairs should only be made by an authorized Garmin service center. Unauthorized repairs or modifications could result in permanent damage to the equipment and void your warranty.
Garmin International, Inc. [. . . ]
DISCLAIMER TO DOWNLOAD THE USER GUIDE GARMIN GMR 21 Lastmanuals offers a socially driven service of sharing, storing and searching manuals related to use of hardware and software : user guide, owner's manual, quick start guide, technical datasheets...manual GARMIN GMR 21


 GARMIN GMR 21 (3754 ko)
 GARMIN GMR 21 RELEASE NOTE (88 ko)
 GARMIN GMR 21 INSTALLATION INSTRUCTION (669 ko)
 GARMIN GMR 21 INSTALLATION INSTRUCTIONS (669 ko)
