User manual HARMAN KARDON AVR 40
Lastmanuals offers a socially driven service of sharing, storing and searching manuals related to use of hardware and software : user guide, owner's manual, quick start guide, technical datasheets... DON'T FORGET : ALWAYS READ THE USER GUIDE BEFORE BUYING !!!
If this document matches the user guide, instructions manual or user manual, feature sets, schematics you are looking for, download it now. Lastmanuals provides you a fast and easy access to the user manual HARMAN KARDON AVR 40. We hope that this HARMAN KARDON AVR 40 user guide will be useful to you.
Lastmanuals help download the user guide HARMAN KARDON AVR 40.
Manual abstract: user guide HARMAN KARDON AVR 40
Detailed instructions for use are in the User's Guide.
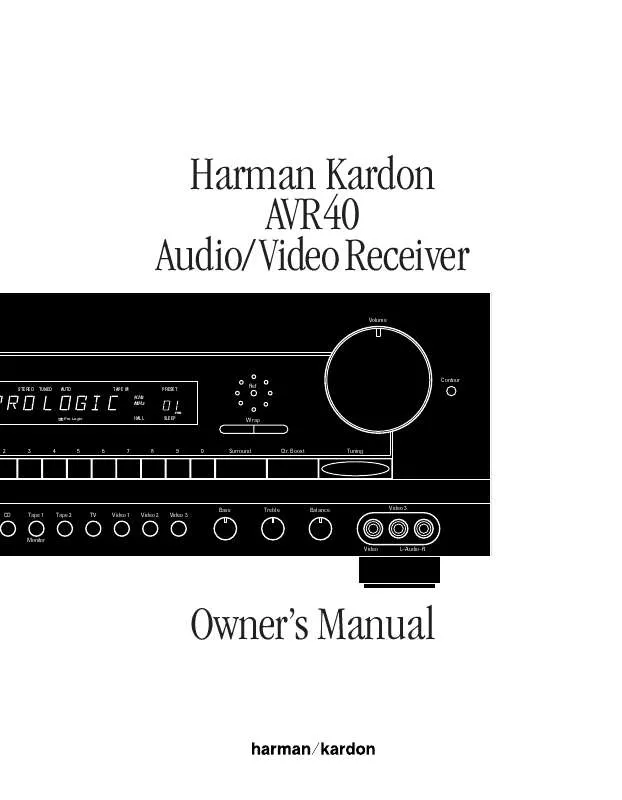
[. . . ] Harman Kardon AVR40 Audio/VideoReceiver
Volume Contour
STEREO TUNED AUTO TAPE M PRESET
Ref
KHz MHz
ms
Pro Logic
HALL
SLEEP
Wrap
2
3
4
5
6
7
8
9
0
Surround
Ctr. Boost
Tuning
CD
Tape 1
Tape 2
TV
Video 1
Video 2
Video 3
Bass
Treble
Balance
Video 3
Monitor Video LAudioR
Owner's Manual
Owner's Manual AVR40 Audio/Video Receiver
Table of Contents
Introduction . 20
80 Crossways Park West Woodbury, NY 11797
www. harmankardon. com ©1997 Harman Kardon, Incorporated
Staple or clip original invoice here. w
Introduction
1
Congratulations! [. . . ] Using these guidelines, you may find that it takes some experimentation to find the correct location for the front speakers in your particular installation. Don't be afraid to move things around until the system sounds correct. Optimize speaker locations so that pans across the front of the room sound smooth, and that sounds from all speakers appear to arrive at the listening position at the same time without delay from the center speaker as opposed to the left and right speakers.
LEG Stand and place it on a shelf, or hang it on a wall.
It may be necessary to rotate the antenna or change its position to achieve the best AM reception. Connect an FM antenna to the FM ANTENNA Terminal g. A 300-ohm to 75-ohm adapter may be required for some antennae. If you are using the AVR40 to switch video inputs, connect the Monitor output , to a video input on your TV or projector. The rear panel accessory outlets on the AVR40 may be used to power low current devices such as CD players or tape decks. The SWITCHED Accessory AC Power Outlets fl are activated only when the AVR40 is turned on. The
UNSWITCHED Accessory AC Power Outlets fi may be used with
VCRs, as the power to these outlets is live as long as the AVR40 remains connected to an AC power source. CAUTION: The total power load for all products connected to the accessory outlets must not exceed 100 watts. Do not use them for high current devices such as power amplifiers. If the AVR40's front panel remote sensor 3 is blocked by cabinet doors you may 5 still operate the unit via remote control with the use of an optional external remote sensor. Connect the output of the sensor to the rear panel REMOTE CONTROL Extension Input ·. This
Installation and Configuration
12
Center Front Speaker No more than 24
Left Front Speaker
Right Front Speaker
Surround speakers should be placed on the side walls of the room, at or slightly behind the listening position. The speakers should be located so that the bottom of the cabinet is at least 24 higher than the listeners' ears when in the desired area. If side wall mounting is not practical, the speakers may be placed on a rear wall, behind the listening position. Again, they should be located so that the bottom of the cabinet is at least 24 higher than the listeners' ears. The speakers should be no more than 6 behind the rear of the seating area. Subwoofers produce non-directional sound, so they may be placed almost anywhere in a room. Subwoofer placement is highly influenced by room size and shape, and the type of subwoofer used. Follow the instructions of the subwoofer's manufacturer, or experiment with the best location for a subwoofer in your listening room. Speaker Connections Once the speakers are positioned in the room connect them to the rear panel output terminals. [. . . ] · To manually tune through the list of stored preset stations one by one, press the Preset/Disc Skip < > buttons e on the remote.
· To automatically scan through the stations entered in the preset memory, press the P. Scan button 33 on the front panel or Scan button p on the remote. The tuner will run through the list of preset stations, stopping for five seconds at each one. Press the P. Scan or Scan button again to stop the scan at your desired station.
Video Dubbing
Special circuits in the AVR40 make it possible to copy the program from one video source to another while you are listening to a separate and different input. When making a video dub note that the VCR connected to Video 1 ª will always be the record machine, and the playback source will be either the equipment connected to the Video 2 input ¶ or the front panel Video 3 %. [. . . ]
DISCLAIMER TO DOWNLOAD THE USER GUIDE HARMAN KARDON AVR 40 Lastmanuals offers a socially driven service of sharing, storing and searching manuals related to use of hardware and software : user guide, owner's manual, quick start guide, technical datasheets...manual HARMAN KARDON AVR 40


