User manual HITACHI 13VR10B
Lastmanuals offers a socially driven service of sharing, storing and searching manuals related to use of hardware and software : user guide, owner's manual, quick start guide, technical datasheets... DON'T FORGET : ALWAYS READ THE USER GUIDE BEFORE BUYING !!!
If this document matches the user guide, instructions manual or user manual, feature sets, schematics you are looking for, download it now. Lastmanuals provides you a fast and easy access to the user manual HITACHI 13VR10B. We hope that this HITACHI 13VR10B user guide will be useful to you.
Lastmanuals help download the user guide HITACHI 13VR10B.
Manual abstract: user guide HITACHI 13VR10B
Detailed instructions for use are in the User's Guide.
[. . . ] TABLE OF CONTENTS
1
HITACHI
TV/VCR Combination
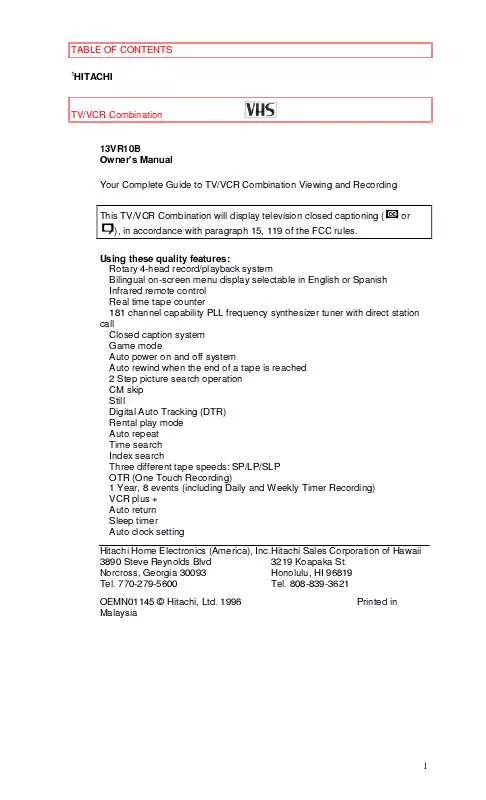
13VR10B Owner's Manual Your Complete Guide to TV/VCR Combination Viewing and Recording This TV/VCR Combination will display television closed captioning ( ), in accordance with paragraph 15, 119 of the FCC rules. Using these quality features: Rotary 4-head record/playback system Bilingual on-screen menu display selectable in English or Spanish Infrared remote control Real time tape counter 181 channel capability PLL frequency synthesizer tuner with direct station call Closed caption system Game mode Auto power on and off system Auto rewind when the end of a tape is reached 2 Step picture search operation CM skip Still Digital Auto Tracking (DTR) Rental play mode Auto repeat Time search Index search Three different tape speeds: SP/LP/SLP OTR (One Touch Recording) 1 Year, 8 events (including Daily and Weekly Timer Recording) VCR plus + Auto return Sleep timer Auto clock setting Hitachi Home Electronics (America), Inc. Hitachi Sales Corporation of Hawaii 3890 Steve Reynolds Blvd 3219 Koapaka St. Norcross, Georgia 30093 Honolulu, HI 96819 Tel. 808-839-3621 OEMN01145 © Hitachi, Ltd. [. . . ] (Example: 1996) Then, press SELECT button. 6 Select the hour
Press CH or button repeatedly until your desired hour appears. (Example: 5, PM) Then, press SELECT button. 7 Set the minute
Press CH or (Example: 40) 8 Start the clock
button repeatedly until the desired minute appears.
Press MENU or SELECT button. Although seconds are not displayed, they begin counting from 00 when you press MENU or SELECT button. Use this feature to synchronize the clock with the correct time. · This unit has a built in calendar up to the year 2010. TO CHANGE CLOCK SETTING If you want to change the clock, 1) Follow steps [1] and [3] 2) Select a digit you want to change using SELECT button or ADD/DELETE button. 3) Enter correct numbers using CH or button. 4) Press MENU button to start the clock. If there is no local PBS station in your area or on your cable system, in step 2 above, select "AUTO CLOCK" and press CH or button to show [OFF], then adjust clock manually.
25
ON SCREEN DISPLAY
ON SCREEN DISPLAY
To check the Counter, Clock and Channel number on the TV screen, press SELECT button on the remote control. Each time you press the SELECT button on the remote control, the TV screen will change as follows: When the Closed Caption mode is OFF: · In the Counter mode, after 5 seconds, only the counter remains. · In the Clock mode, after 5 seconds, only the clock and the channel number remain. To clear them, press SELECT button.
When the Closed Caption mode is ON: · The On Screen Display will disappear after 5 seconds. · This is true even if MUTE button is pressed, or PAUSE/STILL button is pressed while recording. However, the On Screen Display will appear for 5 seconds when SELECT button is pressed.
26
SPECIAL FEATURES
SPECIAL FEATURES
DEGAUSSING
Magnetism from nearby appliances might affect the color of the TV picture. If this happens, move this unit away from the appliance. If the color is still not correct, disconnect power cord from AC outlet then reconnect it after 30 minutes.
AUTO REWIND-EJECT
· When the end of a tape is reached during recording, playback, or fastforwarding, the tape will automatically rewind to the beginning, power off and tape ejects. · This function is operative only when Repeat Play is set to the [OFF] position. · The tape will not auto-rewind during timer recording or One Touch Recording. · When the tape is rewound to the preset memory position of the Counter Memory during Auto Rewind, the tape will stop, but the tape will not eject and TV/VCR will not turn off.
27
TV OPERATION
TV OPERATION
WATCHING A TV PROGRAM
1 Turn on the TV/VCR Press POWER button to turn on the TV/VCR. 2 Select the channel number
Press CHANNEL 3 Adjust the volume
or
button to select your desired channel number.
Press VOLUME
or
button to adjust the volume.
GAME MODE
This function enables you to adjust the TV screen making it suitable for use with a TV GAME. [. . . ] 55
My TV/VCR will not show the text in its entirety or there is a delay of what is being said.
TROUBLESHOOTING GUIDE If a dialogue exceeds that rate, selective editing is used to insure that the captions remain up-to-date with the current TV screen dialogue. My captions are scrambled with white boxed on the TV. Interference caused by building, power lines, thunderstorms, etc. may cause scrambled or incomplete captions to appear.
Broadcasters may at times use a time compression process to speed up the actual program so that additional advertising time can be given. [. . . ]
DISCLAIMER TO DOWNLOAD THE USER GUIDE HITACHI 13VR10B Lastmanuals offers a socially driven service of sharing, storing and searching manuals related to use of hardware and software : user guide, owner's manual, quick start guide, technical datasheets...manual HITACHI 13VR10B


