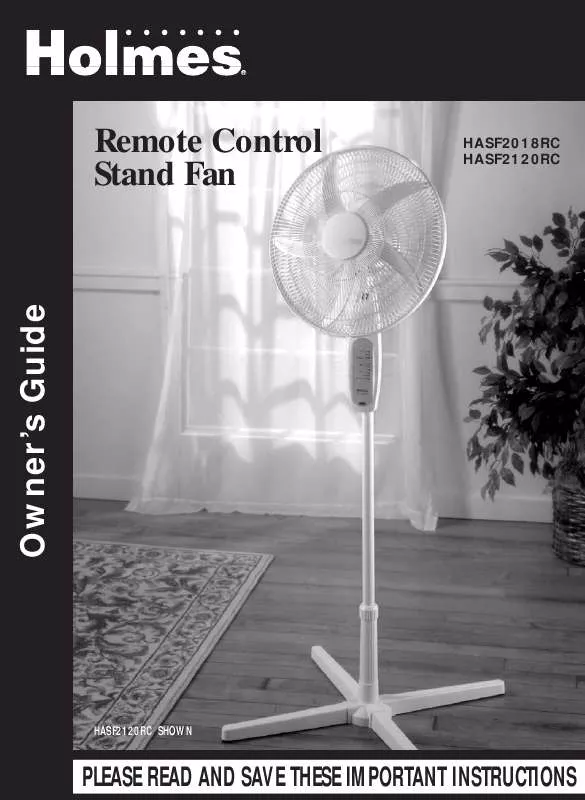
Detailed instructions for use are in the User's Guide.
[. . . ] 8) DO NOT operate any appliance with a damaged cord or plug, if motor fan fails to rotate, after the appliance malfunctions, or if it has been dropped or damaged in any manner. Return appliance to manufacturer for examination, electrical or mechanical adjustment, or repair. 9) DO NOT operate in the presence of explosive and/ or flammable fumes.
THIS PRODUCT IS EQUIPPED WITH A POLARIZED AC (Alternating Current) PLUG (a plug having one blade wider than the other). This plug will fit into the power outlet only one way. [. . . ] ·Do not mix alkaline, standard (carbon-zine), or rechargeable
(nickel-cadmium) batteries.
Step 2: Insert the tilt adjustment knob into the neck joint and tighten in place.
OPERATING INSTRUCTIONS:
STEP 1: Set fan on a dry, level surface. STEP 2: Plug cord into any standard 120V AC outlet. STEP 3: The speed is adjustable by pushing either the On/Spd button on the remote control, or the On/Speed button on the touch-key pad. Push this button first for LOW, again for MEDIUM, and a third time for HIGH. Push a fourth time to repeat the sequence. To turn the fan OFF, push the OFF button on the remote control, or on the touch-key pad. STEP 4: To oscillate the fan head, push the button marked OSC on the remote, or OSCILLATION on the touchkey pad. STEP5: For a natural breeze movement, push the button marked Mode, or Mode on the touch-key pad. This will vary the fan speeds faster and slower. By pressing the Mode button a second time, or the SLEEP button on the touch-key pad, you activate the SLEEP setting. This function slows the fan speed down, and when used in conjunction with the timer settings, will ultimately turn the fan off. NOTE: Both the BREEZE and SLEEP functions can be used with or without OSCILLATION, and start off of any initial fan speed.
Figure 4
Final Assembly:
First, place fan head assembly onto the extension pole, lining up the fan post screw with the hole in the extension pole. Then, simply insert the fan post screw into the hole and tighten until a secure fit is obtained. Lastly, insert the tilt adjustment knob into the neck joint and tighten Figure 5 in place.
Fan Post Screw
Screw Hole
Extension Pole
NOTE: If your fan does not have a screw hole in the extension pole
STEP 6: This fan is equipped with a 4-setting stop timer. (8 hrs, 4 hrs, 2 hrs, and 1 hr) To activate the timer, push the Timer button on the remote control, or the Timer button on the touch-key pad. One push will set the 1 hr, the next push sets the 2 hr, the third push activates the 4 hr, and the fourth push sets the 8 hr. Push again to begin repeating this sequence. NOTE: The timer can be used in conjunction with several other functions. TIMER causes the fan to gradually slow down over 4 hours and eventually turn off.
Fan Blade Cleaning:
(Instructions for fan head assembly, see figure 1) STEP 1: To access the fan blade, remove the front grill and blade cap. STEP 2: Clean the fan blade, front and rear grills with a soft, moist cloth. STEP 3: Replace blade, tighten blade cap, and securely fasten the front grill.
Fan Head, Base, and Pole Cleaning:
Using a soft, moist cloth, with or without a mild, soap solution, carefully clean the fan base, pole, and head. Please use caution around the motor housing area. [. . . ] Within the first 3 years from date of purchase, subject to the conditions in paragraph H, Holmes will repair or replace the product if it is defective in material or workmanship providing it is returned to Holmes, freight prepaid, with PROOF OF PURCHASE date, together with $7. 50 for handling and return packing/shipping charges. If you have any problem with this product, please write our Consumer Service Department. IMPORTANT Return INSTRUCTIONS Your warranty depends on your following these instructions if you are returning the unit more than 30 days after the date of purchase: 1. Carefully pack the item in its original carton or other suitable box to avoid damage in shipping. [. . . ]


