User manual HONEYWELL SMART SN-DCM CFT1
Lastmanuals offers a socially driven service of sharing, storing and searching manuals related to use of hardware and software : user guide, owner's manual, quick start guide, technical datasheets... DON'T FORGET : ALWAYS READ THE USER GUIDE BEFORE BUYING !!!
If this document matches the user guide, instructions manual or user manual, feature sets, schematics you are looking for, download it now. Lastmanuals provides you a fast and easy access to the user manual HONEYWELL SMART SN-DCM CFT1. We hope that this HONEYWELL SMART SN-DCM CFT1 user guide will be useful to you.
Lastmanuals help download the user guide HONEYWELL SMART SN-DCM CFT1.
Manual abstract: user guide HONEYWELL SMART SN-DCM CFT1
Detailed instructions for use are in the User's Guide.
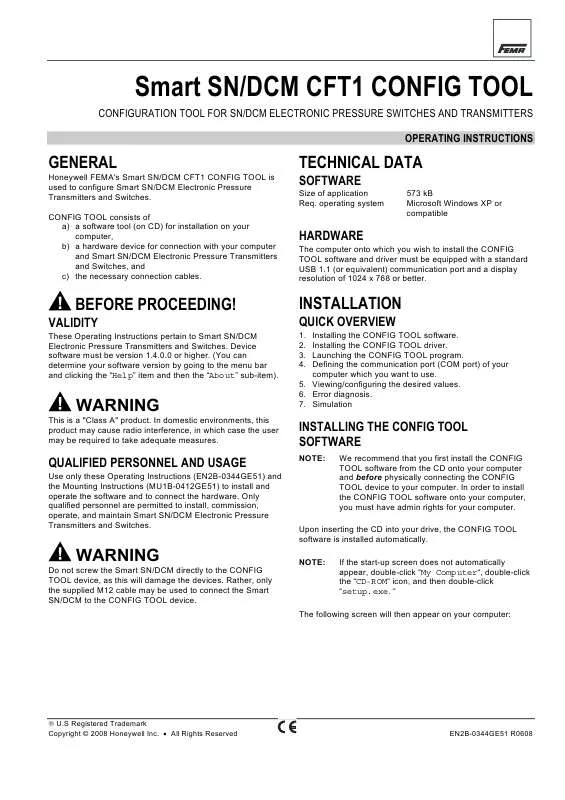
[. . . ] NOTE: If the start-up screen does not automatically appear, double-click "My Computer", double-click the "CD-ROM" icon, and then double-click "setup. exe. "
WARNING
Do not screw the Smart SN/DCM directly to the CONFIG TOOL device, as this will damage the devices. Rather, only the supplied M12 cable may be used to connect the Smart SN/DCM to the CONFIG TOOL device.
The following screen will then appear on your computer:
® U. S Registered Trademark Copyright © 2008 Honeywell Inc. · All Rights Reserved
EN2B-0344GE51 R0608
SMART CONFIG TOOL OPERATING INSTRUCTIONS
Fig. [. . . ] Communication setting dialog (center inset), with empty settings The COM port selection wizard will ask first you to physically disconnect the USB cable from the SN/DCM. Then, click the "Next" button. A second screen will now appear, instructing you to "Connect the device". Do this using the M12 and the USB cable and then wait until the power light on the CONFIG TOOL device illuminates. A third screen will now appear, announcing "Com port no. The COM port selection wizard will disappear automatically and the communication setting dialog containing the communication settings you have chosen will appear (see following figure. )
IMPORTANT: If you have not already defined your communication port, you must now go to the menu bar and click the "Tools" item and then the "Communication settings" sub-item and define the particular communication port of your computer into which you have already inserted the USB cable.
DEFINING THE COMMUNICATION PORT
You must now define the communication port of your computer into which you have inserted the USB cable; this is done using the COM port selection wizard, which will appear after going to the menu bar and clicking the "Tools" item and then the "Communication settings" sub-item or by simply clicking the "Connect" button. If the communication port you want to use cannot be found (or you are trying to connect for the first time after software installation, ) a warning screen will appear with a message that the communication port cannot be found. After clicking "OK", a communication setting dialog will appear (see Fig. You should then start the COM port selection wizard in order to select the proper communication port. The following screen will then appear:
5
EN2B-0344GE51 R0608
SMART CONFIG TOOL OPERATING INSTRUCTIONS
CONFIG TOOL device will flash momentarily, indicating that it is receiving data, and then remain lit constantly. A new configuration file (a file with the extension *. con) with settings read from the SN/DCM will be created automatically. The middle column of the basic screen will display the actual device at the bottom, and the right-hand column will fill with configuration file data. Communication setting dialog (center inset), with desired settings (e. g. "COM5") Then, click "OK". You have now successfully selected the communication port and can now use CONFIG TOOL to configure SN/DCM devices.
POSSIBLE USAGE SCENARIOS
They are two common scenarios how the product will be used: · Configuring a single SN/DCM. · Configuring multiple SN/DCM devices (in the same way) (this scenario does not have the prerequisite that any device be actually connected right now).
Fig. Basic screen with configuration file data 3. Alter the parameters of the configuration file as desired. We recommend selecting the desired units first. Transmit the configuration file which you have thus altered back to the SN/DCM by clicking the "Send to Device" button. Confirm safety relevant parameters in a separate dialog. Enter the device access code in a separate dialog 7. [. . . ] The result of this operation is shown in the message dialog afterwards. Using the upwards and downwards arrows, you can then enter any desired values for pressure, and the SN/DCM will generate the corresponding output. NOTE: The analog pressure gauge and the analog output gauge function only in the simulation mode. They do not display any actual values.
When you are finished simulating, click "Stop Simulation".
EN2B-0344GE51 R0608
8
SMART CONFIG TOOL OPERATING INSTRUCTIONS
Table 1. [. . . ]
DISCLAIMER TO DOWNLOAD THE USER GUIDE HONEYWELL SMART SN-DCM CFT1 Lastmanuals offers a socially driven service of sharing, storing and searching manuals related to use of hardware and software : user guide, owner's manual, quick start guide, technical datasheets...manual HONEYWELL SMART SN-DCM CFT1


