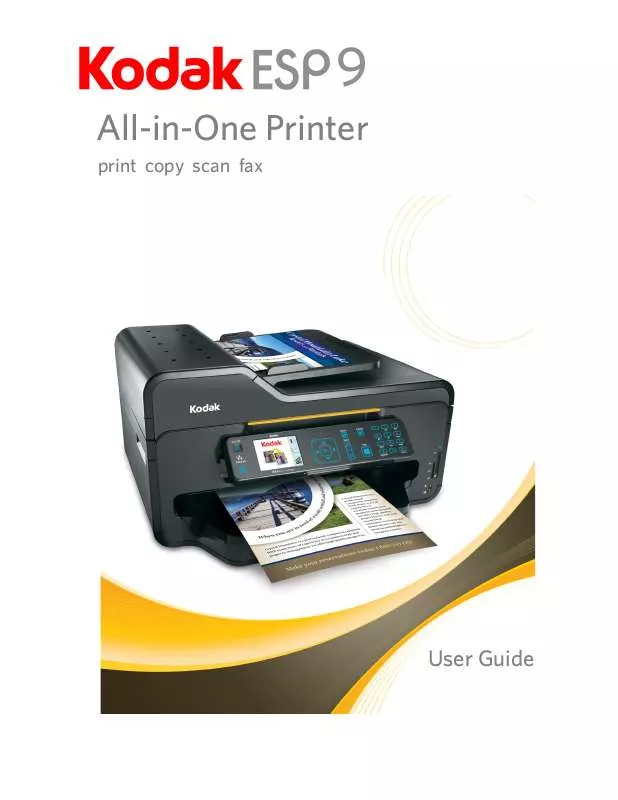
User manual KODAK ESP 9 ALL-IN-ONE PRINTER
Lastmanuals offers a socially driven service of sharing, storing and searching manuals related to use of hardware and software : user guide, owner's manual, quick start guide, technical datasheets... DON'T FORGET : ALWAYS READ THE USER GUIDE BEFORE BUYING !!!
If this document matches the user guide, instructions manual or user manual, feature sets, schematics you are looking for, download it now. Lastmanuals provides you a fast and easy access to the user manual KODAK ESP 9 ALL-IN-ONE PRINTER. We hope that this KODAK ESP 9 ALL-IN-ONE PRINTER user guide will be useful to you.
Lastmanuals help download the user guide KODAK ESP 9 ALL-IN-ONE PRINTER.
You may also download the following manuals related to this product:
Manual abstract: user guide KODAK ESP 9 ALL-IN-ONE PRINTER
Detailed instructions for use are in the User's Guide.
[. . . ] 9
All-in-One Printer
print copy scan fax
User Guide
Eastman Kodak Company Rochester, New York 14650 © Eastman Kodak Company, 2008 Kodak is a trademark of Eastman Kodak Company. The Bluetooth® word mark and logos are owned by the Bluetooth SIG, Inc. , and any use of such marks is under license. (Image Recognition Integrated Systems), All Rights Reserved P/N 1K3289 B July 2008
Table of Contents
1. . 1 Getting answers to frequently-asked questions . [. . . ] For example, press 8 to specify the entry assigned the Quick Dial value of "08. " See the illustration below.
b
Press OK to accept the selected value, and then press Start.
66
Kodak ESP 9 Printer User Guide
Chapter 8
The Fax number of the recipient display on the LCD, and the row representing the entered Quick Dial entry is selected in the display, as shown in the illustration below.
Canceling faxes
To abort a fax after dialing the number, press Cancel from the control panel.
Receiving faxes
If you use your All-in-One printer to receive faxes, remember to load the bottom paper tray with paper beforehand. If you set Fax Auto-Answer Off, you will need to receive faxes manually. Each fax will be printed once it has been received. A Fax Confirmation page will be printed if setting is enabled. See "Fax reports" on page 71.
Receiving faxes automatically
To receive faxes automatically, see Chapter 3.
Manually receiving faxes
When you hear the phone ring and want to receive a fax, press Start on the control panel.
Note: If the phone used to receive faxes uses a voice-messaging service provided by your telephone service provider, you may not be able to receive faxes automatically. Review "Setting up the fax" on page 29; contact your telephone company for additional information as needed.
Fax Phonebook entries
The Fax Phonebook stores information about frequently used fax recipients, including name (or other word or phrase, such as a title, used to identify the recipient), fax phone number, and Quick Dial value. This section describes managing the Fax Phonebook from the control panel. Windows users can manage the Fax Phonebook from Home Center software; see "All-in-One printer Home Center software" on page 20.
Kodak ESP 9 Printer User Guide
67
Faxing
Adding a new Fax Phonebook entry
1 2 From the control panel, press Menu. Press to select Send Fax and press OK.
Note: This option is also accessible by selecting Edit Phonebook from the Fax Settings menu.
3
Select Fax Options and press OK.
4 Select Edit Phonebook and press OK. The Edit Phonebook menu displays on the LCD. 5 Press to select Add New Entry and press OK. 6 If the fax number field fails to display automatically on the LCD, press OK to select the Number field in the Edit Phonebook Entry menu. 7 Using the keypad on the control panel, enter the fax number in the field displayed on the LCD and then press OK.
8 When you are finished entering the fax phone number, press OK. 9 Press to select Name and press OK.
10 Using the LCD on-screen keyboard, enter a name for the recipient.
· ·
Notice the abc/123 key is highlighted. As needed, press OK to display the ABC/123 key. Toggle between these two keys by pressing OK as needed. Use the BKSP key to erase an incorrect entry. Select the Done key when you are finished, and then press OK. to select highlight Quick Dial and
11 To assign a Quick Dial number to this name, press press OK.
12 Enter a number between 0 and 9 on the keypad on the control panel, and then press OK. 13 Press to select DONE when the entry is complete, and press OK.
14 To continue to add entries to the Fax Phonebook, repeat this procedure.
Editing an existing Fax Phonebook entry
1 2 From the control panel, press Menu. Press to select Send Fax and press OK.
Note: This option is also accessible by selecting Edit Phonebook from the Fax
Settings menu. 3 Select Fax Options and press OK.
4 Select Edit Phonebook and press OK. [. . . ] 92 Printer performance, monitoring and adjusting . 53 Multiple-page document in reverse order . 123 Pulse See Fax
S
Safety Environmental . 63 Scanned image is blank, troubleshooting . [. . . ]
DISCLAIMER TO DOWNLOAD THE USER GUIDE KODAK ESP 9 ALL-IN-ONE PRINTER Lastmanuals offers a socially driven service of sharing, storing and searching manuals related to use of hardware and software : user guide, owner's manual, quick start guide, technical datasheets...manual KODAK ESP 9 ALL-IN-ONE PRINTER


 KODAK ESP 9 ALL-IN-ONE PRINTER SETUP BOOKLET (1085 ko)
