User manual KODAK HR
Lastmanuals offers a socially driven service of sharing, storing and searching manuals related to use of hardware and software : user guide, owner's manual, quick start guide, technical datasheets... DON'T FORGET : ALWAYS READ THE USER GUIDE BEFORE BUYING !!!
If this document matches the user guide, instructions manual or user manual, feature sets, schematics you are looking for, download it now. Lastmanuals provides you a fast and easy access to the user manual KODAK HR. We hope that this KODAK HR user guide will be useful to you.
Lastmanuals help download the user guide KODAK HR.
Manual abstract: user guide KODAK HR
Detailed instructions for use are in the User's Guide.
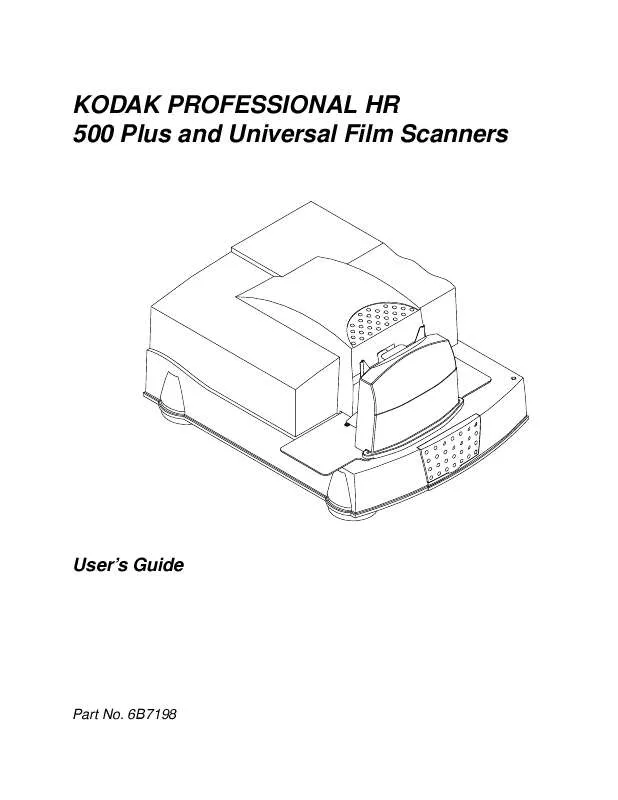
[. . . ] KODAK PROFESSIONAL HR 500 Plus and Universal Film Scanners
P192_0016HC
User's Guide
Part No. 6B7198
© Eastman Kodak Company, 2002
All rights reserved. Contents of this publication may not be reproduced in any form without permission from Eastman Kodak Company.
Unpacking Instructions for the KODAK PROFESSIONAL HR 500 Plus and Universal Film Scanners
CAUTION: The HR Film Scanner weighs almost 120 lbs (54, 5 kg). Two people are needed to safely lift the scanner from the box. [. . . ] Clean the IR filter with the camel's-hair brush or, if needed, replace the IR filter as described in step 7. If replacing the IR filter, set the new filter in place with the arrows on the edges of the filter pointing down toward the scan lamp. Install the filter assembly in the scanner with the balance-filter selection handle in the middle. Reinstall the lamp cover, tighten the thumbscrews, and select a filter position. Calibrate the scanner (see Calibrating the Scanner on page 3-5).
4-6
May 2002
Appendix A: Using the Service and Assembly Module (SAM)
The Service and Assembly Module (SAM) software performs many of the same functions as other host software. Its primary purpose for users is to validate that your scanner is working correctly and to allow you to perform simple scan functions. There are also service and diagnostics functions that should be used only with the assistance of a Kodak service representative. Functions supported by the SAM software are: · setting a magnification · calibrating the scanner · setting the image processing mode (negative or positive) · autofocusing at any given magnification · defining the area to be scanned · scanning and transferring images from the scanner to the host computer · performing miscellaneous features such as: turning the lamp on and off resetting the lamp-on timer rebooting the scanner retrieving scanner usage information displaying software version information · backing up and restoring critical scanner files
A-1
Using the Service and Assembly Module (SAM)
Installing the Service and Assembly Module (SAM) Software
1. Respond to the prompts in the installation program. You must provide the program location and the name of the program menu item. When installation is complete, reboot your host computer. Remove the CD and store it in a safe place.
Backing Up Scanner Files
IMPORTANT: It is essential that you back up the scanner files before using SAM. From the Operations window, click the Backup & Restore tab. Click Backup to back up the critical scanner files.
A-2
May 2002
Using the Service and Assembly Module (SAM)
Using Operations
If the Operations window does not appear, select View->Operations.
May 2002
A-3
Using the Service and Assembly Module (SAM)
IMPORTANT: The Diagnostics, Sensors, Motors & Solenoids, and Transfer tabs are not needed for user functions. Use these tabs only at the request of your Kodak support representative.
A-4
May 2002
Using the Service and Assembly Module (SAM)
Performing the Functions on the Mag/Focus Tab
IMPORTANT: Magnification Calibration should be done only with the guidance of a Kodak support representative. From the Operations window, click the Mag/Focus tab when you need to set the magnification (position of the lens) or do an autofocus.
Setting the Magnification
1. On the Mag/Focus tab, select the Chosen Magnification. The scanner's software maintains an internal Mag/Focus position table that associates a motor position for each of the possible magnification values. The lens and CCD move to the chosen position.
May 2002
A-5
Using the Service and Assembly Module (SAM)
Performing an Autofocus
1. On the Mag/Focus tab, enter the Focus Range. The Range is the initial range of travel used for the CCD and lens, in motor steps. NOTE: To make the focus procedure faster: if you have focused on a given magnification, you can set the Range value to be less than 300. [. . . ] The display on the left sensor will be inverted.
Programming the Left Sensor
1. Open the plastic cover on the left display. Make sure the operation mode selector is set to L. NOTE: L means that light triggers high numbers. [. . . ]
DISCLAIMER TO DOWNLOAD THE USER GUIDE KODAK HR Lastmanuals offers a socially driven service of sharing, storing and searching manuals related to use of hardware and software : user guide, owner's manual, quick start guide, technical datasheets...manual KODAK HR


