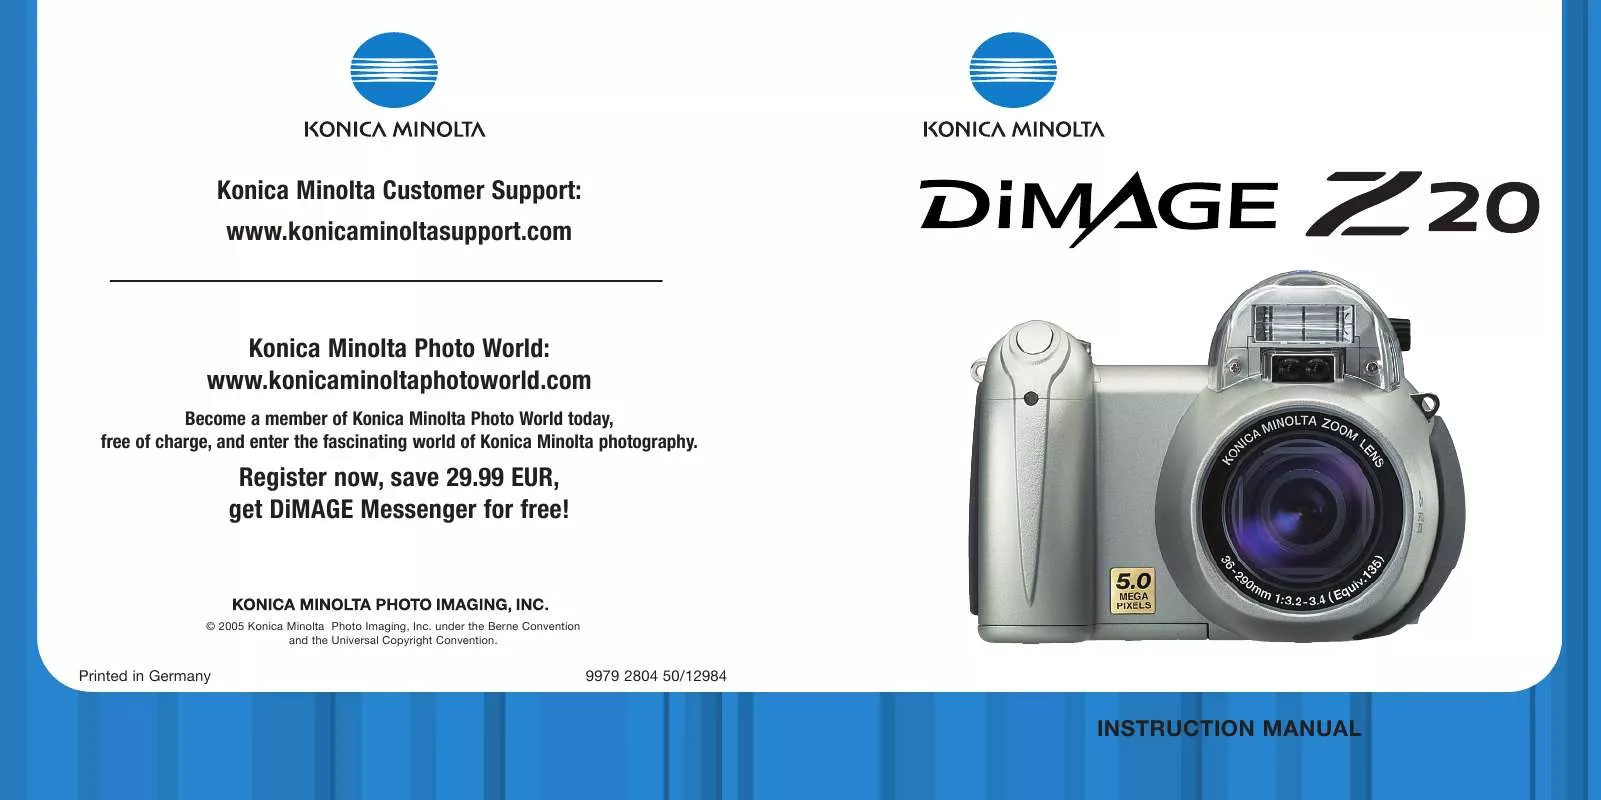
User manual KONICA MINOLTA DIMAGE Z20
Lastmanuals offers a socially driven service of sharing, storing and searching manuals related to use of hardware and software : user guide, owner's manual, quick start guide, technical datasheets... DON'T FORGET : ALWAYS READ THE USER GUIDE BEFORE BUYING !!!
If this document matches the user guide, instructions manual or user manual, feature sets, schematics you are looking for, download it now. Lastmanuals provides you a fast and easy access to the user manual KONICA MINOLTA DIMAGE Z20. We hope that this KONICA MINOLTA DIMAGE Z20 user guide will be useful to you.
Lastmanuals help download the user guide KONICA MINOLTA DIMAGE Z20.
Manual abstract: user guide KONICA MINOLTA DIMAGE Z20
Detailed instructions for use are in the User's Guide.
[. . . ] Konica Minolta Customer Support: www. konicaminoltasupport. com
Konica Minolta Photo World: www. konicaminoltaphotoworld. com
Become a member of Konica Minolta Photo World today, free of charge, and enter the fascinating world of Konica Minolta photography.
Register now, save 29. 99 EUR, get DiMAGE Messenger for free!
© 2005 Konica Minolta Photo Imaging, Inc. under the Berne Convention and the Universal Copyright Convention.
Printed in Germany
9979 2804 50/12984
INSTRUCTION MANUAL
Before you begin
Thank you for purchasing this digital camera. Please take the time to read through this instruction manual so you can enjoy all the features of your new camera. Check the packing list before using this product. [. . . ] Natural Color reproduces the colors in the scene faithfully. This mode uses no monitor indicator when active. Vivid Color increases the saturation of the colors in the scene. Black & White produces neutral monochrome images. The sepia mode creates warm-tone monochrome images.
Sharpness
Vivid color Black & White Sepia
Sharpness accents or softens details in an image in three levels: hard (+), normal, and soft (). This can be set in section 3 of the P, A, S, and M menus (p. Any changes made are applied to the live image, but may be difficult to see. However, when viewed with a computer, the changes will be evident. If any level except normal is selected, an indicator appears on the monitor as a warning.
Sensitivity Digital zoom Color mode Sharpness Contrast
Auto Off NaturalColor Normal Normal
Contrast
This function increases or decreases the contrast of the scene in three levels: high (+), normal, and low (). This can be set in section 3 of the P, A, S, and M menus (p. Any changes made are applied to the live image. If any level except normal is selected, an indicator appears on the monitor as a warning.
Normal
Sharpness: soft Sharpness: hard
Contrast: low
Contrast: normal
Contrast: high
60
ADVANCED
RECORDING
61
Custom Key function
The function assigned to the flash-mode button can be selected among the flash mode, drive mode, white balance, focus mode, color mode, and sensitivity. This can be set in section 1 of the P, A, S, and M menus (p. The flash mode can also be changed in section 2 of the P, A, S, and M menus.
Drive mode Image size Quality White balance Key func.
Flash mode Focus mode Color mode Sensitivity
When selecting the bracketing drive mode, or preset white balance, a selection screen appears. Use the left/right keys of the controller to display the bracketing increment or preset white balance, and press the central button of the controller to select it.
:select
After selecting the custom key function option on the menu, press the central button of the controller to display the selection screen. Use the four-way keys of the controller to select the function. Press the central button of the controller to set the custom key function. Pressing the menu button cancels the operation without changing the custom key function.
:enter
Flash mode Drive mode White balance
When selecting custom white balance, the calibration screen appears. Fill the frame with a white object and press the central button of the controller to calibrate the camera.
Selection screen
:enter
Pressing the flash-mode button changes the function set in the menu. Press the central button of the controller or press the shutter-release button partway down to apply the setting.
62
ADVANCED
RECORDING
63
Image size (movie)
Movies can be recorded at two sizes: 640x480 and 320x240. The larger the image size, the higher the image quality and the larger the file sizes. Image size is set in section 1 of the movie menu (p. [. . . ] QuickTime is not supplied with the camera in all sales regions. Users can download the latest version of QuickTime free of charge from the Apple Computer web site at http://www. apple. com.
This mark on your camera certifies that this camera meets the requirements of the EU (European Union) concerning interference causing equipment regulations. CE stands for Conformité Européenne (European Conformity). FCC Compliance Statement Declaration on Conformity Responsible Party: Konica Minolta Photo Imaging U. S. A. [. . . ]
DISCLAIMER TO DOWNLOAD THE USER GUIDE KONICA MINOLTA DIMAGE Z20 Lastmanuals offers a socially driven service of sharing, storing and searching manuals related to use of hardware and software : user guide, owner's manual, quick start guide, technical datasheets...manual KONICA MINOLTA DIMAGE Z20


