User manual LINKSYS DSHSNMP
Lastmanuals offers a socially driven service of sharing, storing and searching manuals related to use of hardware and software : user guide, owner's manual, quick start guide, technical datasheets... DON'T FORGET : ALWAYS READ THE USER GUIDE BEFORE BUYING !!!
If this document matches the user guide, instructions manual or user manual, feature sets, schematics you are looking for, download it now. Lastmanuals provides you a fast and easy access to the user manual LINKSYS DSHSNMP. We hope that this LINKSYS DSHSNMP user guide will be useful to you.
Lastmanuals help download the user guide LINKSYS DSHSNMP.
Manual abstract: user guide LINKSYS DSHSNMP
Detailed instructions for use are in the User's Guide.
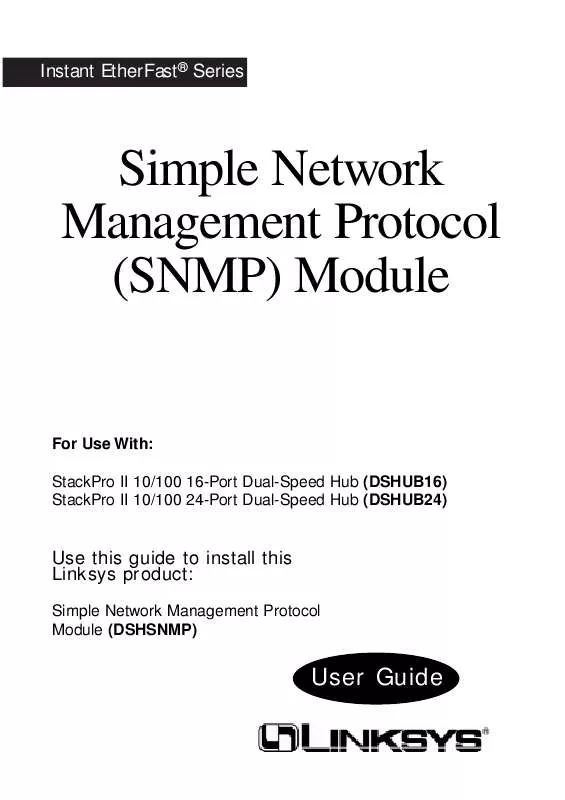
[. . . ] Instant EtherFast® Series
Simple Network Management Protocol (SNMP) Module
For Use With: StackPro II 10/100 16-Port Dual-Speed Hub (DSHUB16) StackPro II 10/100 24-Port Dual-Speed Hub (DSHUB24)
Use this guide to install this Linksys product:
Simple Network Management Protocol Module (DSHSNMP)
User Guide
COPYRIGHT & TRADEMARKS Copyright © 1999 Linksys, All Rights Reserved. Instant EtherFast is a registered trademark of Linksys. Microsoft, Windows, and the Windows logo are registered trademarks of Microsoft Corporation. All other trademarks and brand names are the property of their respective proprietors. [. . . ] Save Current Settings This command will save the variables that you have defined to the SNMP module's EEPROM. All of your settings will be saved in the process. It is recommended that you always do this before the end of every management session. You will receive a message that looks like this:
Updating the EEPROM. Please wait. . .
When the save is finished, a message will read:
EEPROM updated successfully. Press any key to continue.
You may now continue with you management session or exit.
21
Restore Defaults This menu will allow you to completely reset all of the variables on your SNMP module to the factory defaults.
Network Management Setup Restore Default Values -------------------------------------------------WARNING: Pressing [R] below will replace the stack configuration back to its original factory settings. [R] Restore Default Values [X] Exit Press R to Restore factory settings or X to Exit:
Pressing R at this menu will replace all of your settings for the entire stack with the manufacturer default settings, leaving you with a clean slate.
22
Using the Web Interface
The SNMP module includes a web-based interface that lets you control all of the hub's management features in an easy-touse environment. You can use this interface much in the same way that you would use the command line interface. The web-based interface has additonal features such as an RMON management, active status counters, and a real-time graphical represtentation of each hub in the managed stack. Getting Started In order to use the web interface, your SNMP module must be active on your network and configured with a unique IP address. You must do this via the console port and command line interface before continuing. See the instructions on page 6 for more information. For best results, use a web browser such as Microsoft Internet Explorer or Netscape Navigator, (any browser that supports Java, frames, and HTML 3. 2 or higher will do the trick). Simply launch your browser anywhere on the network and type the IP address of the hub into the browser's address window. The most information will be viewable if you leave your browser in full screen mode.
23
Password Authentication The first window in your web-based management session will prompt you for your system password. Choose the access level at which you wish to work by highlighting your choice in the drop-down menu. If you have set the system passwords in a previous command line or web-based management session, enter the correct password. If you haven't changed the passwords, they will be at their defualt settings. The default password settings are the same as their level name. For example, the password for "manager" is "manager". Once you have entered the correct password, you will be greeted with a welcome screen and a picture of the first managed hub in your stack. The Picture of Your Hub You will notice that the picture of the hub at the top of your screen looks exactly like the phsyical front panel of the StackPro II 10/100 Dual Speed hub that you are managing. [. . . ] This number does not include framing bits or preamble bits. displays the number of packets that had FCS errors but were otherwise valid and between 64 and 1, 518 octets long.
Readable Octets
Check Sum Error
Alignment Error
displays the number of packets that had FCS errors and were also of invalid length. displays the total number of packets that were longer than 1, 518 octets. displays the total number of events that had bit time values of 82 or less. [. . . ]
DISCLAIMER TO DOWNLOAD THE USER GUIDE LINKSYS DSHSNMP Lastmanuals offers a socially driven service of sharing, storing and searching manuals related to use of hardware and software : user guide, owner's manual, quick start guide, technical datasheets...manual LINKSYS DSHSNMP


