User manual LUMAGEN HDMI-HDMI REV 1.1
Lastmanuals offers a socially driven service of sharing, storing and searching manuals related to use of hardware and software : user guide, owner's manual, quick start guide, technical datasheets... DON'T FORGET : ALWAYS READ THE USER GUIDE BEFORE BUYING !!!
If this document matches the user guide, instructions manual or user manual, feature sets, schematics you are looking for, download it now. Lastmanuals provides you a fast and easy access to the user manual LUMAGEN HDMI-HDMI. We hope that this LUMAGEN HDMI-HDMI user guide will be useful to you.
Lastmanuals help download the user guide LUMAGEN HDMI-HDMI.
Manual abstract: user guide LUMAGEN HDMI-HDMIREV 1.1
Detailed instructions for use are in the User's Guide.
[. . . ] This equipment generates, uses, and can radiate radio frequency energy and, if not installed and used in accordance with the instructions, may cause harmful interference to radio communications. However, there is no guarantee that interference will not occur in a particular installation. If this equipment does cause harmful interference to radio or television reception, which can be determined by turning the equipment off and on, the user is encouraged to try to correct the interference by one or more of the following measures: - Reorient or relocate the receiving antenna. - Increase the separation between the equipment and receiver. [. . . ] The input-EQ for the HDMI input cable is selected manually using an 8-position rotary switch. Static cable-EQ has less signal jitter than dynamic-cable-EQ solutions. This translates into the ability to support longer cable lengths. When long cables, or cable extenders, have issues in a given system, Lumagen has found that often it is due to problems with the DDC signals. Since the DDC signals are needed for HDCP and EDID communication, Lumagen put active DDC buffers in the HDMI-HDMI extender to maximize achievable cable length.
Installation Instructions:
Insert the supplied 5-VDC power-supply into the HDMI-CAT6 Receiver's 5-VDC jack, twisting it to make sure it seats all the way into the case. Plug the power supply into the wall outlet. Connect the HDMI cable for the source and the HDMI display going to the display. After all audio and video connections are made turn on system power. Once the system is turned on, the cable equaliztion setting may need to be adjusted. See the Input Equalization Selection section for more information.
HDMI Display
HDMI OUT
Input EQ
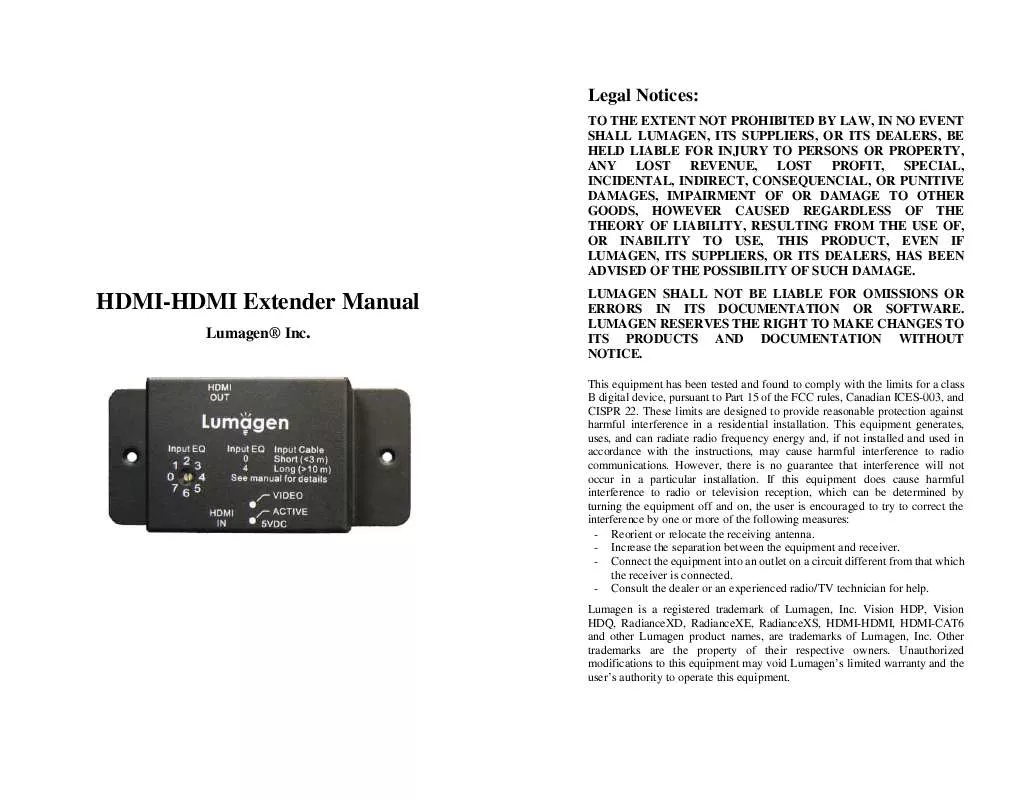
Input EQ Input Cable 0 Short (<3 m) 4 Long (>10 m) See manual for details VIDEO HDMI IN ACTIVE 5VDC
HDMI Source Connection Block Diagram
Caution:
Ground loops are common even in well-designed systems -- even with power conditioners. Power conditioners do not prevent the most common ground loop issues, which are related to the ground prong on equipment with three prong power cords, and the difference in the case ground voltage potential between equipment. Given the longer distance involved, ground loops are generally worse for the source to display/projector connection. To help prevent damage, audio and video cables should be connected before power. This allows the ground wires of the audio/video cables to handle any ground loop current rather than the audio and video signals themselves.
© 2010 Lumagen, Inc.
page 1 of 4
Rev 1. 1
© 2010 Lumagen, Inc.
page 2 of 4
Rev 1. 1
Status Indicator Lights:
There are two light-emitting-diode (LED) indicator lights. These show the connection status as described below: - ACTIVE: On if the external 5-VDC power is supplied, and HDMI "Standby Power" is active. - VIDEO: On if the ACTIVE light is on, and the video input signals are actively driven. Both indicators must be illuminated for the HDMI-HDMI extender to pass video/audio. However, having both indicators illuminated does not guarantee that video/audio can be passed, or that the desired resolution can be achieved for the system as configured. [. . . ] After the Input-EQ setting has been selected, power down the system and then power on normally to test that the video signal "locks" at power on. Acquiring signal "lock" is harder than maintaining "lock. " A setting that works while changing Input-EQ settings may not "lock" during power-on. While unlikely, if this occurs, try other settings and test for power-on signal "lock. "
Specifications:
- Maximum pixel clock rate: 300 MHz (3 GHz bit rate per channel), which support up to 1080p120, or 1080p60 with 16-bit 4:4:4 - Maximum video rate using HDMI 1. 3 22 AWG HDMI input cable, for nominal conditions is: For 1080p60 with 12-bit 4:2:2, or 8-bit 4:4:4: 30 meters For 1080p75 with 12-bit 4:2:2, or 8-bit 4:4:4: 30 meters For 1080p120 with 12-bit 4:2:2, or 8-bit 4:4:4: TBD For 1080p60 with 16-bit 4:4:4: TBD - Maximum distance may be reduced if audio is used since HDMI audio is more sensitive to cable induced jitter than video. - Supports all HDMI 1. 4 3D formats and the HDMI 1. 4 Audio-ReturnChannel (ARC). [. . . ]
DISCLAIMER TO DOWNLOAD THE USER GUIDE LUMAGEN HDMI-HDMI Lastmanuals offers a socially driven service of sharing, storing and searching manuals related to use of hardware and software : user guide, owner's manual, quick start guide, technical datasheets...manual LUMAGEN HDMI-HDMI


