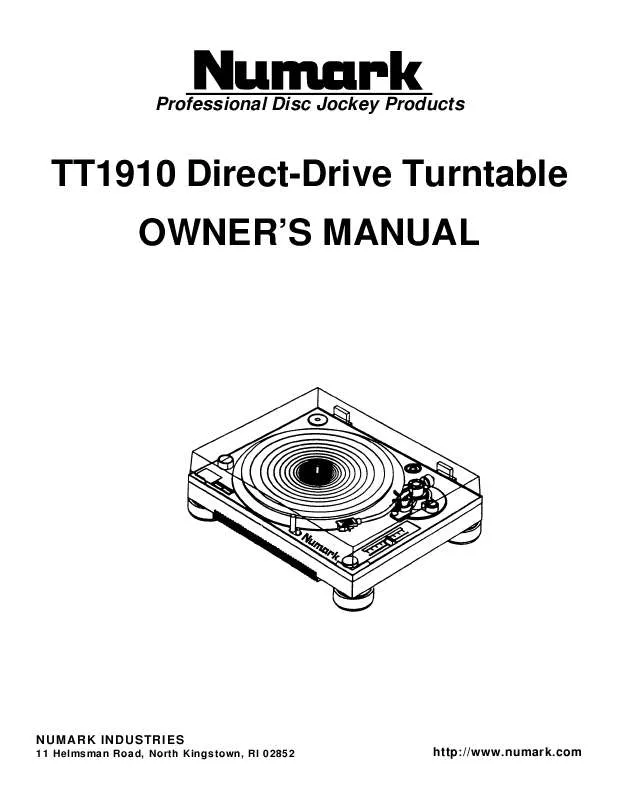
User manual NUMARK TT1910
Lastmanuals offers a socially driven service of sharing, storing and searching manuals related to use of hardware and software : user guide, owner's manual, quick start guide, technical datasheets... DON'T FORGET : ALWAYS READ THE USER GUIDE BEFORE BUYING !!!
If this document matches the user guide, instructions manual or user manual, feature sets, schematics you are looking for, download it now. Lastmanuals provides you a fast and easy access to the user manual NUMARK TT1910. We hope that this NUMARK TT1910 user guide will be useful to you.
Lastmanuals help download the user guide NUMARK TT1910.
Manual abstract: user guide NUMARK TT1910
Detailed instructions for use are in the User's Guide.
[. . . ] Damage Requiring Service - This product should be serviced only by qualified personnel. If you have any questions about service please contact Numark at the number(s) shown on the back cover of this manual. Grounding or Polarization - Precautions should be taken so that the grounding or polarization means built into the mixer is not defeated. N O T E : This apparatus does not exceed the Class A/Class B (whichever is applicable) limits for radio noise emissions from digital apparatus as set out in the radio interference regulations of the Canadian Department of Communications. [. . . ] Installing the cartridge: When installing a cartridge, refer to the operating instructions of that cartridge. During installation, attach the stylus protector to guard the stylus tip from damage. If you have purchased a unit with the cartridge included then that cartridge is already installed on the headshell (You may skip to line 8). (1) Connect the lead wires to the cartridge terminals. The terminals of most cartridges are color coded. Connect each lead wire to the terminal of the same color.
White (L+) Blue (L-) Red (R+) Green (R-) Left channel+ Left channel Right channel+ Right channel
(2) Install the cartridge to the headshell and tighten it with screws provided with the cartridge. Insert the headshell into the front end of the tonearm, then turn the locking nut clockwise with the head shell firmly held horizontally.
Numark - The Proven Leader in DJ Technology ©1997 Numark Industries 5 http://www. numark. com
TT1910
9. Slide counterweight onto the rear of the tonearm. Twist it lightly and it will screw onto the rear shaft of the tonearm.
Tonearm
Counterweight
10. Adjustment of horizontal zero (O) balance with stylus pressure and anti-skating : (1) Remove the stylus protector, do not touch the stylus tip during the adjustment. (2) Set the cueing lever to the lower position so it does not effect tone arm height. (3) Release the arm clamp and lift the tonearm from the arm rest so it moves freely. (4) Rotate the counterweight until the tonearm is approximately balanced horizontally (floats freely).
(5) Refasten the tonearm with the arm clamp. (6) Hold the counterweight stationary with one hand and rotate only the stylus-pressure ring to bring the number "O" of the ring into alignment with the center line on the tonearm rear shaft.
(7) Rotate the counterweight with scale ring clockwise to the correct stylus pressure following the manufacture's recommendation. (8) Set the anti-skating control knob to the same value as the stylus pressure unless your manufacturer specifies otherwise
11. Install the dust cover to the main unit. This lid is not designed for continual removal. If you need to remove the lid press both release tabs at the same time.
Release tab
CONNECTIONS
1. Connect the power cord to the power outlet. Connect the unit's output terminals from the rear of the unit to the PHONO jack of your DJ mixer or home amplifier/receiver.
Output terminals Phono input of mixer L (White) --------------> L Channel R (Red) ----------------> R Channel GND (Spade) --------> GND
·Notes: Be sure to connect the ground terminal firmly to the amplifier or receiver. If this connection is not made or is loose, a power source "HUM" may result.
Numark - The Proven Leader in DJ Technology ©1997 Numark Industries 6 http://www. numark. com
TT1910
OPERATING INSTRUCTIONS
1. Push the power button to turn on the power, the speed indicator and the strobe-illuminator will light up. [. . . ] Any volatile materials as alcohol, thinner, benzine, etc. , may remove the paint or damage the luster, should not be used.
SPECIFICATIONS
Turntable section Type Driving method Motor Turntable platter Turntable speed Starting torque Braking System Wow and flutter S/N ratio Tonearm section Type Effective length General Power supply 2-speed, full manual Direct drive 8pole, 2phase, brushless DC motor Aluminum diecast 330mm dia. 33-l/3 and 45 rpm more than 600g-cm Electronic Brake Less than 0. 20% 55dB (DIN-B)
TARGET LIGHT
This unit is provided with a target light for illuminating the stylus tip during play. Push the target light button, the target light will be raised into position for illuminating the stylus tip. When not in use, keep the target light lowered through depression.
PITCH ADJUSTMENT
The pitch control is variable in a range of +/- 10%. [. . . ]
DISCLAIMER TO DOWNLOAD THE USER GUIDE NUMARK TT1910 Lastmanuals offers a socially driven service of sharing, storing and searching manuals related to use of hardware and software : user guide, owner's manual, quick start guide, technical datasheets...manual NUMARK TT1910


