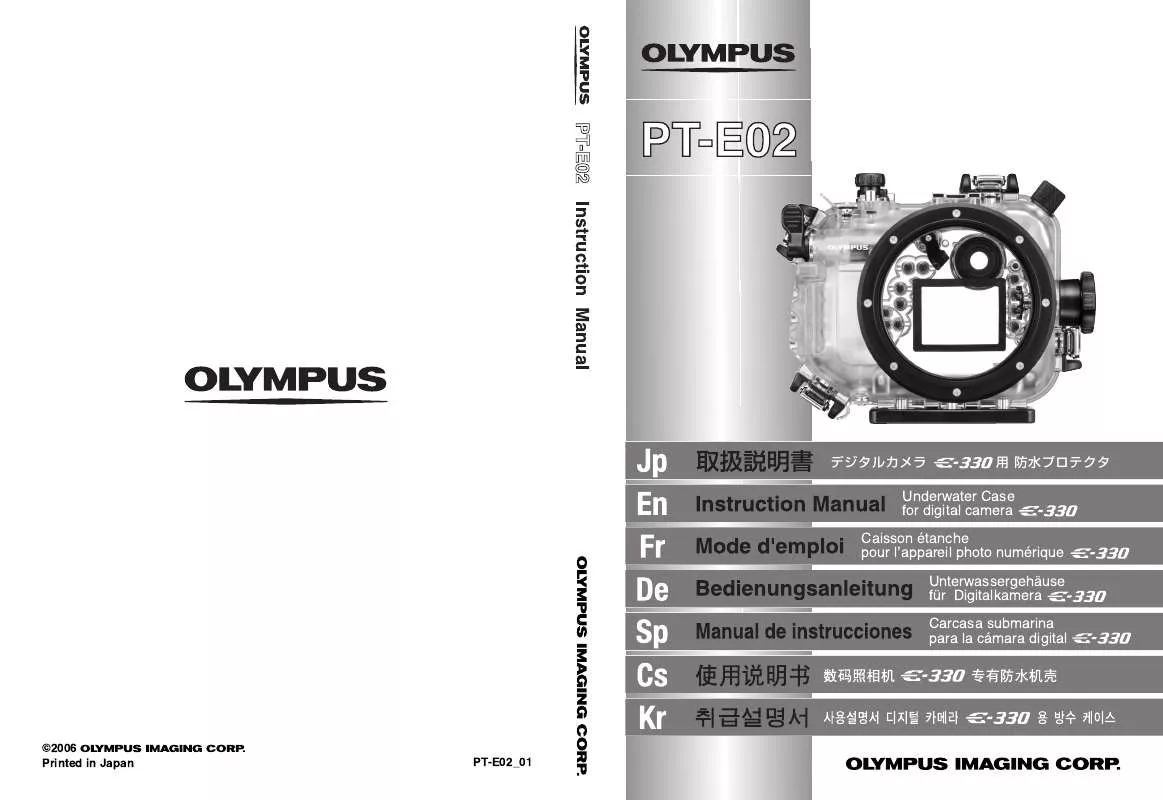
User manual OLYMPUS PT-E02
Lastmanuals offers a socially driven service of sharing, storing and searching manuals related to use of hardware and software : user guide, owner's manual, quick start guide, technical datasheets... DON'T FORGET : ALWAYS READ THE USER GUIDE BEFORE BUYING !!!
If this document matches the user guide, instructions manual or user manual, feature sets, schematics you are looking for, download it now. Lastmanuals provides you a fast and easy access to the user manual OLYMPUS PT-E02. We hope that this OLYMPUS PT-E02 user guide will be useful to you.
Lastmanuals help download the user guide OLYMPUS PT-E02.
Manual abstract: user guide OLYMPUS PT-E02
Detailed instructions for use are in the User's Guide.
[. . . ] PT-E02
PT-E02 Instruction Manual
Underwater Case for digital camera Caisson tanche pour lÕappareil photo numrique Unterwassergehuse fr Digitalkamera Carcasa submarina para la cmara digital
©2006 Printed in Japan
PT-E02_01
Instruction Manual
Underwater Case
PT-E02
For digital camera E-330
En
Thank you for buying the Underwater Case PT-E02. Please read this instruction manual carefully and use the product safely and correctly. Please keep this instruction manual for reference after reading it. Wrong use may cause damage to the camera on the inside from water leakage, and repair may not be possible. [. . . ] · Is the camera's LCD monitor stored on the camera side?· Is the camera' eyepiece shutter open?(1) Pull out the zoom dial and mode dial on the Case (pulling out the mode dial also pulls up the power switch lever) so that they do not get in the way while loading the digital camera.
Set the power switch lever and eyepiece shutter lever as shown below. (Power switch lever) (Eyepiece shutter lever)
En
Set to the 6:00 o'clock position. (2) Remove the TTL cable connector cap from the hot shoe connector on the top left corner of the inner side of the front lid of the Case. Connect the hot shoe cable to the connector.
Remove the cap by turning it counterclockwise.
CAUTION : · When screwing in the hot shoe connector clamping screw, place the Case
upside down. Be careful not to drop the Case.
E-20
(3) Place the camera table with the attached digital camera on the camera table base in the Case. Do not load the combination by force, but load it gently so that the digital camera does not interfere with parts inside the Case.
After loading the digital camera, connect the hot shoe cable to the camera's hot shoe.
Once the digital camera is fully inserted, turn the lock lever on the camera table to lock it.
Gently push the Case's mode dial down and confirm that the zoom dial can smoothly control zooming, the power switch lever can turn the digital camera ON/OFF, and that the mode dial can control the mode dial of the camera.
En
CAUTION : · Read the Waterproof Port's instruction manual carefully to ensure that you
correctly attach the zoom gear to the lens's zoom ring before loading the digital camera. Make sure the zoom ring is positioned correctly during loading. · If the zoom gear on the lens is not engaged properly with the gear on Case's zoom dial, zooming cannot be controlled. Even when the gears are meshed properly, the lens zooming range may be restricted by the way the digital camera has been loaded. Read the Waterproof Port's instruction manual carefully and set the zoom gear appropriately. · When the focusing gear is attached to the lens, also confirm the gear mesh condition.
E-21
Insert silica gel
Before sealing the Case, insert the accessory silica gel bag (for prevention of fogging) between the bottom right corner of the camera and the Case. Insert the bag with the shorter side facing inside.
Pay attention to the orientation.
CAUTION : · Insert the silica gel bag as far as it will go at the specified location and with
the specified orientation. If the orientation is incorrect, the silica gel bag will catch when the Case is sealed and water will leak into the Case. · If the bag is only inserted part of the way, it will get caught by the O-ring when you try to seal the Case and water will leak into the Case · Once silica gel has been used, its moisture absorption performance will be impaired. Always change the silica gel when you open or close the Case.
Check the loading status.
Always perform the following final checks before sealing the Case. · Does the zoom dial operate properly?· Is the silica gel inserted all the way at the specified position?· Are the O-rings and the O-ring contact surfaces free of dirt and other foreign matter?· Are the O-rings installed properly?· Is the TTL cable connector cap attached properly without loosening? [. . . ] · Do not use adhesive for repairs or other purposes. When repair is required, please contact a service station of our company or your dealer. A11: Please contact a service station of our company or your dealer, if repair should be necessary. Do not try to repair, disassemble or modify the Case yourself. [. . . ]
DISCLAIMER TO DOWNLOAD THE USER GUIDE OLYMPUS PT-E02 Lastmanuals offers a socially driven service of sharing, storing and searching manuals related to use of hardware and software : user guide, owner's manual, quick start guide, technical datasheets...manual OLYMPUS PT-E02


