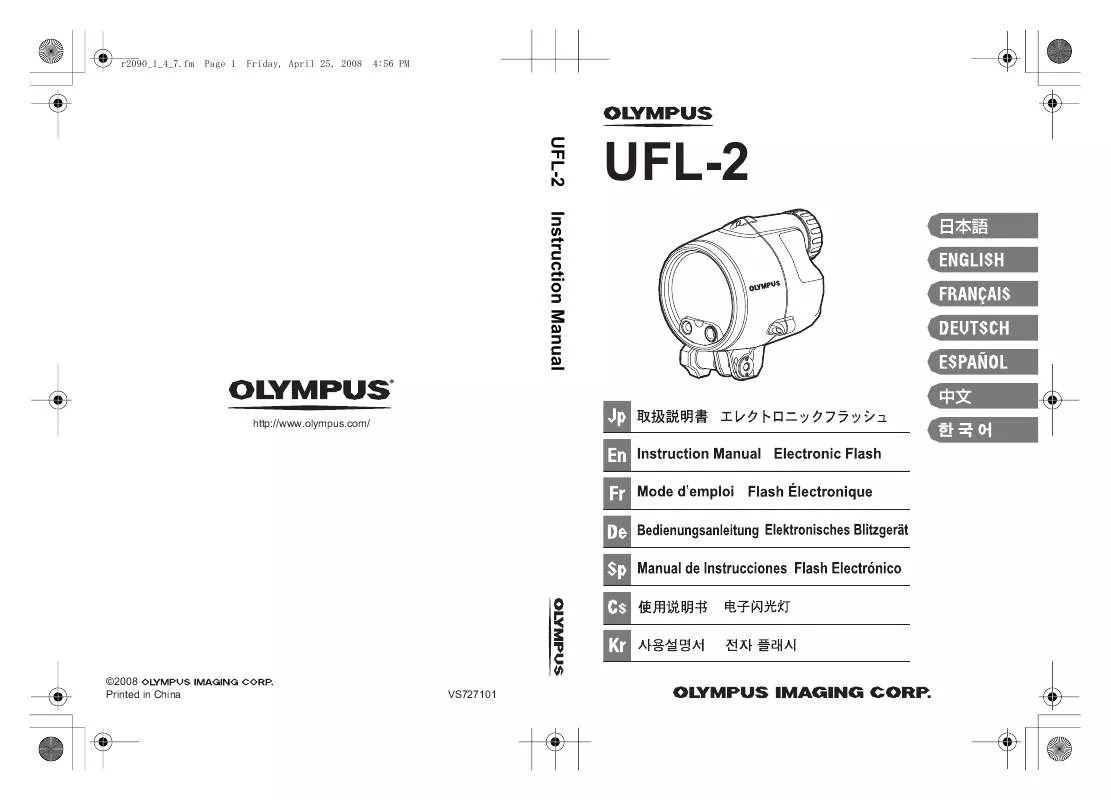
User manual OLYMPUS UFL-2
Lastmanuals offers a socially driven service of sharing, storing and searching manuals related to use of hardware and software : user guide, owner's manual, quick start guide, technical datasheets... DON'T FORGET : ALWAYS READ THE USER GUIDE BEFORE BUYING !!!
If this document matches the user guide, instructions manual or user manual, feature sets, schematics you are looking for, download it now. Lastmanuals provides you a fast and easy access to the user manual OLYMPUS UFL-2. We hope that this OLYMPUS UFL-2 user guide will be useful to you.
Lastmanuals help download the user guide OLYMPUS UFL-2.
Manual abstract: user guide OLYMPUS UFL-2
Detailed instructions for use are in the User's Guide.
[. . . ] r2090_1_4_7. fm Page 1 Friday, April 25, 2008 4:56 PM
UFL-2
UFL-2 Instruction Manual
http://www. olympus. com/
©2008 Printed in China
VS727101
r2090_e_00. book Page 2 Thursday, May 1, 2008 6:29 PM
Thank you for purchasing an Olympus product. Please read this instruction manual carefully and use the product safely and correctly. Please keep this instruction manual for reference after reading it.
Introduction
Unauthorized copying of this manual in part or in full, except for private use, is prohibited. Unauthorized reproduction is strictly prohibited. [. . . ] · Make sure to use the same type of batteries. · Always replace both batteries at the same time.
EN
EN 19
r2090_e_00. book Page 20 Thursday, May 1, 2008 6:29 PM
4. Mounting the Flash
Attaching to an arm
Attach the flash to the arm. When attaching the arm to the camera, make sure to read the arm's instruction manual on how to attach the arm. 1 Loosen the arm mount knob by turning in an counterclockwise direction. 2 Place part A in the space between the arm mount. 3 Turn the loosened knob, in step 1, in a clockwise direction all the way to clamp the arm to the flash. · Be sure to double check the arm is firmly fastened to the flash.
EN
1 A
2
3
If the case of necessity, attach the flash leash to the flash leash hole and tie it to the underwater case, etc.
EN 20
r2090_e_00. book Page 21 Thursday, May 1, 2008 6:29 PM
Connecting to a camera's underwater case
There are two ways to connect the flash to a camera's underwater case. To learn what connection method to use, refer to the instruction manual that comes with your camera's underwater case.
Connecting using an underwater fiber optic cable (optional)
EN
· Insert the plugs of the underwater fiber optic cable into the connector on the camera's underwater case and on the flash's fiber optic cable connector, all the way in until they stop. · You can connect and disconnect the underwater fiber optic cable while under water. · For further details, refer to the instruction manuals of the underwater fiber optic cable (optional) and the camera's underwater case.
EN 21
r2090_e_00. book Page 22 Thursday, May 1, 2008 6:29 PM
Connecting using an underwater TTL cable (optional) and hot shoe cable (optional)
Alignment mark
EN
1 Verify that the flash is completely dry. 2 Remove the cap of the TTL cable connector on the flash. Inspect the O-ring and apply a thin coating of the supplied silicon grease. 3 Remove the cap from the TTL cable's connector. 4 Align the TTL cable's plug and the TTL cable connector on the flash at their alignment marks and insert the cable straight. 5 Turn the lock dial on the cable's connector until it stops to firmly attach the connector. 6 In the same way, attach the TTL cable's plug to the TTL cable connector on the camera's underwater case. · For details about connecting the hot shoe cable (optional), refer to the instruction manual of the camera's underwater case. The following optional accessories are recommended.
Underwater fiber optic cable Underwater TTL cable Hot shoe cable PTCB-E02 PTCB-E01 PHCB-01
EN 22
r2090_e_00. book Page 23 Thursday, May 1, 2008 6:29 PM
5. Basic Shooting
Turning on the electronic flash
Connect the flash to the camera's underwater case using a cable. After turning on the camera and flash, be sure to check the remaining battery power.
AUTO CHECK lamp Control panel TEST button/ CHARGE lamp POWER button
EN
1 Press the POWER button. · The control panel is displayed and battery charging starts. [. . . ] The flash wasn't emitted when shooting in RC mode. Verify that the camera and the electronic flash are set to the same channel and that the group is set correctly.
Q:
EN
A:
Q: A:
Q: A:
Q: A:
Q: A:
EN 38
r2090_e_00. book Page 39 Thursday, May 1, 2008 6:29 PM
Q: A:
How can I find out if my camera is compatible with wireless flash?You can use the RC mode only with cameras compatible with the Olympus wireless RC flash system. With other cameras you may be able to use the electronic flash as slave flash if the camera's built-in flash can be set to slave flash mode or manual flash mode. [. . . ]
DISCLAIMER TO DOWNLOAD THE USER GUIDE OLYMPUS UFL-2 Lastmanuals offers a socially driven service of sharing, storing and searching manuals related to use of hardware and software : user guide, owner's manual, quick start guide, technical datasheets...manual OLYMPUS UFL-2


