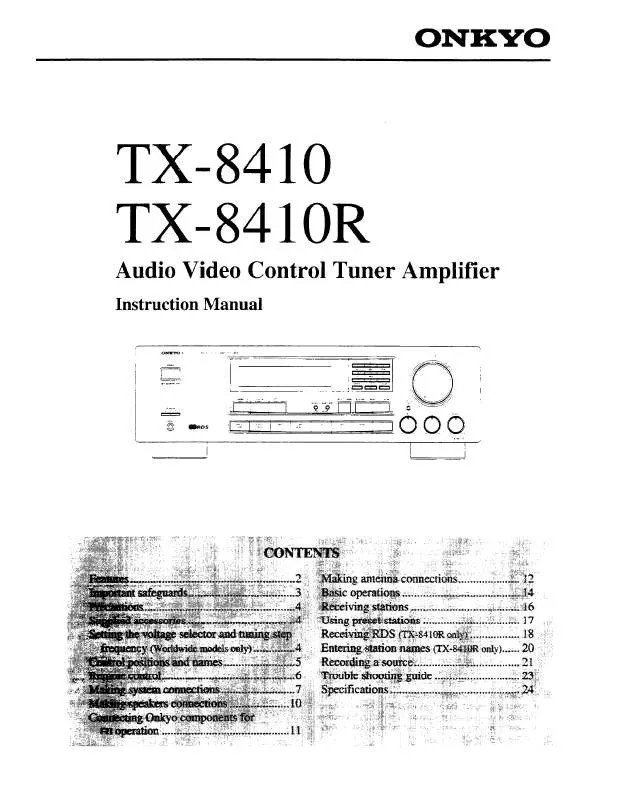
User manual ONKYO TX-8410
Lastmanuals offers a socially driven service of sharing, storing and searching manuals related to use of hardware and software : user guide, owner's manual, quick start guide, technical datasheets... DON'T FORGET : ALWAYS READ THE USER GUIDE BEFORE BUYING !!!
If this document matches the user guide, instructions manual or user manual, feature sets, schematics you are looking for, download it now. Lastmanuals provides you a fast and easy access to the user manual ONKYO TX-8410. We hope that this ONKYO TX-8410 user guide will be useful to you.
Lastmanuals help download the user guide ONKYO TX-8410.
Manual abstract: user guide ONKYO TX-8410
Detailed instructions for use are in the User's Guide.
[. . . ] REFER SERVICING TO QUALIFIED SERVICE PERSONNEL.
The lightning flash with arrowhead symbol, within an equilateral triangle, is intended to alert the user to the presence of uninsulated "dangerous voltage" within the product's enclosure that may be of sufficient magnitude to constitute a risk of electric shock to persons. The exclamation point within an equilateral triangle is intended to alert the user to the presence of important operating and maintenance (servicing) instructions in the literature accompanying the appliance.
Important Safeguards
1. Read Instructions All the safety and operating instructions should be read before the appliance is operated. Retain Instructions The safety and operating instructions should be retained for future reference. [. . . ] COAX2: Select if connected to DIGITAL INPUT (COAXIAL) 2. : Select if the input source is not from a digital input jack. Note: Do not assign a digital input to more than one input source. If you are making a digital connection that requires you to change the default settings, be sure to always first cancel the current digital input setting and then assign the new setting. Digital Format The default setting is "All. " If "----" is selected for this input source at the Digital Input setting, then this setting will not appear. Although you can use this default setting as is, you may change it as desired depending on the input signal format (e. g. , if you know that you will always be listening to a certain input signal format from a particular input source). All: Select for automatic detection of the input signal format. The input signal format (Dolby Digital, DTS, PCM or Analog) used by the selected input source is detected automatically to execute the required decoding process. The decoding process is executed only when DTS signals are input. The decoding process is executed only when PCM signals are input. Note: If "All" is selected and a compact disc or LD is fast-forwarded during playback, decoded PCM signals may produce a skipping sound. You can only select Multichannel with the AUDIO SELECTOR button when "Yes" is selected here. Note: When playing a device that is actually connected to the MULTI CHANNEL INPUT terminal, select Multichannel with the AUDIO SELECTOR button.
35
Input Setup
2-2. Component If a component is connected to the one of the COMPONENT VIDEO inputs (1 or 2), then that input must be set here. This setting will not appear if AM, FM, PHONO, CD or TAPE is selected as the input source. The default settings are given below.
Input source selected CD PHONO FM AM TAPE VIDEO 4 VIDEO 3 VIDEO 2/VCR 2 VIDEO 1/VCR 1 DVD Component video input
Menu 1. Speaker Setup 2. Input Setup 2. Input Setup Input:DVD 3. Listening Mode Setup 4. Preference 2-2. Video a. Audio Setup 5. OSD Setup Setup Input:DVD b. Video Setup c. Listening Mode Preset a. Video d. Tone Control:DVD e. IntelliVolume b. ComponentQuit:|OSD| f. 12V TriggerVideo |ENTER| :Input1 |ENTER| Quit:|OSD| Quit:|OSD|
---INPUT 2 ------INPUT 1
a. Video This setting allows you to match the audio from one component with the video from another. Therefore, you can set a video source to be displayed while the audio from another input source is heard. For example, this allows you to play the music from a compact disc, while displaying the picture from a video cassette player or other video source. The default settings are given below.
Input source selected CD PHONO FM AM TAPE DVD VIDEO1 VIDEO2 VIDEO3 VIDEO4 Video Last Last Last Last Last DVD VIDEO1 VIDEO2 VIDEO3 VIDEO4
---- : Not assigned with the default settings.
Last : When you change to an input source set to "Last, " the video of the input source that you changed from is continued. For example, if the selected input source is VIDEO 1, and you then change to CD (set to "Last"), then the audio from the CD input is played while the video from VIDEO 1 continues. · If no video signal is to be assigned to the input source, set "----. "
36
Input Setup
2-3. [. . . ] · Remote controller is too far from the TX-8410. © Operate the remote controller within 16 feet (5 meters). · Remote controller is functioning in a different mode © Press the AUDIO MODE button.
For digital sources, sound is sometimes not output depending on media type.
· Format of digital input source is fixed. Other digital formats will not be output. [. . . ]
DISCLAIMER TO DOWNLOAD THE USER GUIDE ONKYO TX-8410 Lastmanuals offers a socially driven service of sharing, storing and searching manuals related to use of hardware and software : user guide, owner's manual, quick start guide, technical datasheets...manual ONKYO TX-8410


