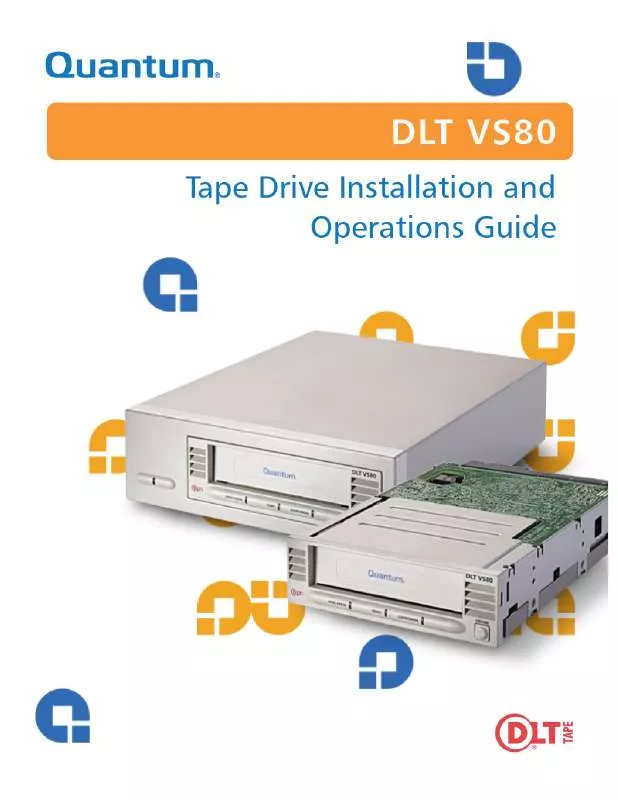
User manual QUANTUM 00159601
Lastmanuals offers a socially driven service of sharing, storing and searching manuals related to use of hardware and software : user guide, owner's manual, quick start guide, technical datasheets... DON'T FORGET : ALWAYS READ THE USER GUIDE BEFORE BUYING !!!
If this document matches the user guide, instructions manual or user manual, feature sets, schematics you are looking for, download it now. Lastmanuals provides you a fast and easy access to the user manual QUANTUM 00159601. We hope that this QUANTUM 00159601 user guide will be useful to you.
Lastmanuals help download the user guide QUANTUM 00159601.
Manual abstract: user guide QUANTUM 00159601
Detailed instructions for use are in the User's Guide.
[. . . ] Copyright
Copyright © 2004 by Quantum Corporation. Document Origination: Boulder, Colorado, USA.
Trademarks
Quantum, the Quantum logo, and the DLTtape logo are trademarks of Quantum Corporation, registered in the U. S. A. DLTtape, DLTSage, Value DLTtape, and Super DLTtape are trademarks of Quantum Corporation. Other company and product names used in this document are trademarks, registered trademarks, or service marks of their respective owners.
Legal Disclaimers
The information contained in this document is the exclusive property of Quantum Corporation. [. . . ] Connect the other end of the SCSI cable to the SCSI host bus adapter, aligning the colored stripe
on the ribbon cable with pin 1 on the SCSI host bus adapter's connector.
9. Locate an available power cable in the host server or workstation and attach it to the power
connector on the rear panel of the tape drive. The connectors are keyed, preventing improper connection.
SCSI cable (shown with terminator installed)
Power cable
Figure 3-11. SCSI and Power Cable Location (Internal Tape Drive)
3-16
May 2004
001596-01 Rev A07
DLT VS80 Tape Drive Installation and Operations Guide
10. Secure the tape drive with the mounting screws provided, either in the sides or bottom of the tape
drive sled, as appropriate for the server or workstation chassis. CAUTION Using a screw that is too short can result in inadequate clamping force. Using a screw that is too long can cause damage to the internal circuit cards. Please see the note following Figure 3-12 for guidance.
Figure 3-12. Securing the Internal Tape Drive in the Installation Bay
NOTE: Some servers and workstations require mounting rails for internal devices. Contact the manufacturer for specific information, as the mounting rails have varying thicknesses. Consequently, if a different screw is required to mount the tape drive, use the following guidelines.
001596-01 Rev A07
May 2004
3-17
Chapter 3: DLT VS80 Installation
To complete the installation, follow these steps:
1. Replace the cover on the server or workstation. Attach the power cables to the server or workstation and all attached accessories. Power on the server or workstation and allow its operating system to start. Check your tape drive to make sure it is working properly by following the steps in "Testing Your
Tape Drive. "
3. 4
Testing Your Tape Drive
Every time you power on your tape drive, it conducts a power-on self-test (POST). This test ensures that the tape drive is working properly and is ready to use. While POST is in progress, watch the front panel LEDs to see the progress and results of the test. During POST, the following actions take place:
1. The LEDs illuminate all at once and then turn off. The Ready (green) LED blinks during initialization and remains illuminated after POST. The tape drive emits a buzzing sound as the tape drive calibrates the read/write head's position.
POST is complete only after the buzzing sound stops. POST takes several seconds to complete, after which the tape drive is ready to use.
NOTE: If POST does not work properly, refer to "Troubleshooting Your Tape Drive" on page 3-19.
3-18
May 2004
001596-01 Rev A07
DLT VS80 Tape Drive Installation and Operations Guide
3. 5
Troubleshooting Your Tape Drive
This section provides both general troubleshooting guidelines and an LED-specific problem/solution table to help you troubleshoot your tape drive.
3. 5. 1
General Troubleshooting Guidelines
If you have a problem when using the tape drive, first try to isolate the cause of the problem. [. . . ] Power cycle (off, then on) the tape drive. The tape drive is now ready to use with the new
firmware. Please observe the following conditions: · · You may need to restart your computer for it to recognize the tape drive. If the tape drive does not eject the Firmware Upgrade Data Cartridge, the firmware upgrade failed. [. . . ]
DISCLAIMER TO DOWNLOAD THE USER GUIDE QUANTUM 00159601 Lastmanuals offers a socially driven service of sharing, storing and searching manuals related to use of hardware and software : user guide, owner's manual, quick start guide, technical datasheets...manual QUANTUM 00159601


