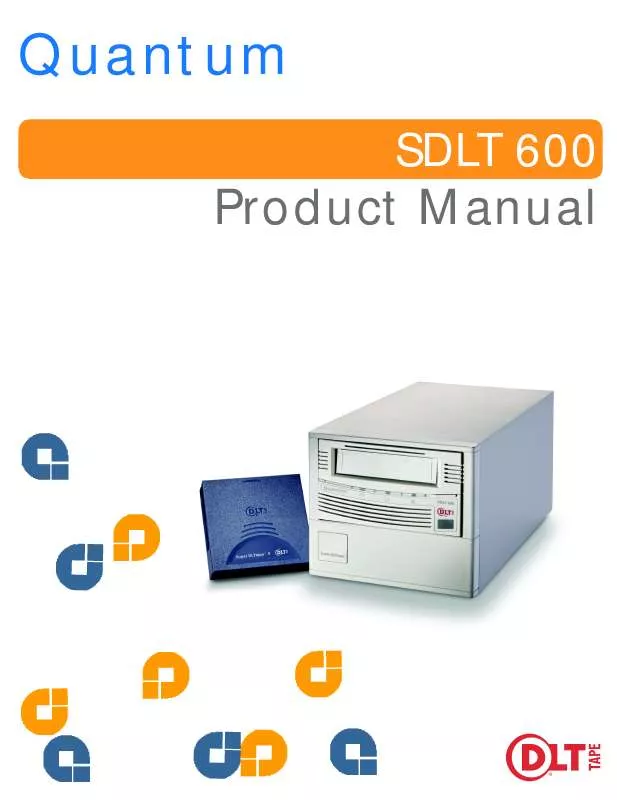
User manual QUANTUM 8181184QUANTUM
Lastmanuals offers a socially driven service of sharing, storing and searching manuals related to use of hardware and software : user guide, owner's manual, quick start guide, technical datasheets... DON'T FORGET : ALWAYS READ THE USER GUIDE BEFORE BUYING !!!
If this document matches the user guide, instructions manual or user manual, feature sets, schematics you are looking for, download it now. Lastmanuals provides you a fast and easy access to the user manual QUANTUM 8181184QUANTUM. We hope that this QUANTUM 8181184QUANTUM user guide will be useful to you.
Lastmanuals help download the user guide QUANTUM 8181184QUANTUM.
Manual abstract: user guide QUANTUM 8181184QUANTUM
Detailed instructions for use are in the User's Guide.
[. . . ] Quantum
Product Manual
SDLT 600
SDLT 600 Product Manual
Copyright
Copyright © 2004 by Quantum Corporation. Document Origination: Boulder, Colorado, USA.
Trademarks
Quantum, the Quantum logo, and the DLTtape logo are trademarks of Quantum Corporation, registered in the U. S. A. DLTtape, DLTSage, Value DLTtape, and Super DLTtape are trademarks of Quantum Corporation. Other company and product names used in this document are trademarks, registered trademarks, or service marks of their respective owners.
Legal Disclaimers
The information contained in this document is the exclusive property of Quantum Corporation. [. . . ] Position the tape drive in the system and align the mounting holes (side or bottom) with those in
the system. Figure 4-5 on page 4-11 shows the mounting locations and dimensions for the tape drive. CAUTION The screws used to mount the tape drive must be M3 x 8mm long. This type of screw is exactly the proper length and will not damage the tape drive.
3. Using four M3 x 8mm long screws, secure the tape drive in the bay or chassis.
4. 5. 3
Connect the Power
Figure 4-7 on page 4-18 shows the location of this connector; pin assignments for the power connector are listed in Table 4-5 on page 4-16.
1. Before connecting the SDLT 600 tape drive to the host computer, be certain the tape drive and
computer are powered off.
2. If you are connecting several devices to the system, connect only the tape drive to the host
computer at this time. Confirm that the host computer and tape drive are communicating correctly before adding additional devices.
3. Attach the power cable to the tape drive. Check all cable and termination connections and ensure that they are attached correctly and seated
firmly before you power on the system.
4. 5. 4
Optional Loader Connector
The 8-pin optional loader connector provides signals to be used when the tape drive is part of a loader/ library configuration. Figure 4-7 on page 4-18 shows the location of this connector; Table 4-6 on page 4-16 lists pin assignments for the loader connector.
81-81184-01 REV A02
March 2004
4-19
Configuring and Installing a Tabletop Tape Drive
SDLT 600 Product Manual
4. 5. 5
Connect the Fibre Channel Cable
1. Fibre Channel cables are "hot-swappable"--meaning you may connect and disconnect them with
unit power on. Therefore, unlike other systems, the tape drive and computer may remain on to connect the SDLT 600 tape drive to the host computer.
2. Insert the fiber optic cable into the Fibre Channel port on the back of the tape drive as shown in
Figure 4-8. The connector is fully seated when it snaps into the port.
SDLT 600 Tape Drive
Fibre Channel Cable
Figure 4-8. Connecting the SDLT 600 Fibre Channel Cable
4. 6
Configuring and Installing a Tabletop Tape Drive
This section provides instructions for configuring and installing the tabletop model of the SDLT 600 tape drive.
NOTE: The tabletop model comes ONLY with the SCSI interface. The Fibre Channel interface is not available.
4-20
March 2004
81-81184-01 REV A02
SDLT 600 Product Manual
Chapter 4: Installing Your Tape Drive
4. 6. 1
Configuring the Tape Drive
Figure 4-9 on page 4-21 shows the location of the controls and connectors for the tabletop tape drive. This model of tape drive is normally configured to meet customer specifications before leaving the factory, so should not require any internal configuration changes on site.
SCSI ID Selector
SCSI Connectors
Fan
Power Switch
Power Connector
Figure 4-9. Back Panel of the Tabletop Model
SCSI ID
The SCSI ID default for the tabletop tape drive is set to 3; you can configure the tape drive for SCSI ID addresses that range from 0 to 15 using the SCSI ID pushbutton. Press the button above or below the ID number display to set the desired SCSI ID. The top button increases the ID number, the bottom button decreases the ID number. Figure 4-10 on page 4-22 shows a close-up view of the SCSI ID switch and its location on the rear of the tabletop model of the SDLT 600 tape drive.
81-81184-01 REV A02
March 2004
4-21
Configuring and Installing a Tabletop Tape Drive
SDLT 600 Product Manual
3
SCSI ID Selector
3
Figure 4-10. [. . . ] One of the utilities comprising Quantum's DLTSage, qTalk lets users communicate with other computers via a serial line that's usually connected to a modem.
R
Restore To replace data on the hard drive with data obtained from another media device.
S
SAN SCSI Storage Area Network. An American National Standards Institute (ANSI) standard for the interface between a computer and peripheral controllers. The next-generation DLTtape family of products. A term referring to the electrical characteristics of the signal used on the SCSI bus interface. [. . . ]
DISCLAIMER TO DOWNLOAD THE USER GUIDE QUANTUM 8181184QUANTUM Lastmanuals offers a socially driven service of sharing, storing and searching manuals related to use of hardware and software : user guide, owner's manual, quick start guide, technical datasheets...manual QUANTUM 8181184QUANTUM


