User manual ROLAND VE-7000 MANUAL 2
Lastmanuals offers a socially driven service of sharing, storing and searching manuals related to use of hardware and software : user guide, owner's manual, quick start guide, technical datasheets... DON'T FORGET : ALWAYS READ THE USER GUIDE BEFORE BUYING !!!
If this document matches the user guide, instructions manual or user manual, feature sets, schematics you are looking for, download it now. Lastmanuals provides you a fast and easy access to the user manual ROLAND VE-7000. We hope that this ROLAND VE-7000 user guide will be useful to you.
Lastmanuals help download the user guide ROLAND VE-7000.
Manual abstract: user guide ROLAND VE-7000MANUAL 2
Detailed instructions for use are in the User's Guide.
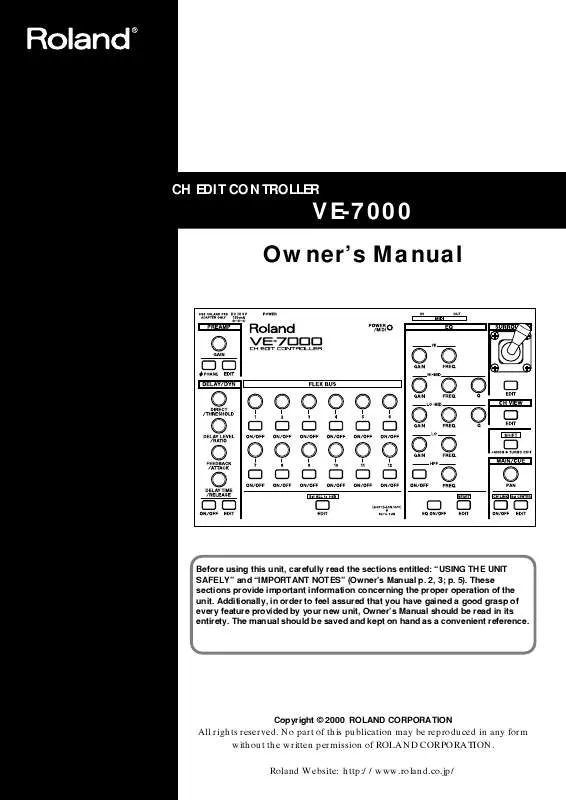
[. . . ] CH EDIT CONTROLLER
VE-7000 Owner's Manual
Before using this unit, carefully read the sections entitled: "USING THE UNIT SAFELY" and "IMPORTANT NOTES" (Owner's Manual p. These sections provide important information concerning the proper operation of the unit. Additionally, in order to feel assured that you have gained a good grasp of every feature provided by your new unit, Owner's Manual should be read in its entirety. The manual should be saved and kept on hand as a convenient reference.
Copyright © 2000 ROLAND CORPORATION
All rights reserved. [. . . ] When the update is completed, the system will start up automatically. Remove the update memory card and keep it in a safe place.
When the console has already newest system program, the system does not begin update.
3 4
Perform the update - Update B (in case that unit 1(and 2) in "System Version" is under 1. 500)
Never turn off the power or remove the memory card while the update is taking place. Doing so will damage the internal system program, making it impossible to start up correctly.
1 2
Insert the supplied update memory card. Hold down [PROJECT] and [F5], and turn on the power of the console.
Take the procedure of Update A if the current "System Version" is 1. 500 and higher.
11
Before you begin
3 4 5 1 2
Release the buttons when "" is indicated in the display. Turn off the power of the VM system when "VM-7000 updated. Reboot Please" is indicated in the display. Remove the update memory card and keep it in a safe place.
Never turn off the power or remove the memory card while the update is taking place. Doing so will damage the internal system program, making it impossible to start up correctly.
Check the version
Take the procedure specified in "Check the version"(p. 10) in order to check the current version. Verify that "System Version" is 1. 520 and higher and unit1 (and 2) in "System Version" is 1. 500 and higher. When you press any button on the panel, the previous display will reappear.
3
Restore your data
1 2 3 4 5 6
Insert the memory card (2--16 MB) that you used to save your data. Choose "SELECT. " Use the V1 knob (SELECT NUMBER) to select the project that you stored. The project will be loaded.
12
Before you begin
7 8 9 10
Hold down [SHIFT] and press [PROJECT]. Select "MEMORY CARD. " Select the "LIBRARY" page. In LOAD/SAVE TARGET, turn EQ, DELAY, CHANNEL, EFFECTS, and EZ ROUTING TEMPLATE all ON (highlighted in black). All libraries will be loaded.
This completes the update procedure. If you are using two consoles, perform the update procedure for the second console in the same way.
11 12
13
Make connections
Connect the necessary devices as shown in the following diagram.
fig. connect
MIDI OUT
INPUT SENS MIXER MODE PHONES
MASTER
MIDI IN
HD Recorder
MIDI IN MIDI OUT
VE-7000
VM-C7200
To prevent malfunction and/or damage to speakers or other devices, always turn down the volume, and turn off the power on all devices before making any connections.
Use a MIDI cable to connect the VE-7000's MIDI OUT to the MIDI IN of the device (e. g. , VM Console) that you wish to control from the VE-7000. If you wish to use the VE-7000 to control another device, such as an additional VM Console, connect the device to the MIDI IN of the VE-7000. MIDI messages that are input to the VE-7000's MIDI IN will be retransmitted without change from MIDI OUT, and sent to the MIDI IN of the VM Console or other device being controlled by the VE-7000.
Placing the VE-7000 on the VM Console
If you are using the VE-7000 with a "VM-C7200" VM Console, place it at the left of the display area. The rubber magnet on the bottom of the unit will hold it in place. Since you will need to view the display area of the VM Console (or other device) being controlled as you operate the VE-7000, we recommend that you place it as close to the display area as possible.
14
Turning on the power
1 2
Turn on the power of the peripherals. Make sure that the POWER/ MIDI indicator lights.
Basic operation (connected to the VM Console)
Screens in which the VE-7000 can be operated
Operations on the VE-7000 will be valid when the display of the VM Console is in the following states.
When either [INPUT CH1-24], [MULTI IN CH1-24], or [FLEX BUS MASTER 1-12] is selected and the channel edit screen is displayed.
fig. chedit2
This unit is equipped with a protection circuit. [. . . ] Music Sound Light
155, New National Road 26422 Patras, GREECE TEL: 061-435400
PHILIPPINES G. A. Puyat Avenue Makati, Metro Manila 1200, PHILIPPINES TEL: (02) 899 9801
U. Eastern Avenue Los Angeles, CA 90040-2938, U. TEL: (323) 890 3700
MEXICO
Casa Veerkamp, s. a. [. . . ]
DISCLAIMER TO DOWNLOAD THE USER GUIDE ROLAND VE-7000 Lastmanuals offers a socially driven service of sharing, storing and searching manuals related to use of hardware and software : user guide, owner's manual, quick start guide, technical datasheets...manual ROLAND VE-7000


