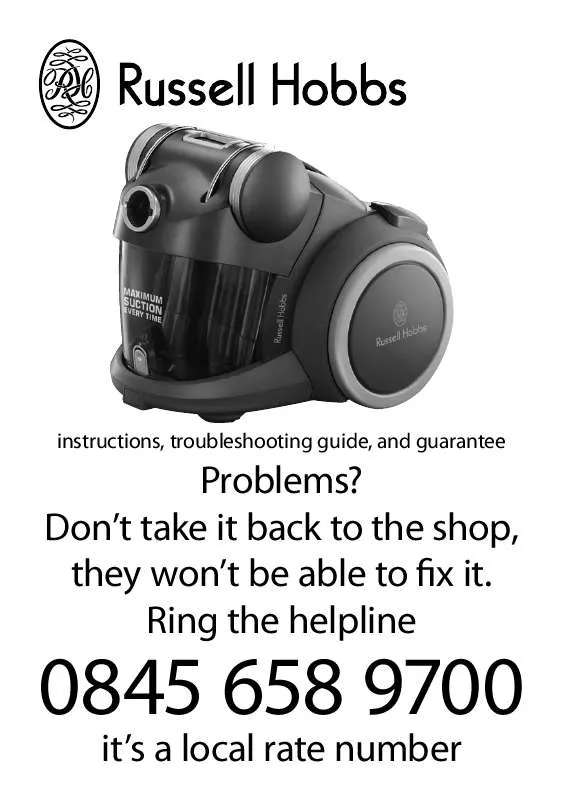
Detailed instructions for use are in the User's Guide.
[. . . ] 4 Keep hair, clothing, fingers (and toes), away from the end doing the sucking, and from the brush. It won't drag you into the bin, but it may give you a bit of a start. 5 Stuff you mustn't pick up: a) don't pick up any liquid you'll short the motor b) don't pick up stuff that may ignite spontaneously, like matches, bits of fire-lighter c) don't pick up anything burning or smouldering, like cigarette ends, ashes, or embers wait till they're extinguished and cold d) don't pick up spillage from toner cartridges the fine carbon particles may pass through the filter, short circuit the motor, and burn it out e) don't pick up cement or plaster dust they'll combine with moisture in the air, clog the filter, scour the bin, and maybe burn out the motor too f) don't pick up anything sharp you may puncture the filter and damage the motor g) don't pick up anything biological you'll eventually have to clean it off the filter, and there's always the possibility that viral particles may pass through the filter, reach the air outlet, and enter your air supply 6 If you use the cleaner outdoors (e. g. cleaning the car), connect it to the electricity supply via a residual current device (RCD), with a rated residual operating current not exceeding 30mA. [. . . ] 4
plug in caution If you've accidentally pressed the on/off switch 3, the cleaner will work when you
19 Press and release the on/off switch 3, to turn the cleaner on.
switching on cleaning
20 Move the tool over the surface, cleaning a small area at a time. 21 When you move to a new area, overlap the previous area, to make sure none of the surface is missed.
switching off
22 If you've finished, if you want to change tools, or if you just want to stop for a rest, press and release the on/off switch 3, to turn the cleaner off. 23 Press and release the on/off switch 3, to turn the cleaner off. 24 Unplug the cleaner (switch the socket off first, if it's switchable). 25 Stand clear of the cable, and press the C button the cable will rewind. 26 Keep clear of the cable, as it rewinds at a fair lick. If it catches on anything, stop pressing, and it'll stop rewinding. 27 We've tried not to make it too powerful, to avoid wrecking your home, so you may need to push the plug end into the storage area manually.
finished cleaning?
removing and emptying the bin
28 You don't have to empty the bin after each use, but it's a very good idea. Your cleaner will happily work till it's chock full, but you'll be wasting energy swirling yesterday's dust around. Energy that could be better used sucking up today's dust. 29 There's a "bin full light" on top of the cleaner, between the handle and the rear cover. 30 If it lights, the bin is full you should empty it right away. 31 Switch off, unplug, and leave it for a minute, to let the dust settle. 32 Turn the hose end anti-clockwise, and pull the hose out of the cleaner this'll keep the hose out of your way. 33 Hold the bin grip, press in the bin release button, and lift the bin up and out of the cleaner. 34 Lower the bin into your dustbin so the bottom of the bin is below the rim this'll prevent the dust dispersing into your environment. 35 Press the latch on the front of the bin, to open the bottom of the bin, and dump its contents into the dustbin. 36 Give the bin a couple of taps, to shake all the dirt loose. 37 Lift the bottom of the bin up to close it. 38 Lower the bin into the cleaner, then push it gently back, towards the rear of the cleaner, to lock it into place.
check the filters
39 While emptying the bin, check the filters. Blocked filters quickly reduce suction, and they're easy to clean.
precautions
40 Spread out some newspaper you're likely to make a mess. 41 Wearing rubber gloves is a good idea they'll protect your fingers from anything nasty that's reached the filters.
foam filter
42 This protects the main filter. [. . . ] 6 Use something blunt, like the blunt end of a ball-point pen to dislodge any blockage. 7 The plastic filter is the cleaner's first line of defence, so it's likely to be the first one to block up, if you're using the cleaner to pick up anything dodgy. 8 You can see the end of the plastic filter through the window on top of the bin. , You don't need to remove the bin to clear the plastic filter just pull it out, clear it, replace it. [. . . ]


