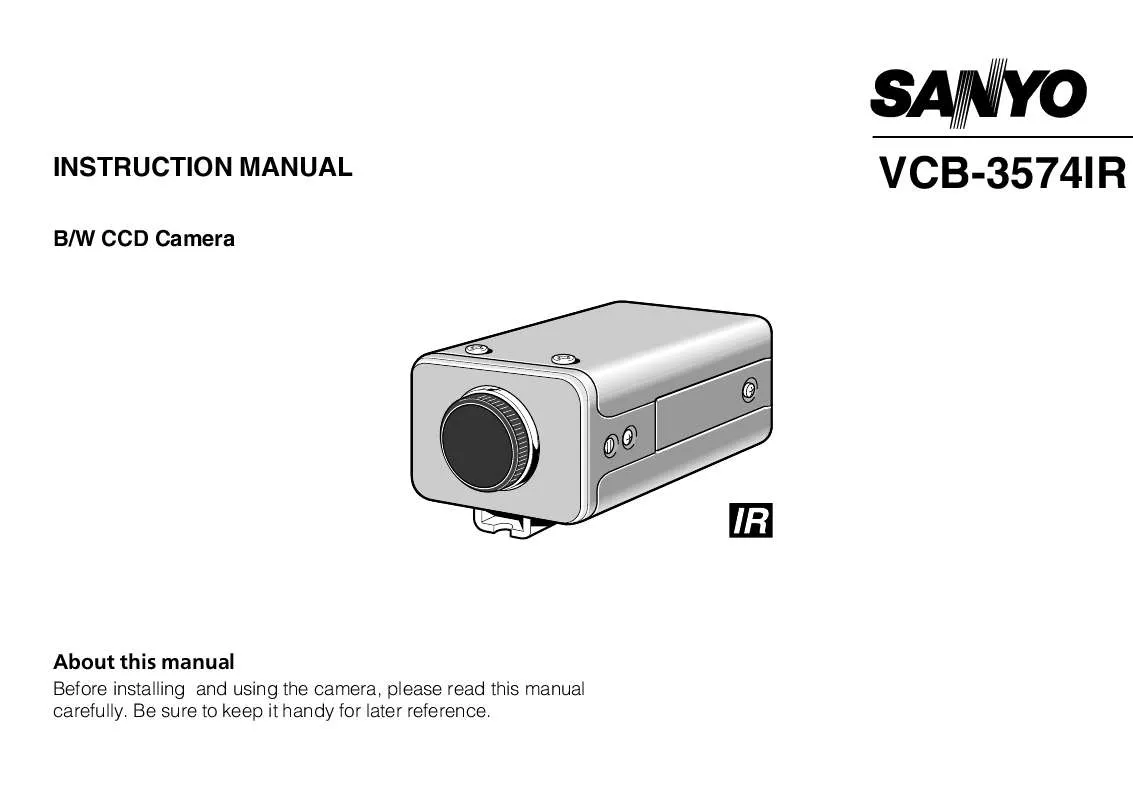
Detailed instructions for use are in the User's Guide.
[. . . ] This warranty shall not apply to the cabinet or cosmetic parts, antenna, knobs, batteries or image burns to projection or picture tubes caused by electronic devices or games. This warranty does not apply to uncrating, setup, installation, removal of the product for repair or reinstallation of the product after repair. This warranty does not apply to repairs or replacements necessitated by any cause beyond the control of SFC including, but not limited to, any malfunction, defect or failure caused by or resulting from unauthorized service or parts, improper maintenance, operation contrary to furnished instructions, shipping or transit accidents, modification or repair by the user, abuse, misuse, neglect, accident, incorrect power line voltage, fire, flood or other Acts of God, or normal wear and tear. The foregoing is in lieu of all other expressed warranties and SFC does not assume or authorize any party to assume for it any other obligation or liability. [. . . ] If used with a foreign object inside, it could cause a fire, short-circuits or damages. If water or a liquid gets inside the camera, disconnect the power cord immediately, and consult your dealer (or a Sanyo Authorized Service Centre). Be careful to protect the camera from rain, sea water, etc. Be careful when handling the unit To prevent damages, do not drop the camera or subject it to strong shock or vibration. Install away from electric or magnetic fields If installed close to a TV, radio transmitter, magnet, electric motor, transformer, audio speakers the magnetic field they generate will distort the image. Protect from humidity and dust To prevent damages to the camera, do not install it where there is greasy smoke or steam, where the dampness may get too high, or where there is a lot of dust. Protect from high temperatures Do not install close to stoves, or other heat generating devices, such as spotlights, etc. , or where it could be subject to direct sunlight, as that could cause deformation, discoloration or other damages. Be careful when installing close to the ceiling, in a kitchen or boiler room, as the temperature may raise to high levels. Install where the temperature range will stay between 10°C and 50°C. (no condensation) Cleaning
· Dirt can be removed from the cabinet by wiping it with a soft
cloth. To remove stains, wipe with a soft cloth moistened with a soft detergent solution and wrung dry, then wipe dry with dry soft cloth. · Do not use benzine, thinner or other chemical product on the cabinet, as that may cause deformation and paint peeling. Before using a chemical cloth, make sure to read all accompanying instructions. Make sure that no plastic or rubber material comes in contact with the cabinet for a long period of time, as that may cause damage or paint peeling.
English
3
PARTS NAMES
1 Video output connector (VIDEO OUT: BNC type)
Connect this connector to a device such as a VCR or monitor with a VIDEO IN connector.
1
4 3
2 Line phase adjustment volume (LINE PHASE)
When using two cameras or more, the image on the monitor may roll vertically when switching sources. This rolling can be minimized by turning this volume.
2
3 External sync composite video signal input connector
5
(VS IN: BNC type) Connect to this connector the synchronizing signal output from a synchronizing signal device or the composite signal of a video distributor.
4 Power indicator (POWER)
Comes on when the power to the camera is on.
5 24 V AC input terminal (24 V AC, GND)
6 7 1 A 2 4 3
Connect to 24 V AC UL listed class 2 power supply.
6 Camera setup section (under the cover)
These settings are for when using a 1/3 inch CS mount DC (without EE internal amplifier) type lens. However, if due to installation conditions or environment the settings may need to be modified for best results (see "SETTINGS"). To access the controls, loosen the cover fixing screw A, then remove the cover.
7 Lens iris output connector (LENS)
This 4-pin connector is used to send the DC control signal and power supply to an auto-iris type lens.
4 English
PARTS NAMES
8 Lens mount cap
The cap is installed to protect the lens mount section. Remove the lens mount cap before installing a lens (sold separately).
8 G
F 9
9 Flange-back adjustment screw (FLANGE BACK ADJ. ) F Flange-back lock screw (FLANGE BACK LOCK) G Camera installation bracket
1
2
32
The bracket can be fixed at the top or bottom of the camera. In such a case, remove the original plug and using a soldering iron, connect the supplied lens iris plug according to the diagram. (Refer to page 8. )
C mount type lens 2
3
3 2
CS mount type lens
English
7
MOUNTING THE LENS
Rewiring the lens cable in the lens iris plug
1
1 2
2
Prepare the lens cable. Cut the cable at the plug, then remove approx. 8 mm of the cable sheath and strip about 2 mm from each wire. [. . . ] B: When using a VIDEO type lens, the LEVEL volume (on the lens) should be adjusted.
· · · · ·
CAUTION:
If the vertical roll cannot be corrected by setting the LINE PHASE volume on camera 2, try setting the LINE PHASE volume on camera 1. If it still cannot be corrected, please check that the polarity of the power cords of all connected devices is correct.
· · · ·
The picture is not clear Is the monitor correctly adjusted?Is the flange-back position correctly set?If there is dust or finger prints on the lens, the image quality will deteriorate. [. . . ]


