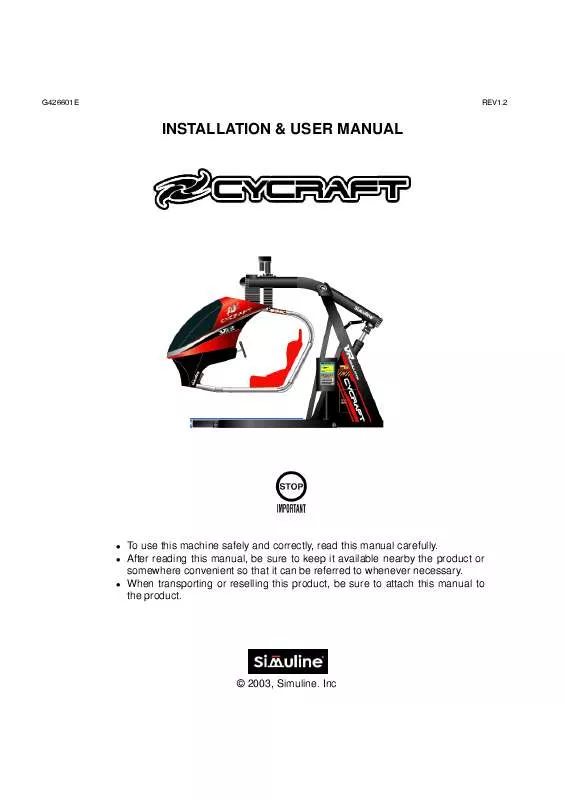
User manual SEGA CYCRAFT VER.1.2 2005
Lastmanuals offers a socially driven service of sharing, storing and searching manuals related to use of hardware and software : user guide, owner's manual, quick start guide, technical datasheets... DON'T FORGET : ALWAYS READ THE USER GUIDE BEFORE BUYING !!!
If this document matches the user guide, instructions manual or user manual, feature sets, schematics you are looking for, download it now. Lastmanuals provides you a fast and easy access to the user manual SEGA CYCRAFT. We hope that this SEGA CYCRAFT user guide will be useful to you.
Lastmanuals help download the user guide SEGA CYCRAFT.
Manual abstract: user guide SEGA CYCRAFTVER.1.2 2005
Detailed instructions for use are in the User's Guide.
[. . . ] G426601E
REV1. 2
INSTALLATION & USER MANUAL
To use this machine safely and correctly, read this manual carefully. After reading this manual, be sure to keep it available nearby the product or somewhere convenient so that it can be referred to whenever necessary. When transporting or reselling this product, be sure to attach this manual to the product.
© 2003, Simuline. Inc
BEFORE USING THIS PRODUCT Thank you for purchasing our arcade use simulator equipment "CYCRAFT" game machine. [. . . ] Carry out the Power-UP sequence according the procedure outlined in section 6. 2. Before you power-up Cycraft, make sure of the following: (a) The power cord is connected to the correct voltage outlet and the green main power LED is lighted. (b) The emergency power off switch and motion stop switch (behind the coin chute box) are released. To carry out
Make sure there are no personnel or objects under or in the area of the cabin before switching the power on. The power up sequence will move the cabin and personnel can be injured.
Make sure there are no passengers in the cabin when power is turned on. The extra weight of the passenger can cause a fault in the power ON sequence.
After successful power UP, it is possible that a beeping sound is heard and the red LED labeled "Safety Sensor" on the Operator Panel is lighted. This indicates that adjustments on the safety sensors (floor sensor and/or photo sensors) are needed. Even if the beeping sound is not made, read the following sections and verify that the sensors are in the best operating conditions.
Page 39
5. 11. 1 TESTING AND ALIGNING THE PHOTO SENSORS 1) Make sure that the Yellow LED on top of the photo sensor is lighted when there is no obstacle between the photo sensor and the reflective mirror. 2) Tap and slightly shake the photo sensor bar and the reflective mirror bar. does not cause the Yellow LED to instantaneously turn off. 3) Make sure that the Yellow LED turns off when an obstacle is placed between the sensor and reflective plate. 4) If any of the above tests fail, carry out the following to align the sensor and mirror: A. Remove the steel cover of the photo sensor and expose the sensor holding bracket and screws as shown below. Make sure that small vibrations and motion of the photo sensor and the reflective plate
Bolts For Photo sensor Position Adjustment
B. Loosen the screws as necessary to align the photo sensor correctly. the reflective plate alignment by loosening the setscrews shown below.
Adjust
C. Align the reflective mirror and the photo sensor correctly by observing the Yellow LED on top of the photo sensor. Carry out the tests described in steps 1), 2), and 3) above.
Page 40
5. 11. 2 TESTING AND ADJUSTING THE FLOOR PRESSURE SENSOR
NEVER go under the cabin to install or service the floor pressure sensor system when the main power is ON. Serious injury can result if the system malfunctions. If it is necessary to work under the cabin, turn the power off and support the cabin by a strong structure if it is necessary to raise it.
1) Verify that the two green floor sensor LED's on each side of the MSCU front side cover (see figure) is turned On when nothing is on top of the floor plates. green LED is OFF, the floor sensor system must be adjusted. 2) Verify that stepping on different parts of the floor sensor lightly turns the Green LED off. [. . . ] Open the MCU box and check the circuit board was visibly damaged.
3
During initialization, the simulator continuously jerks slightly and makes a ticking sound without initializing.
The actuators are encountering a load too large for initialization. Either there is someone or something heavy inside the cabin or something is obstructing the motion.
Press the E-Stop button and remove whoever, or whatever is in the cabin. If there is an obstruction, remove it.
4
There is no sound.
Speaker lines are disconnected or switched off or the volume is not set
Check that there are no loose connections or switched off behind the speaker.
Page 70
properly.
Rotate the volume knob on the rear of the right speaker.
5
The LCD screen on the SCU does not show any message after power up. Motion base does not initialize( when initializing, cabin moves slightly with jerks).
Motion Board boot-up failure.
Open the door on the rear of the SCU. [. . . ]
DISCLAIMER TO DOWNLOAD THE USER GUIDE SEGA CYCRAFT Lastmanuals offers a socially driven service of sharing, storing and searching manuals related to use of hardware and software : user guide, owner's manual, quick start guide, technical datasheets...manual SEGA CYCRAFT


