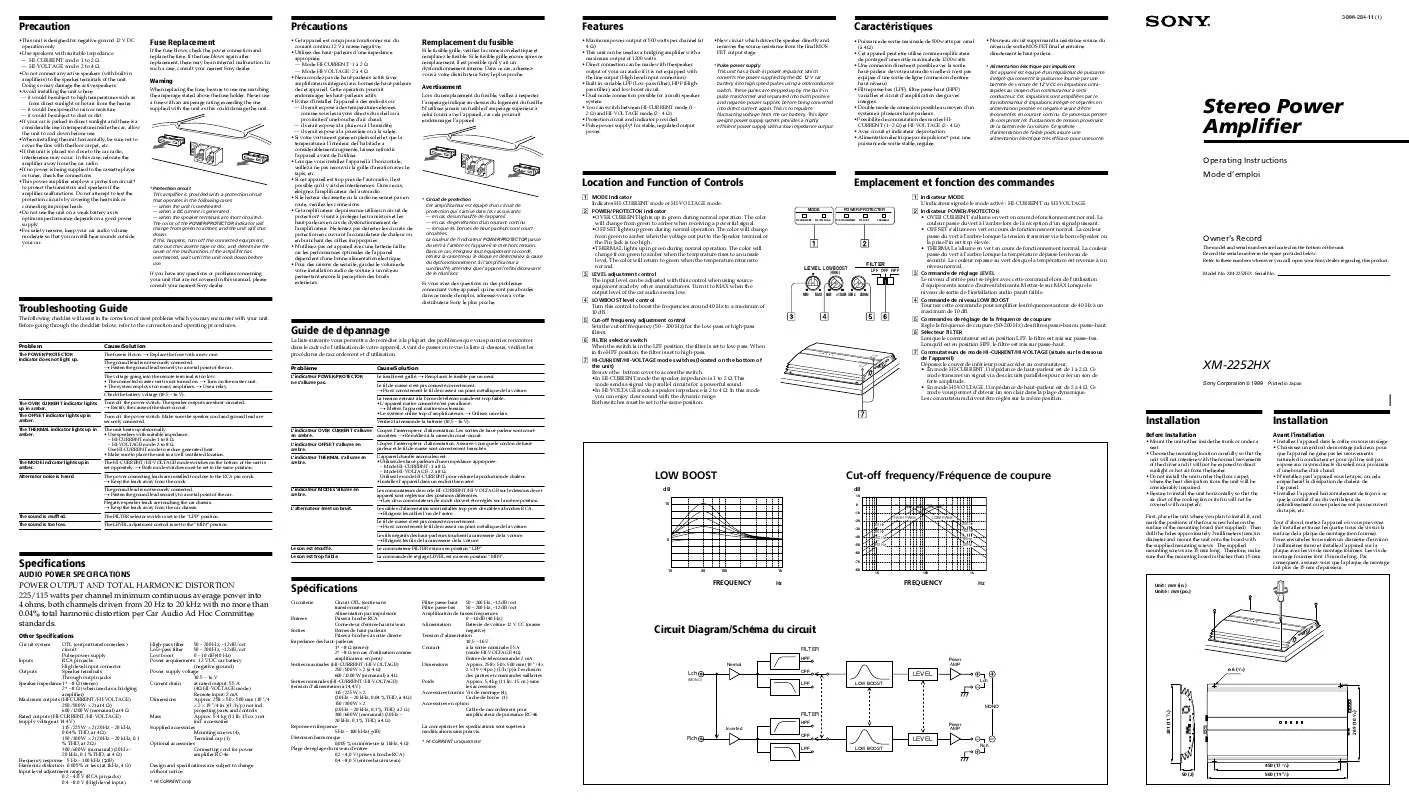
User manual SONY XM-2252HX
Lastmanuals offers a socially driven service of sharing, storing and searching manuals related to use of hardware and software : user guide, owner's manual, quick start guide, technical datasheets... DON'T FORGET : ALWAYS READ THE USER GUIDE BEFORE BUYING !!!
If this document matches the user guide, instructions manual or user manual, feature sets, schematics you are looking for, download it now. Lastmanuals provides you a fast and easy access to the user manual SONY XM-2252HX. We hope that this SONY XM-2252HX user guide will be useful to you.
Lastmanuals help download the user guide SONY XM-2252HX.
You may also download the following manuals related to this product:
Manual abstract: user guide SONY XM-2252HX
Detailed instructions for use are in the User's Guide.
[. . . ] 3-866-284-11 (1)
Precaution
· This unit is designed for negative ground 12 V DC operation only. · Use speakers with suitable impedance.
Précautions
Fuse Replacement
If the fuse blows, check the power connection and replace the fuse. If the fuse blows again after replacement, there may be an internal malfunction. In such a case, consult your nearest Sony dealer. [. . . ] This mode sends a signal via parallel circuits for a powerful sound ·In HI-VOLTAGE mode a speaker impedance is 2 to 4 . In this mode you can enjoy clear sound with the dynamic range. XM-2252HX Serial No.
XM-2252HX
Sony Corporation ©1999 Printed in Japan
Installation
Before Installation
· Mount the unit either inside the trunk or under a seat. · Choose the mounting location carefully so that the unit will not interfere with the normal movements of the driver and it will not be exposed to direct sunlight or hot air from the heater. · Do not install the unit under the floor carpet, where the heat dissipation from the unit will be considerably impaired. · Be sure to install the unit horizontally so that the air duct of the cooling fan or its fin will not be covered with carpet etc. First, place the unit where you plan to install it, and mark the positions of the four screw holes on the surface of the mounting board (not supplied). Then drill the holes approximately 3 millimeters (mm) in diameter and mount the unit onto the board with the supplied mounting screws. The supplied mounting screws are 15 mm long. Therefore, make sure that the mounting board is thicker than 15 mm.
Installation
Avant l'installation
· Installez l'appareil dans le coffre ou sous un siège. · Choisissez un endroit de montage judicieux pour que l'appareil ne gêne pas les mouvements naturels du conducteur et pour qu'il ne soit pas exposé aux rayons directs du soleil ou à proximité d'une bouche d'air chaud. · N'installez pas l'appareil sous le tapis, car cela empêcherait la dissipation de chaleur de l'appareil. · Installez l'appareil horizontalement de façon à ce que le conduit d'air du ventilateur de refroidissement ou ses pales ne soit pas recouvert du tapis, etc. Tout d'abord, mettez l'appareil où vous prévoyez de l'installer et tracez les quatre trous de vis sur la surface de la plaque de montage (non fournie). Forez ensuite les trous selon un diamètre d'environ 3 millimètres (mm) et installez l'appareil sur la plaque avec les vis de montage fournies. Les vis de montage fournies font 15 mm de long. Par conséquent, assurez-vous que la plaque de montage fait plus de 15 mm d'épaisseur.
L'indicateur OVER CURRENT s'allume Coupez l'interrupteur d'alimentation. Les sorties de haut-parleur sont courtcircuitées. t Remédiez à la cause du court-circuit. L'indicateur OFFSET s'allume en ambre. L'indicateur THERMAL s'allume en ambre. Coupez l'interrupteur d'alimentation. [. . . ] Remarque Si vous désirez utiliser un haut-parleur d'extrêmes graves comme haut-parleur monaural, raccordez le haut-parleur comme illustré ci-dessus. Les signaux de sortie vers le haut-parleur d'extrêmes graves seront une combinaison des signaux de sortie droit et gauche. For details on the settings of switches and controls, refer to "Location and Function of Controls. " Note In this system, the volume of the subwoofers will be controlled by the car audio fader control.
(Comme amplificateur monaural pour un haut-parleur d'extrêmes graves)
Left speaker Haut-parleur gauche Car audio Autoradio
Car audio Autoradio
Right speaker Haut-parleur droit
White Blanc
Notes on the power supply · Connect the +12 V power supply lead only after all the other leads have been connected. · Be sure to connect the ground lead of the unit securely to a metal point of the car. [. . . ]
DISCLAIMER TO DOWNLOAD THE USER GUIDE SONY XM-2252HX Lastmanuals offers a socially driven service of sharing, storing and searching manuals related to use of hardware and software : user guide, owner's manual, quick start guide, technical datasheets...manual SONY XM-2252HX


 SONY XM-2252HX annexe 4 (479 ko)
 SONY XM-2252HX annexe 3 (479 ko)
 SONY XM-2252HX annexe 2 (479 ko)
 SONY XM-2252HX annexe 1 (228 ko)
 SONY XM-2252HX DATASHEET (482 ko)
