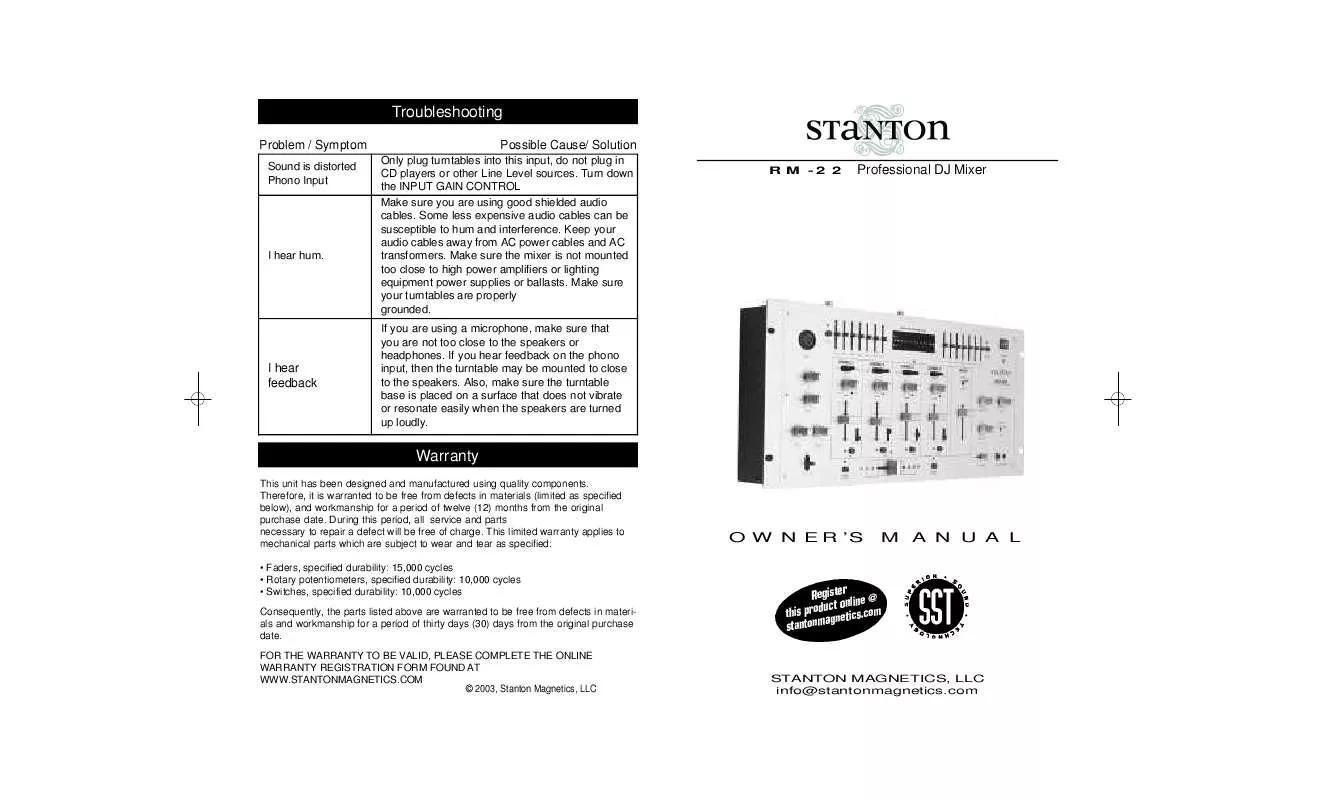
User manual STANTON RM-22
Lastmanuals offers a socially driven service of sharing, storing and searching manuals related to use of hardware and software : user guide, owner's manual, quick start guide, technical datasheets... DON'T FORGET : ALWAYS READ THE USER GUIDE BEFORE BUYING !!!
If this document matches the user guide, instructions manual or user manual, feature sets, schematics you are looking for, download it now. Lastmanuals provides you a fast and easy access to the user manual STANTON RM-22. We hope that this STANTON RM-22 user guide will be useful to you.
Lastmanuals help download the user guide STANTON RM-22.
Manual abstract: user guide STANTON RM-22
Detailed instructions for use are in the User's Guide.
[. . . ] During this period, all service and parts necessary to repair a defect will be free of charge. This limited warranty applies to mechanical parts which are subject to wear and tear as specified: · Faders, specified durability: 15, 000 cycles · Rotary potentiometers, specified durability: 10, 000 cycles · Switches, specified durability: 10, 000 cycles Consequently, the parts listed above are warranted to be free from defects in materials and workmanship for a period of thirty days (30) days from the original purchase date. FOR THE WARRANTY TO BE VALID, PLEASE COMPLETE THE ONLINE WARRANTY REGISTRATION FORM FOUND AT WWW. STANTONMAGNETICS. COM © 2003, Stanton Magnetics, LLC
OWNER'S M A N U A L
STANTON MAGNETICS, LLC info@stantonmagnetics. com
Please read carefully before use of this product
failure to follow the instructions printed below may void warranty Problem / Symptom · Follow all security advice printed on your mixer · When removing the unit's AC plug from the power source, grasp and pull the plug, NEVER the cord itself!· Avoid placing your mixer near heat sources, such as power amplifiers. [. . . ] And with Stanton's smooth fader movement and rock-solid reliability, it's the perfect mixer for mobile and club DJs alike. Please take a moment to familiarize yourself with the RM-22 by reading through this Owner's Manual. (And don't worry--we'll make it quick so you can start mixing!)
RM-22 Features
The RM-22 is an extremely versatile mixer with enough inputs to accommodate many DJ setups including multiple turntables, CD players and microphones. Below we list some of the RM-22's most salient features (in case you forgot already!): · 19" rackmountable DJ mixer with connections for multiple turntables, CD players and microphones · 4-channel design with assignable crossfader for mixing a variety of sources · Individual gain control per channel with clip LED for setting optimum levels · Easy monitoring via PFL switches and headphone mix with Split Cue and Cue Pan functions. · Fader Start buttons for controlling compatible CD players like Stanton S-Series · Dual 7-band Master EQ for tweaking mixes to suit different venues · Mic inputs 1 and 2 feature 2-band EQ and handy Talkover function · Individual outputs and level control for Master, Zone and Booth
Making Connections
Are you ready to get on the 1's and 2's?Let's make sure you've made all the right connections. . .
Application Example
This is a typical setup you'll find in many nightclubs: 2 turntables, 2 CD players, plus a microphone for the DJ. Here's how you would set up your equipment with the RM-22: 1. Be sure all equipment is powered "OFF" and all of the RM-22's Channel faders and Level knobs are at minimum volume. Connect the turntables to the Phono inputs of Channels 1 and 2. Be sure the rear-panel toggle switch for Channel 2 is set to "PH2" or you won't hear anything. To avoid hum, don't forget to connect the ground wires to the grounding terminals. Connect the CD players to the Line 4 and 5 inputs of Channels 3 and 4. Depending on the type of cable you have, connect your microphone to the Mic 1 or Mic 2 input. Connect the Master Output jacks to the club's power amp, EQ or crossover. Then connect your monitor amp to the Booth output. If you have a separate amp for a particular area of the club, connect this amp to the Zone outputs. Set the Input Selectors on the front panel to the appropriate inputs for each channel. Power everything up and carefully adjust the input levels using the Input Gain knobs and Mic Level knob. If you want to use the crossfader, set Channels 1 and 3 to "A" and Channels 2 and 4 to "B". Otherwise, set them all to "Bypass". If your CD players support Fader Start, connect the mini-cables and set the Fader Start switches to "ON". Slowly raise the Channel faders, Master fader, Booth level, Zone level and Mic level as appropriate and start mixing!
Mic 2 Here you can connect a microphone using a 1/4-inch cable. [. . . ] Ground Terminals Connect the grounding cables from your turntables here to avoid hum.
SUPERIOR SOUND TECHNOLOGY
The audio quality of the SMX-301 is nothing short of revolutionary for DJ mixers in it's price class. The SMX-301 was designed by Stanton's new product development team, seasoned audio professionals who have designed world class professional recording studio and broadcast mixers and product managers who are working DJs and work closely with some of the world's most respected DJs. They have taken their knowledge and experience to create the SMX-301, a DJ mixer with superior audio quality and unprecedented value. Come hear the difference!
Description of Function
At this point, you're pretty much ready to start mixing. [. . . ]
DISCLAIMER TO DOWNLOAD THE USER GUIDE STANTON RM-22 Lastmanuals offers a socially driven service of sharing, storing and searching manuals related to use of hardware and software : user guide, owner's manual, quick start guide, technical datasheets...manual STANTON RM-22


