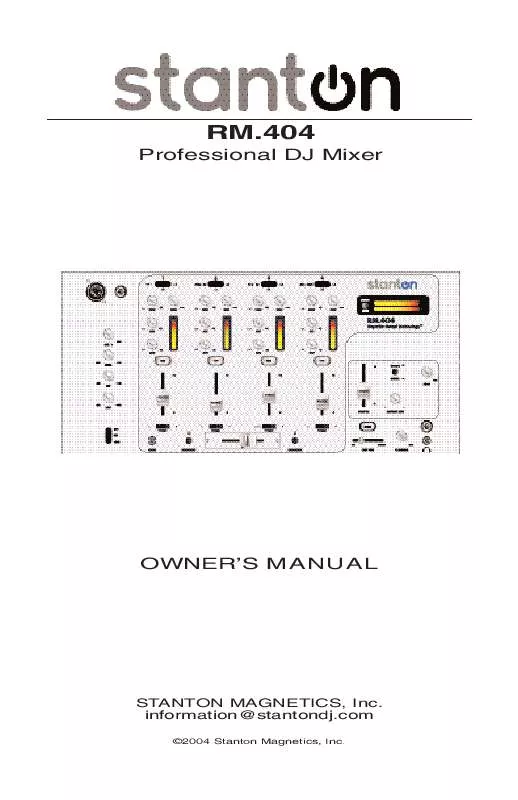
User manual STANTON RM.404
Lastmanuals offers a socially driven service of sharing, storing and searching manuals related to use of hardware and software : user guide, owner's manual, quick start guide, technical datasheets... DON'T FORGET : ALWAYS READ THE USER GUIDE BEFORE BUYING !!!
If this document matches the user guide, instructions manual or user manual, feature sets, schematics you are looking for, download it now. Lastmanuals provides you a fast and easy access to the user manual STANTON RM.404. We hope that this STANTON RM.404 user guide will be useful to you.
Lastmanuals help download the user guide STANTON RM.404.
Manual abstract: user guide STANTON RM.404
Detailed instructions for use are in the User's Guide.
[. . . ] RM. 404
Professional DJ Mixer
OWNER'S MANUAL
STANTON MAGNETICS, Inc. information@stantondj. com
©2004 Stanton Magnetics, Inc.
Please read carefully before use of this product
Failure to follow the instructions printed below may void warranty · Follow all security advice printed on your mixer · When removing the unit's AC plug from the power source, grasp and pull the plug, NEVER the cord itself!· Avoid placing your mixer near heat sources, such as power amplifiers. · When in use, place your mixer on a stable surface, away from vibration. [. . . ] Channel Gain: Controls the input level (GAIN) of the corresponding channel. Gain levels will differ between various types of devices (such as turntables or CD players) or different types of media. The Channel Gain allows DJs to compensate for these differences in order to maintain consistent sound levels between different pieces of music, as well as consistency between the different mixer channels. Be aware that turning
RM. 404 Top Panel (FUNCTIONS)
Section G: Channel Controls (continued)
this setting too high may result in a loss of sound quality (distortion. ) [Note: For best results set this control in the number 7 (2 O'Clock) position for unity gain. If further adjustment is needed, this is a good reference point. ] 26. Channel EQ (MID) : Controls Mid frequency equalization of corresponding channel (+9/-26 dB. ) [Note: Any changes made to EQ settings will affect the overall output level of this channel. ] 27. Channel Input Meter: Displays the input level of this channel. The input level is determined by the Channel Gain controls (see #25. ) Red indicates clipping. Channel EQ (LOW) : Controls Low frequency equalization of corresponding channel (+9/-26 dB. ) [Note: Any changes made to EQ settings will affect the overall output level of this channel. ] 29. Cue (assign) : Selects the channel to be monitored via headphone Cue (Section C. ) 30. Channel Fader (Line Fader) : Controls the output level of the corresponding channel. This control is Post-EQ and when NOT using Crossfader Assign (#31 = bypass) the signal is sent directly to the Master Output. Crossfader Assign (A-B- BYPASS) : Controls where the audio signal for this channel will be sent; either to the Crossfader (#13) or to Master Output (#3. ) When set to A, this channel will be assigned to the left side of the Crossfader. When set to B, this channel will be assigned to the right side of the Crossfader. When set to BYPASS, the Crossfader will be bypassed altogether and the audio is sent straight from the Line Fader (#30) to the Master Output (Section B. ) [Note: This allows the DJ to mix with or without using the Crossfader].
RM. 404 Rear Panel (FUNCTIONS)
Section Section Section Section Section Section Section Section
H: I: J: K: L: M: N: O:
Power Master Output Zone Output RCA Outputs Channel 4 Inputs Channel 3 Inputs Channel 2 Inputs Channel 1 Inputs
Section H: Power
H. Power Switch & Connection: This is the ON/OFF power switch for the entire mixer. Only use the supplied adaptor (18v AC 1A) or one authorized by a Stanton dealer or our service department (make sure the AC cable is properly secured by the screw connection. ) In order to protect the RM. 404 and any equipment connected to it, make sure the unit is off before connecting the power or making any other connections. In addition, make sure all volumes are turned all the way down prior to following the proper power on/off sequence. When turning on your system, turn the RM. 404 on first, followed by the rest of your equipment. Phono inputs are used to connect only to turntables. Mic inputs connect directly to microphones. To prevent potential circuit damage, never connect line level source to phono inputs.
Section M: Channel 3 Inputs
M. [. . . ] Some less expensive audio cables can be susceptible to hum and interference. Keep your audio cables away from AC power cables and AC transformers. Make sure the mixer is not mounted too close to high power amplifiers or lighting equipment power supplies or ballasts. Make sure your turntables are properly grounded.
I hear hum.
I hear feedback
If you are using a microphone, make sure that you are not too close to the speakers or headphones. [. . . ]
DISCLAIMER TO DOWNLOAD THE USER GUIDE STANTON RM.404 Lastmanuals offers a socially driven service of sharing, storing and searching manuals related to use of hardware and software : user guide, owner's manual, quick start guide, technical datasheets...manual STANTON RM.404


