User manual TP-LINK TD-8841TB
Lastmanuals offers a socially driven service of sharing, storing and searching manuals related to use of hardware and software : user guide, owner's manual, quick start guide, technical datasheets... DON'T FORGET : ALWAYS READ THE USER GUIDE BEFORE BUYING !!!
If this document matches the user guide, instructions manual or user manual, feature sets, schematics you are looking for, download it now. Lastmanuals provides you a fast and easy access to the user manual TP-LINK TD-8841TB. We hope that this TP-LINK TD-8841TB user guide will be useful to you.
Lastmanuals help download the user guide TP-LINK TD-8841TB.
Manual abstract: user guide TP-LINK TD-8841TB
Detailed instructions for use are in the User's Guide.
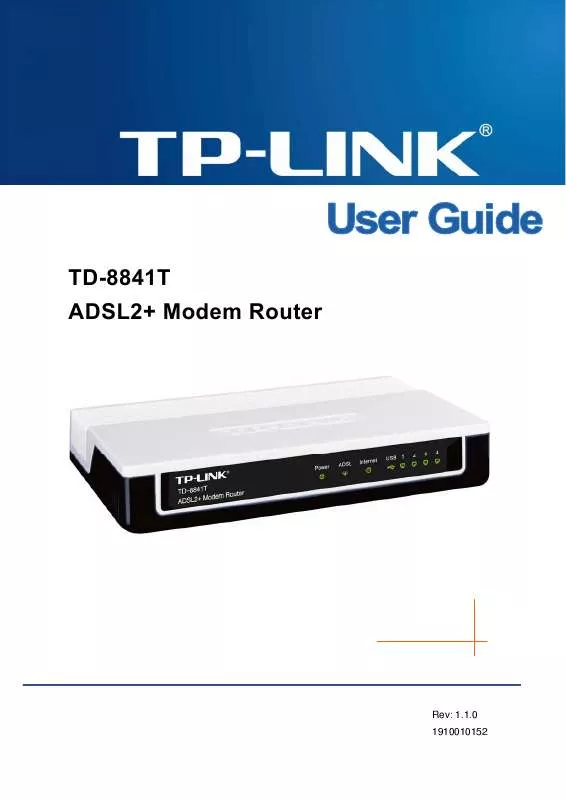
[. . . ] TD-8841T ADSL2+ Modem Router
Rev: 1. 1. 0 1910010152
COPYRIGHT & TRADEMARKS
Specifications are subject to change without notice. registered trademarks of their respective holders. No part of the specifications may be reproduced in any form or by any means or used to make any derivative such as translation, transformation, or adaptation without permission from TP-LINK TECHNOLOGIES CO. , LTD. Copyright © 2009 TP-LINK TECHNOLOGIES CO. , LTD. [. . . ] Current Pool Summary: Click the button, you can view the IP addresses that the DHCP Server gives out.
Note: If Use Auto Discovered DNS Server Only is selected in DNS Relay, this router will accept the first received DNS assignment from one of the PPPoA, PPPoE or MER/DHCP enabled PVC(s) during the connection establishment. If Use User Discovered DNS Server Only is selected in DNS Relay, it is necessary for you to enter the primary and optional secondary DNS server IP addresses. After type in the address, click SAVE button to save it and invoke it. DHCP Relay: Select Relay, then you will see the next screen (shown in Figure 4-11), the Router will work as a DHCP Relay. A DHCP relay is a computer that forwards DHCP data between computers that request IP addresses and the DHCP server that assigns the addresses. Each of the device's interfaces can be configured as a DHCP relay. If it is enabled, the DHCP requests from local PCs will forward to the DHCP server runs on WAN side. To have this function working properly, please run on router mode only, disable the DHCP server on the LAN port, and make sure the routing table has the correct routing entry.
Figure 4-11 · DHCP Server IP for Relay Agent: Enter the DHCP server IP Address runs on WAN side. Note: If you select Disabled, the DHCP function will not take effect.
25
TD-8841T
ADSL2+ Modem Router User Guide
4. 4
Advanced Setup
Choose "Advanced Setup", you can see the next submenus:
Figure 4-12 Click any of them, and you will be able to configure the corresponding function.
4. 4. 1 Routing
Choose "Advanced SetupRouting" menu, and you will see the routing information in the next screen (shown in Figure 4-13).
Figure 4-13 Click ADD ROUTE button to add a new route in the next screen (shown in Figure 4-14).
Figure 4-14 Destination IP Address: This parameter specifies the IP network address of the final destination. IP Subnet Mask: Enter the subnet mask for this destination. Gateway IP Address: Enter the IP address of the gateway. The gateway is an immediate neighbor of your ADSL Router that will forward the packet to the destination. On the LAN, the gateway must be a router on the same segment as your Router; over Internet (WAN), the gateway must be the IP address of one of the remote nodes. 26
TD-8841T
ADSL2+ Modem Router User Guide
Metric: Metric represents the "cost" of transmission for routing purposes. IP Routing uses hop count as the measurement of cost, with a minimum of 1 for directly connected networks. Enter a number that approximates the cost for this link. The number need not to be precise, but it must between 1 and 15. In practice, 2 or 3 is usually a good number. Announced in RIP: This parameter determines if the ADSL router will include the route to this remote node in its RIP broadcasts. If set to Yes, the route to this remote node will be propagated to other hosts through RIP broadcasts. If No, this route is kept private and is not included in RIP broadcasts.
4. 4. 2 NAT
Choose "Advanced SetupNAT" menu, you can setup the NAT (Network Address Translation) function for the Router (shown in Figure 4-15).
Figure 4-15 Virtual Circuit: Enter Virtual Circuit Index that you plan to setup for the NAT function. NAT Status: This field shows the current status of the NAT function for the current VC. [. . . ] Interval: Enter the interval time here.
4. 6
Maintenance
Choose "Maintenance", you can see the next submenus:
Figure 4-36 Click any of them, and you will be able to configure the corresponding function.
4. 6. 1 Administration
Choose "MaintenanceAdministration", you can set new password for admin in the screen (shown in Figure 4-37). 46
TD-8841T
ADSL2+ Modem Router User Guide
Figure 4-37 Note: 1) 2) There is only one account that can access Web-Management interface. The default account is "admin", and the password is "admin". When you change the password, you should enter the new password twice, and then click SAVE to make the new password take effect.
4. 6. 2 Time Zone
Choose "MaintenanceTime Zone", you can configure the system time in the screen (shown in Figure 4-37). [. . . ]
DISCLAIMER TO DOWNLOAD THE USER GUIDE TP-LINK TD-8841TB Lastmanuals offers a socially driven service of sharing, storing and searching manuals related to use of hardware and software : user guide, owner's manual, quick start guide, technical datasheets...manual TP-LINK TD-8841TB


