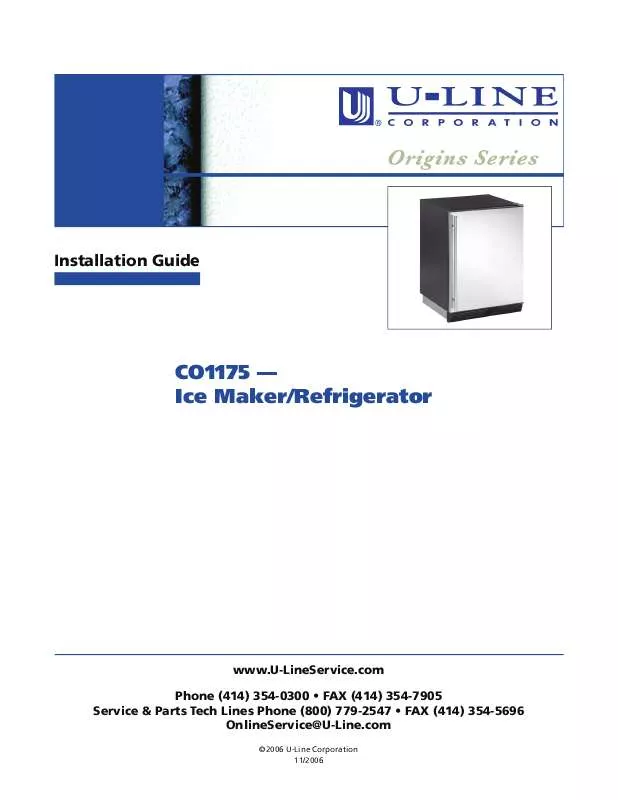
User manual ULINE ORIGINS CO1175 INSTALL GUIDE
Lastmanuals offers a socially driven service of sharing, storing and searching manuals related to use of hardware and software : user guide, owner's manual, quick start guide, technical datasheets... DON'T FORGET : ALWAYS READ THE USER GUIDE BEFORE BUYING !!!
If this document matches the user guide, instructions manual or user manual, feature sets, schematics you are looking for, download it now. Lastmanuals provides you a fast and easy access to the user manual ULINE ORIGINS CO1175. We hope that this ULINE ORIGINS CO1175 user guide will be useful to you.
Lastmanuals help download the user guide ULINE ORIGINS CO1175.
Manual abstract: user guide ULINE ORIGINS CO1175INSTALL GUIDE
Detailed instructions for use are in the User's Guide.
[. . . ] Installation Guide
CO1175 -- Ice Maker/Refrigerator
www. U-LineService. com Phone (414) 354-0300 · FAX (414) 354-7905 Service & Parts Tech Lines Phone (800) 779-2547 · FAX (414) 354-5696 OnlineService@U-Line. com
©2006 U-Line Corporation 11/2006
CO1175 -- Ice Maker/Refrigerator
Contents
Exterior Cleaning . Side-By-Side Installation Instructions . Custom 1/4'' Thick Door Panel Insert . 4 4 5 5 6 6 7 8 9 9 9 10 11 11 11 11 12 12 12 13 13
1 Follow Safety Precautions
IMPORTANT
PLEASE READ all instructions completely before attempting to install or operate the unit. [. . . ] For more information see Page 9.
Side-By-Side Installation Instructions
For a complete refreshment center, install two of the following 1175 series units side by side: CO1175, 1175R Refrigerator or 1175WC Wine Captain®. Note that each Side-By-Side Installation will be different. · Cut-out width for a side-by-side installation is the total of the widths listed under Cut-Out Dimensions in each unit's Installation Guide. For example: Placing a CO1175 next to another 1175 series unit would require a cut-out width of: 24-3/16" + 24-3/16" = 48-3/8" · No trim kit is required. However, 1/4-inch space needs to be maintained between the units to ensure unobstructed door swing. · Units must operate from separate, properly grounded electrical receptacles placed according to each unit's Electrical Specifications.
Typical Side-By-Side Cut-Out
Environmental Requirements
The surrounding air temperature must be at least 50°F (10°C) but must not exceed 110°F (40°C). Units may be installed outdoors in a covered area. The unit must not be located near heat-generating equipment or in direct sunlight.
24" 34-1/4" to 35-1/8"
7" 4" 1/4" Space Between Appliances
Figure 11
11/2006
7
www. U-LineService. com
CO1175 -- Ice Maker/Refrigerator
4 Prepare and Install Door Panel
Units will accept a Custom 1/4" Thick Insert to harmonize with or accent the surrounding decor. If this treatment is not included in this installation, go on to 5 Adjust Door.
Custom 1/4'' Thick Door Panel Insert
Door Panel Preparation
A custom door panel can be inserted into the doorframe. Failure to follow recommendations and instructions may result in damage and/or harm.
Checking Door Alignment
The unit's door is aligned at the factory before shipment. However, its alignment could have been disturbed during shipment or during door panel installation.
IMPORTANT
Properly aligned, the door's gasket should be firmly in contact with the cabinet all the way around the door (no gaps). Carefully examine the door's gasket to assure that it is firmly in contact with the cabinet. Note: When inspecting door alignment, make sure the light switch bracket makes contact with the light switch plunger. Also make sure the door gasket is not pinched on the hinge side of the door. If the door is properly aligned, go on to 6 Prepare Plumbing. If it is not, use the following procedure.
WARNING
To prevent accidental electrocution, make certain that the floor surfaces surrounding the unit are dry whenever power is removed from, or applied to, the unit.
Water Supply Connection
When connecting the water supply, follow these guidelines: · Review the local plumbing codes before you install the unit. · Connect to the cold water supply. · The water pressure should be between 20 and 120 psi. · Install a shutoff valve in the 1/4 inch OD water supply line. · Connect sufficient tubing to the unit so that tubing may be looped, allowing the unit to be removed for cleaning and servicing (see Figure 18). However, make certain that the tubing is not pinched or damaged during installation. · U-Line recommends the use of copper tubing for installation. [. . . ] No other adjustments should be necessary at this time. For information about Adjusting the Temperature Control, see the User Manual. As soon as the ice maker mold reaches the proper temperature, the ice maker mechanism will fill the mold with water. Note: The first cubes may be small because of air in the water line. [. . . ]
DISCLAIMER TO DOWNLOAD THE USER GUIDE ULINE ORIGINS CO1175 Lastmanuals offers a socially driven service of sharing, storing and searching manuals related to use of hardware and software : user guide, owner's manual, quick start guide, technical datasheets...manual ULINE ORIGINS CO1175


