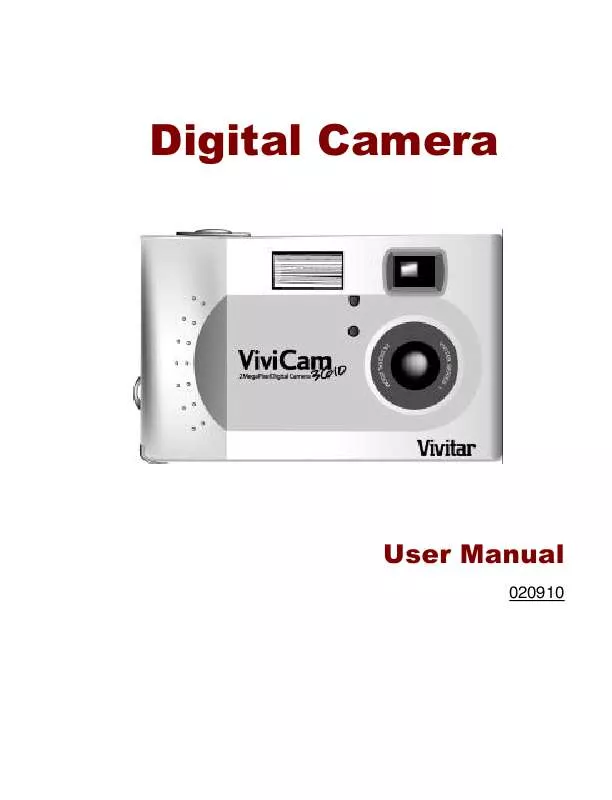
User manual VIVITAR VIVICAM 3610
Lastmanuals offers a socially driven service of sharing, storing and searching manuals related to use of hardware and software : user guide, owner's manual, quick start guide, technical datasheets... DON'T FORGET : ALWAYS READ THE USER GUIDE BEFORE BUYING !!!
If this document matches the user guide, instructions manual or user manual, feature sets, schematics you are looking for, download it now. Lastmanuals provides you a fast and easy access to the user manual VIVITAR VIVICAM 3610. We hope that this VIVITAR VIVICAM 3610 user guide will be useful to you.
Lastmanuals help download the user guide VIVITAR VIVICAM 3610.
Manual abstract: user guide VIVITAR VIVICAM 3610
Detailed instructions for use are in the User's Guide.
[. . . ] Digital Camera
User Manual
020910
About this manual
Preface
This manual is designed to make using the Digital Camera as easy as possible. Information in this document has been carefully checked for accuracy; however, no guarantee is given to the correctness of the contents. The information in this document is subject to change without notice.
Copyright
© Copyright 2002 This document contains proprietary information protected by copyright. All rights are reserved.
Trademarks
All trademarks and registered trademarks are the property of their respective owners. [. . . ] After you take a picture you can see what it looks like and retake it if dissatisfied.
Switch to Playback Mode
To view the pictures that you have stored in internal memory or on the SmartMediaTM Card, rotate the Mode and turn the camera on. Dial to Playback Mode
If the LCD is not turned on, press the Display Key turn it on. You can cycle through these modes by repeatedly pressing the Display Key.
to
Full-Screen Review
The default Playback mode is to show the pictures in fullscreen. In this mode you can press the Up Key 22 and
Down Key to cycle through the pictures in the camera's memory. You can also use the zoom keys to zoom in to see more detail on a particular picture. The default zoom setting is "x1"; Press "Zoom In" to increase zoom through the following zoom ratios: x1. 0, x1. 2, x1. 4, x1. 6, x1. 8, x2. 0. Press the "Zoom Out" to decrease zoom ratio (from x2. 0 down to x1).
Thumbnail Review
key when the zoom ratio is If you press the Zoom Out at x1 (default), you will enter the Thumbnail Review mode. In Thumbnail Review mode, four pictures will be shown on the LCD at the same time. You can use the Up Key and Down Key to scroll through the pictures. You will probably find this is a much faster way to find a particular photo. To return to full-screen review mode, select the photo you want to view and press either the Shutter Button or the Zoom Out button. The selected picture will then be shown expanded to fill the entire LCD.
23
Digital Camera User's Manual
Chapter 4 - Connecting to a Computer
The digital camera stores pictures as digital data rather than using film. Instead of making a trip to a developer and getting negatives, you can simply copy your pictures to a computer for long-term storage. Once transferred to your computer, your pictures can be viewed, printed, sent to your friends and family via email, or saved to any removable media (such as floppy disk or CD-ROM) for delivery to a photofinisher. After transferring pictures to your computer, any copies stored on the memory card or on the camera's internal memory can be deleted to make way for new pictures, which you can then add to the growing digital photo album on your computer. This chapter explains how to connect your digital camera to a computer for either downloading pictures to the PC or using as a PC Camera.
Do not connect the camera to your computer before installing the software. Please make sure you install the software from the CD-ROM prior to connecting the camera to your computer.
24
Installing Software
Follow these instructions to install the digital camera drivers and software on your system.
Pease also have your Windows CD-ROM ready beforehand, as you may be prompted to insert it during the installation process. Step 1: TWAIN Driver / Utility Installation 1. At this point, do not connect the camera to your PC. Insert the installation software CD into your CD-ROM drive. The installation program should start automatically. If not, double click the My Computer icon on your desktop, double click on your CD-ROM drive, and double click the 'setup. exe' icon in the root directory of the installation CD-ROM. [. . . ] Disconnect the camera to take more pictures. Ensure that the flash is set to auto or always on. If the batteries are too weak, the flash will be unable to recharge. Turn the camera off and wait a few seconds before turning it back on. [. . . ]
DISCLAIMER TO DOWNLOAD THE USER GUIDE VIVITAR VIVICAM 3610 Lastmanuals offers a socially driven service of sharing, storing and searching manuals related to use of hardware and software : user guide, owner's manual, quick start guide, technical datasheets...manual VIVITAR VIVICAM 3610


