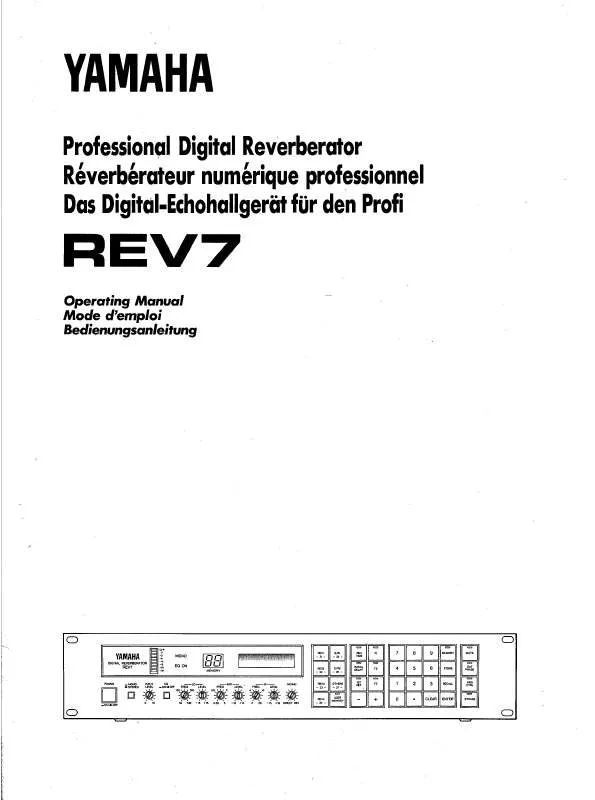
User manual YAMAHA REV7
Lastmanuals offers a socially driven service of sharing, storing and searching manuals related to use of hardware and software : user guide, owner's manual, quick start guide, technical datasheets... DON'T FORGET : ALWAYS READ THE USER GUIDE BEFORE BUYING !!!
If this document matches the user guide, instructions manual or user manual, feature sets, schematics you are looking for, download it now. Lastmanuals provides you a fast and easy access to the user manual YAMAHA REV7. We hope that this YAMAHA REV7 user guide will be useful to you.
Lastmanuals help download the user guide YAMAHA REV7.
Manual abstract: user guide YAMAHA REV7
Detailed instructions for use are in the User's Guide.
[. . . ] · The company names and product names in this Owner's Manual are the trademarks or registered trademarks of their respective companies.
© 2003 Yamaha Corporation. All rights reserved.
1
Installing REV-X
See the Add-On Effects Installation Guide for more information on installing REV-X.
Using REV-X
As with other effects, you can recall and edit the REV-X programs on the console or Studio Manager. The basic operation is as follows:
1 2 3 4 5 6 7
Select one of the internal effects processors. Patch the signal to and from the currently selected effects processor. [. . . ] Select REV-X Hall, REV-X Room or REV-X Plate. (See the "Part Names and Functions" section for more information on REV-X parameters. )
The procedure for recalling and editing REV-X varies depending on the console you are using. Refer to the Owner's Manual that came with your console for more information.
Editing Parameters in Studio Manager
In Studio Manager, editable parameters appear in both the REV-X window and the Generic Editor window. Basically, the REV-X window enables you to edit REV-X specific parameters, and the Generic Editor window enables you to edit parameters common to the REV-X and other Effects. Refer to the Studio Manager Owner's Manual for your console for more information regarding the Generic Editor window.
Studio Manager Generic Editor Window
2
Part Names and Functions
1 9
3 4 5 6 7 8 9 ) !@
2
8
) # $ $ $ %
!
7
@
4 5 º
3 6 ¡
^ & *(
Studio Manager REV-X Window
1 º
¡ 3 7 8 4 6 9 ) 5 !@
Console screen (This is a DM2000 screen. )
3
In the following section: Functions marked with Studio Manager are available in Studio Manager. Functions marked with Console are available on the console.
1
1
1 EFFECT NAME
Studio Manager
Console
The effects name appears here.
2 3 4 5 6 7 3 7 8 4 6 9 ) 5 !@
2 [OPEN/CLOSE]
Studio Manager
Click here to open or close the parameter window.
3 [Reverb Time]/[REV TIME]
Studio Manager
Console
Duration of time until the reverberation attenuates and stops. This filter does not affect the original source sound. In Studio Manager, drag the icon to change the value.
n The range is 1. 00kHz to Thru.
) [Hi Ratio]/[HI. RATIO]
Studio Manager
Console
Length of reverberation in the high frequency range. The reverberation duration of the high frequency range is expressed as a ratio relative to Reverb Time. In Studio Manager, drag the icon to change the value.
n The range is from 0. 1 through 1. 0.
![Lo Ratio]/[LO. RATIO]
Studio Manager
Console
Length of reverberation in the low frequency range. The reverberation duration of the low frequency range is expressed as a ratio relative to Reverb Time. In Studio Manager, drag the icon to change the value.
n The range is from 0. 1 through 1. 4.
5
2 3 4 5 6 7 3 7 8 4 6 9 ) 5 !@
@ [Low Freq]/[LO. FREQ. ]
Studio Manager
Console
Frequency value that serves as the basis for the Lo Ratio value. The frequency band below this value is affected by the Lo Ratio parameter setting. [. . . ] The frequency band below this value is affected by the Lo Ratio parameter setting. In Studio Manager, drag the icon to change the value.
n The range is from 22. 0Hz through 18. 0kHz.
) 8 # $ $ $ %
!
7
@
# Filter Frequency Response Curve
Studio Manager
The curve changes depending on the HPF and LPF values.
$ Reverberation images
Studio Manager
These images represent the high-range (10kHz), mid-range (1kHz), and low-range (100Hz) reverberation. These images change shape depending on the parameter values. The vertical axis represents the level; the horizontal axis represents reverb time; the shape represents the envelope.
% Reverb time curve
Studio Manager
This curve represents the high-range (10kHz), mid-range (1kHz), and low-range (100Hz) reverb time. [. . . ]
DISCLAIMER TO DOWNLOAD THE USER GUIDE YAMAHA REV7 Lastmanuals offers a socially driven service of sharing, storing and searching manuals related to use of hardware and software : user guide, owner's manual, quick start guide, technical datasheets...manual YAMAHA REV7


