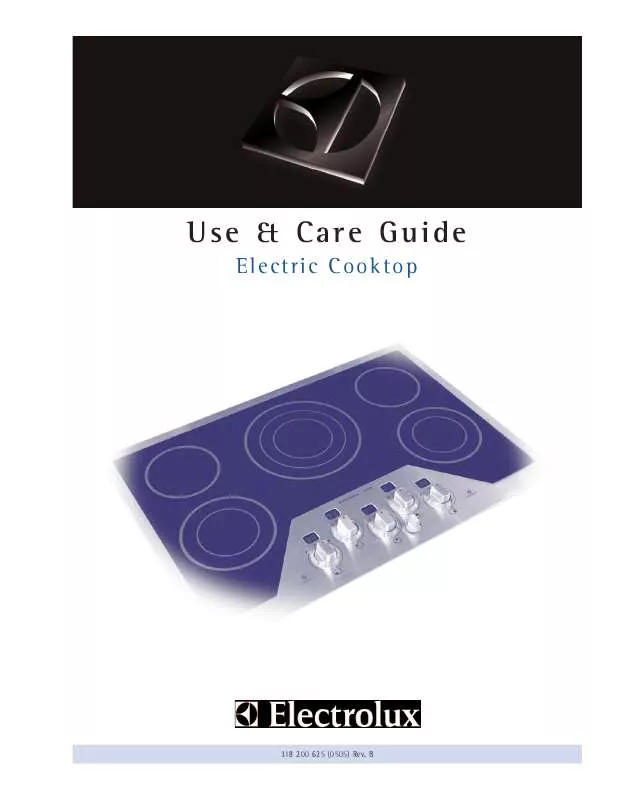
User manual AEG-ELECTROLUX E36EC65ESS
Lastmanuals offers a socially driven service of sharing, storing and searching manuals related to use of hardware and software : user guide, owner's manual, quick start guide, technical datasheets... DON'T FORGET : ALWAYS READ THE USER GUIDE BEFORE BUYING !!!
If this document matches the user guide, instructions manual or user manual, feature sets, schematics you are looking for, download it now. Lastmanuals provides you a fast and easy access to the user manual AEG-ELECTROLUX E36EC65ESS. We hope that this AEG-ELECTROLUX E36EC65ESS user guide will be useful to you.
Lastmanuals help download the user guide AEG-ELECTROLUX E36EC65ESS.
You may also download the following manuals related to this product:
Manual abstract: user guide AEG-ELECTROLUX E36EC65ESS
Detailed instructions for use are in the User's Guide.
[. . . ] Use & Care Guide
Electric Cooktop
Dishwasher
318 200 625 (0505) Rev. B
2 Finding Information
MAKE A RECORD FOR FUTURE USE
Brand_______________________________________________________________ Purchase Date______________________________________________________ Model Number______________________________________________________ Serial Number______________________________________________________
NOTE NO TE
The serial and model numbers may be found on the serial plate located under the cooktop.
QUESTIONS?
For toll-free telephone support in the U. S. and Canada: 1-877-4ELECTROLUX (1-877-435-3287) For online support and internet product information: www. electrolux. com
©2005 Electrolux Home Products, Inc. Post Office Box 212378, Augusta, Georgia 30917, USA All rights reserved. [. . . ] Once the surface controls have been set to the OFF positions, the surface controls should return to normal operation. If the surface controls do not function and the "Er" message remains in any display after following these procedures, contact your authorized servicer for assistance. 7
10 Setting Surface Controls
OPERATING THE SINGLE SURFACE RADIANT ELEMENTS
The cooktop has single radiant surface elements at 2 locations; the right and left rear (Figs. 1 & 2) element positions.
To Operate the Single Surface Element
1. Place correctly sized cookware on the radiant surface element. Push in and turn the surface control knob in either direction to the desired setting using the ESEC digital display window to verify (Fig. 3). Turn the knob to adjust the setting as needed. Start most cooking operations on a higher setting and then turn to a lower setting to finish cooking. Each surface element provides a constant amount of heat at each setting. A glowing red surface heating area extending beyond the bottom edge of the cookware indicates the cookware is too small for the surface heating area. When cooking has completed, turn the surface control knob to OFF before removing the cookware. Note: The surface "Element On" indicator lights will glow when one or more elements are turned on. A quick glance at these indicator lights when cooking is finished is an easy check to be sure all surface elements are turned off. Also, the HE message will appear in the display after turning the control knob to OFF if the cooktop is still hot and remain on until the heating surface area has cooled sufficiently.
ELEMENT ON
ELEMENT ON
Fig. 2
CAUTION CA UTION
Radiant surface elements may appear to have cooled after they have been turned OFF. HE (Hot Element) message will turn ON and will continue to glow until the glass cooktop has cooled down to a moderate level. The glass surface may still be hot and burns may occur if the glass surface is touched before the indicator light has turned OFF.
Setting Surface Controls
OPERATING THE DUAL SURFACE RADIANT ELEMENTS
Both the 30" and 36" cooktops are equipped with dual radiant surface elements located at the right & left front positions (See Figs. Symbols around the knob are used to indicate which coil of the dual radiant element will heat. The symbol indicates that only the inner coil will heat (Fig. The symbol indicates that both inner and outer coils will heat (Fig. You may switch from either coil setting at any time during cooking.
11
ELEMENT ON
ELEMENT ON
ELEMENT ON
ELEMENT ON
Fig. 2
To Operate the Dual Surface Element:
1. [. . . ] Turn control to a slightly higher setting until element comes on. Be sure to use correct control for the element needed.
SURFACE ELEMENT TOO HOT OR NOT HOT ENOUGH
· Incorrect control setting. Raise or lower setting until proper amount of heat is obtained.
Dial markings are an indicator of relative heat settings and will vary slightly.
· Lightweight or warped pans being used. Use only flat, evenly balanced, medium or
heavyweight cookware.
· Voltage is incorrect. [. . . ]
DISCLAIMER TO DOWNLOAD THE USER GUIDE AEG-ELECTROLUX E36EC65ESS Lastmanuals offers a socially driven service of sharing, storing and searching manuals related to use of hardware and software : user guide, owner's manual, quick start guide, technical datasheets...manual AEG-ELECTROLUX E36EC65ESS


 AEG-ELECTROLUX E36EC65ESS INSTALLATION GUIDE (241 ko)
 AEG-ELECTROLUX E36EC65ESS SUPPLEMENTARY GUIDE (393 ko)
