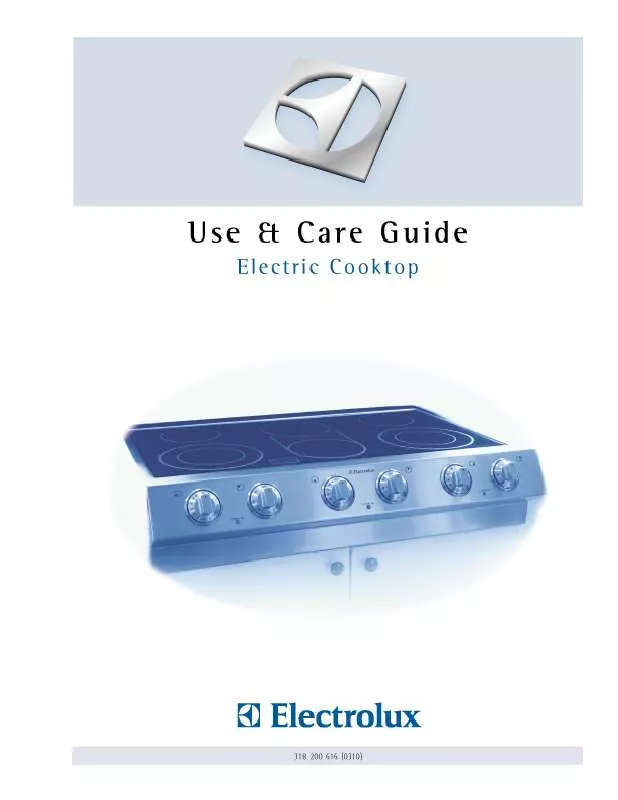
User manual AEG-ELECTROLUX E36EC75ESS
Lastmanuals offers a socially driven service of sharing, storing and searching manuals related to use of hardware and software : user guide, owner's manual, quick start guide, technical datasheets... DON'T FORGET : ALWAYS READ THE USER GUIDE BEFORE BUYING !!!
If this document matches the user guide, instructions manual or user manual, feature sets, schematics you are looking for, download it now. Lastmanuals provides you a fast and easy access to the user manual AEG-ELECTROLUX E36EC75ESS. We hope that this AEG-ELECTROLUX E36EC75ESS user guide will be useful to you.
Lastmanuals help download the user guide AEG-ELECTROLUX E36EC75ESS.
You may also download the following manuals related to this product:
Manual abstract: user guide AEG-ELECTROLUX E36EC75ESS
Detailed instructions for use are in the User's Guide.
[. . . ] 2 Finding Information
MAKE A RECORD FOR FUTURE USE
Brand_______________________________________________________________ Purchase Date______________________________________________________ Model Number______________________________________________________ Serial Number______________________________________________________
NOTE NO TE
The serial and model numbers are available on the serial plate located under the cooktop.
QUESTIONS?
For toll-free telephone support in the U. S. and Canada: 1-877-4ELECTROLUX (1-877-435-3287) For online support and internet product information: www. electrolux. com
©2003 Electrolux Home Products, Inc. Post Office Box 212378, Augusta, Georgia 30917, USA All rights reserved. Printed in the USA
Finding Information
TABLE OF CONTENTS
Finding Information . . . . . . . . . . . . . . . . . . . . . . . . . . . . . . . . . . . . . . . . . . . [. . . ] Turn the knob to adjust the setting if needed. Start most cooking operations on a higher setting and then turn to a lower setting to finish cooking. Each surface element provides a constant amount of heat at each setting. A glowing red surface heating area extending beyond the bottom edge of the cookware indicates the cookware is too small for the surface heating area. When cooking has completed, turn the surface control knob to OFF before removing the cookware. Note: The Surface Indicator light will come on when the control knob is turned on and will continue to glow until the glass cooktop has cooled down to a moderate level. The light may remain on even though the controls are turned OFF.
Figure 1
Figure 3
Figure 2
Figure 4
NOTE NO TE
!
See page 8 for recommended control settings.
CAUTION CA UTION
Radiant surface elements may appear to have cooled after they have been turned off. A hot surface indicator light will come on and will continue to glow until the glass cooktop has cooled down to a moderate level. The glass surface may still be hot and burns may occur if the glass surface is touched before the indicator light has turned off. Do not place plastic items such as salt and pepper shakers, spoon holders or plastic wrappings on top of the range when it is in use. Potholders, towels or wooden spoons could catch fire if placed too close to the surface elements.
Setting Surface Controls
OPERATING THE BRIDGE SURFACE RADIANT ELEMENT
The cooktop is equipped with a "Bridge" surface element located at the center front and middle positions. The Bridge can be used when cooking with rectangular (like a griddle) or oval shaped cookware. The element will maintain an even temperature setting across both portions of the Bridge. If needed for normal cookware, the Bridge element can work like a single element without the Bridge. Bridge element operation symbols are located on the Bridge element control knob. These symbols indicate the direction to turn the control knob when operating the Bridge element. The symbol indicates that only the single portion of the Bridge element will heat (see Figues 1 and 2). The symbol indicates that both the single and Bridge portions of the element will heat together (see Figures 3 and 4). You may switch from either of these settings at any time during cooking with the Bridge element.
11
To Operate the Bridge Surface Element:
1. Place correctly sized cookware on the dual surface element. Push in and turn the control knob counterclockwise (see Figure 2) to heat the portion of the Bridge element for normal shaped cookware or clockwise (see Figure 4) for larger or rectangular shaped cookware. Turn the knob to adjust the setting if needed. [. . . ] * Diagnostic and any transportation and labor costs which are required because of service.
FULL ONE-YEAR WARRANTY
LIMITED 2 ND-5 TH Second through fifth YEAR years from original WARRANTY purchase date (Glass Smoothtop, Seal & Elements) LIMITED Time periods listed WARRANTY above. (Applicable to the State of Alaska) *NORMAL RESPONSIBILITIES OF THE CONSUMER
Costs of the technician's travel to the home and any costs for pick up and delivery of the appliance required because of service.
EXCLUSIONS
IF YOU NEED SERVICE
This warranty applies only to products in ordinary household use, and the consumer is responsible for the items listed below: 1. Proper use of the appliance in accordance with instructions provided with the product. Proper installation by an authorized servicer in accordance with instructions provided with the appliance and in accordance with all local plumbing, electrical and/or gas codes. [. . . ]
DISCLAIMER TO DOWNLOAD THE USER GUIDE AEG-ELECTROLUX E36EC75ESS Lastmanuals offers a socially driven service of sharing, storing and searching manuals related to use of hardware and software : user guide, owner's manual, quick start guide, technical datasheets...manual AEG-ELECTROLUX E36EC75ESS


 AEG-ELECTROLUX E36EC75ESS SUPPLEMENTARY GUIDE (251 ko)
