Detailed instructions for use are in the User's Guide.
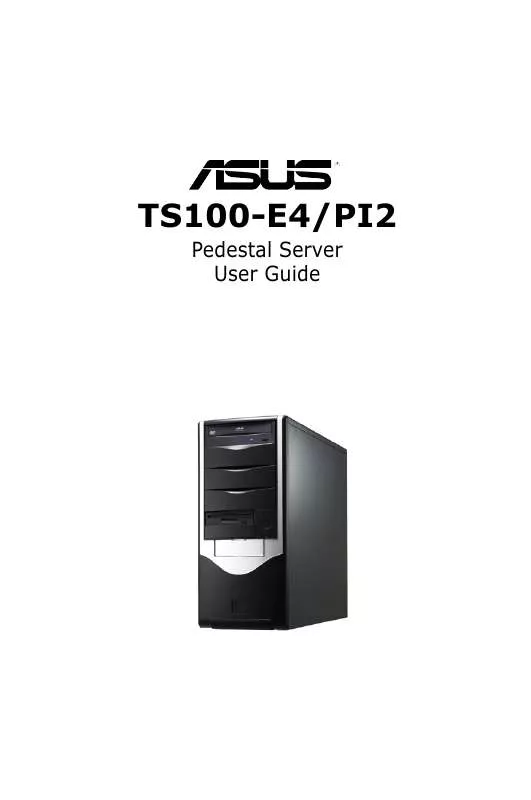
[. . . ] TS100-E4/PI2
Pedestal Server User Guide
E2791 First Edition V1. 00 February 2007
Copyright 2007© ASUSTeK COMPUTER INC. No part of this manual, including the products and software described in it, may be reproduced, transmitted, transcribed, stored in a retrieval system, or translated into any language in any form or by any means, except documentation kept by the purchaser for backup purposes, without the express written permission of ASUSTeK COMPUTER INC. ASUS provides this manual "as is" without warranty of any kind, either express or implied, including but not limited to the implied warranties or conditions of merchantability or fitness for a particular purpose. In no event shall ASUS, its directors, officers, employees, or agents be liable for any indirect, special, incidental, or consequential damages (including damages for loss of profits, loss of business, loss of use or data, interruption of business and the like), even if ASUS has been advised of the possibility of such damages arising from any defect or error in this manual or product. [. . . ] To display the sub-menu, select the item and press <Enter>.
4. 2. 6 Configuration fields
These fields show the values for the menu items. If an item is userconfigurable, you can change the value of the field opposite the item. You cannot select an item that is not userconfigurable. A configurable field is enclosed in brackets, and is highlighted when selected. To change the value of a field, select it then press <Enter> to display a list of options. Refer to "5. 2. 7 Pop-up window. "
4. 2. 7 Pop-up window
Select a menu item then press <Enter> to display a pop-up window with the configuration options for that item.
4. 2. 8 Scroll bar
A scroll bar appears on the right side of a menu screen when there are items that do not fit on the screen. Press the Up/Down arrow keys or <Page Up> /<Page Down> keys to display the other items on the screen.
Advanced APMConfiguration PowerManagement/APM VideoPowerDownMode HardDiskPowerDownMode SuspendTimeOut(Minute) ThrottleSlowClockRatio PowerButtonFunction RestoreonACPowerLoss PowerOnbyPS/2Keyboard PowerOnbyPS/2Mouse PowerOnRing PowerOnPME# PowerOnRTCAlarm
BIOS SETUP UTILITY Use[ENTER], [TAB], or[SHIFT-TAB]to selectafield. Select Screen Select Item Change Option General Help SaveandExit Exit
[Enabled] [Suspend] [Suspend] [Disabled] [50%] [On/Off] [PowerOff] [Disabled] [Disabled] [Disabled] [Disabled] [Disabled]
+F1 F10 ESC
4. 2. 9 General help
At the top right corner of the menu screen is a brief description of the selected item.
Pop-up window Scroll bar
ASUS TS100-E4/PI2
4-13
4. 3 Main menu
When you enter the BIOS Setup program, the Main menu screen appears, giving you an overview of the basic system information.
Refer to section "5. 2. 1 BIOS menu screen" for information on the menu screen items and how to navigate through them.
BIOS SETUP UTILITY MainAdvancedPowerBootExit SystemTime SystemDate LegacyDisketteA PrimaryIDEMaster PrimaryIDESlave ThirdIDEMaster ThirdIDESlave FourthIDEMaster FourthIDESlave IDEConfiguration System Information : : : : : : [11:10:19] [Tue01/01/2002] [Enabled] [NotDetected] [NotDetected] [NotDetected] [NotDetected] [NotDetected] [NotDetected] Use[ENTER]. [TAB], or[SHIFT-TAB]to selectafield. Use[+]or[-]to configuresystemtime.
Select Screen Select Item +- Change Option F1 General Help F10SaveandExit ESCExit
v02. 58(C)Copyright1985-2004, AmericanMegatrends, Inc.
4. 3. 1 System Time [xx:xx:xx]
Allows you to set the system time.
4. 3. 2 System Date [Day xx/xx/xxxx]
Allows you to set the system date.
4. 3. 3 Legacy Diskette A [Enabled]
Sets the type of floppy drive installed. Configuration options: [Disabled] [360K, 5. 25 in. ] [1. 2M , 5. 25 in. ] [720K , 3. 5 in. ] [1. 44M, 3. 5 in. ] [2. 88M, 3. 5 in. ]
4-14
Chapter 4: BIOS setup
4. 3. 4 Primary, Third, Fourth IDE Master/Slave
The BIOS automatically detects the connected IDE devices. There is a separate sub-menu for each IDE device. Select a device item, then press <Enter> to display the IDE device information.
Main Primary IDE Master Device : Not Detected BIOS SETUP UTILITY Select the type of device connected to the system.
Type [Auto] LBA/LargeMode [Auto] Block(Multi-sectorTransfer)M Auto] [ PIOMode [Auto] DMAMode [Auto] SMARTMonitoring [Auto] 32BitDataTransfer [Enabled] Select Screen Select Item +- Change Option F1 General Help F10SaveandExit ESCExit v02. 58(C)Copyright1985-2004, AmericanMegatrends, Inc.
The BIOS automatically detects the values opposite the dimmed items (Device, Vendor, Size, LBA Mode, Block Mode, PIO Mode, Async DMA, Ultra DMA, and SMART monitoring). These items show N/A if no IDE device is installed in the system.
Type [Auto]
Selects the type of IDE drive. Setting to [Auto] allows automatic selection of the appropriate IDE device type. Select [CDROM] if you are specifically configuring a CDROM drive. Select [ARMD] (ATAPI Removable Media Device) if your device is either a ZIP, LS-120, or MO drive. Configuration options: [Not Installed] [Auto] [CDROM] [ARMD]
LBA/Large Mode [Auto]
Enables or disables the LBA mode. Setting to [Auto] enables the LBA mode if the device supports this mode, and if the device was not previously formatted with LBA mode disabled. Configuration options: [Disabled] [Auto]
Block (Multi-sector Transfer) [Auto]
Enables or disables data multi-sectors transfers. When set to [Auto], the data transfer from and to the device occurs multiple sectors at a time if the device supports multi-sector transfer feature. When set to [Disabled], the data transfer from and to the device occurs one sector at a time. Configuration options: [Disabled] [Auto]
ASUS TS100-E4/PI2
4-15
PIO Mode [Auto]
Selects the PIO mode. [. . . ] The motherboard comes with a BIOS file that supports EM64T. You can download the latest BIOS file from the ASUS website (www. asus. com/support/download/) if you need to update the BIOS file. Visit www. intel. com for more information on the EM64T feature. [. . . ]


