Detailed instructions for use are in the User's Guide.
[. . . ] --~
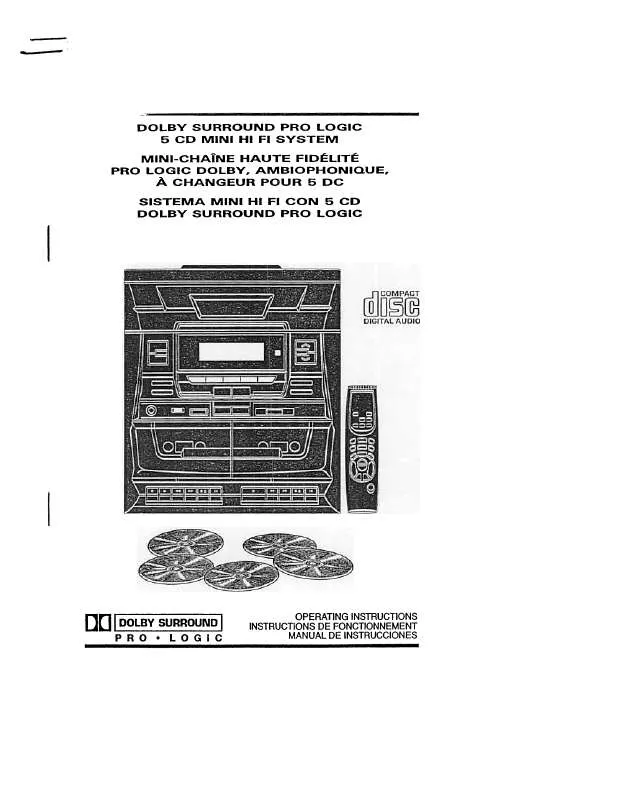
DOLBY SURROUND PRO LOGIC 5 CD MINI HI FI SYSTEM PRO MINI-CHATNE HAUTE FIDELITE LOGIC DOLBY, AMBIOPHONIQUE, A CHANGEUR POUR 5 DC SISTEMA MINI HI FI CON 5 CD DOLBY SURROUND PRO LOGIC
D()
I DOLBY SURROUND I
PRO. LOGIC
OPERATING INSTRUCTIONS INSTRUCTIONS DE FONCTIONNEMENT MANUAL DE INSTRUCCIONES
To reduce the risk of fire or electric shock, do not expose this appliance to rain or moisture.
EXPLANATION
OF GRAPHICAL
SYMBOLS.
WARNING SYSTEM PARTS PRECAUTION
IDENTIFICATIONS CONNECTIONS
,
3-4 "
ADJUSTING DISPLA Y THE SOUND ,
SETTING SURROUND
THE
SOUND
CLOCK
,
STOPPING COMPACT TUNING PRESETTING FOR SETTING
BETTER
INTO
THE
AND DISC
A STATIONS CANCELLINGPLAYBACK RECEPTION SLEEP STATION PRESET PROGRAMMED
TIMER
STATION MANUALLY
PROGRAMMED
PLAYBACK
PLAYBACK
10 11 11 11 12 13-16 17 18 . . . 19 19 . . . 20 20 . 20-21 21 22 22 23
TAPE CONTINUOUS
PLAYBACK
PLAYBACK
--FROM
DECK
B
TO
DECK
A
.
TAPE DUBBING
CARE
FROM TIPS
DECK
B
TO
DECK
A
,
SPECIFICATIONS TROUBLE MAINTENANCE REMOTE RECORDING
CONTROL SHOOTING
-DECK
GUIDE A
ONL
Y
~
Follow the advice below for safe and appropriate operation. ON PLACEMENT . Do not use the unit in places which are extremely hot, cold, dusty, or humid. . Place the unit on a flat and even surface. [. . . ] The delay (or echo effect) is different for each mode: . The NORMAL mode gives true Dolby Pro Logic sound. . The WIDE mode can be used to gives greater acoustic separation of the centre speaker. The PHANTOM mode diminishes the effect of hearing a true centre channel. The main left and right speakers give the effect of centre channel information. 3) Suddenly OFF when playing, the TIMER OFF function are activated. Press the STOP button until the TIMER OFF' indicator show on the display.
=, , ~-
'0"', '<";
-<"~. , """~. ~""", -~"~. . . c, ~""", =, ", , , . . . ;oc~, , . , ", "-v", , , ~, , , , -~, ~. , ~ , -, ~-~. . ~, --. ""-, , -, c
1. Press the SLEEP button while the power is on. "SLEEP 90"'ights in the display. NOTE: SLEEPcan only be adjusted in TUNER, TAPE and AUX modes.
2.
Press and hold the SLEEP button to select the length of remaining time until the unit turns off. It changes the indicator in the following way: SLEEP 90 t SLEEP 10 -+-+SLEEP 80 . . . SLEEP 20
SLEEP . . , The Sleep Timer is set and the SLEEP indicator lights in the display. Let go when required sleep time (in minutes) is shown. To cancel the sleep timer, press the SLEEP button once and "SLEEP" will go out in the display.
E-10
, -, co-, . . c. -"
--':. "
, -~. ';'. . ~-"~~-~'~"". , ",
C~-"""". ~-'-c-~~-. ;. . """'
", , -. '. -'0. "', . -~. ~, "", "--, . -"
, , ". . ~. ,
;
""
, ~
~
1.
Press TUNER.
the FUNCTION
button
to
FUNCTION
"===}
, TO SEARCH FOR A STATION OUICKL y Hold the TUNING UP or DOWN button and station searching starts automatically. When a station is found, searching stops automatically. However, it may not stop if the signal is weak. In this case, search for the station manually.
E-11
c:, , --"'-4;. ". cc;, c, ". ;-, "-
-0, , 'c,
<"
. . . '. . ~. '--~"-~~-. ;;C~, ", . -""";e~. ", . -. ", "", -~, ", , , ,
~
1.
Press TUNER.
the
FUNCTION
button
to
l
2.
Select
a band.
3.
Press preset
the
PRESET
buttons
I
number.
TO RECEIVE THE FM BROADCAST IN STEREO FM Set the MODE selector to FM STEREO. When the FM stereo broadcast is received, STEREO indicator lights up.
IFTHE FM STEREO BROADCAST SIGNAL IS WEJ Set the MODE selector to FM MONO. Background noise will be reduced but the si~ reproduced will be mono.
i ~ ~ ~
E-12
~=~~-<-;~~~"-""""~~~~. . . , . . . :. , """'~. . o. :=-
", 2~"' "", , 0~. . ' -;, ~~", . ", . """", ", ~-V~'-"
I.
Press
Ihe
FUNCTION
button
10 CD
2.
Press the OPEN/CLOSE disc tray.
button
to open the
FUNCTION
-.
---' IEAK
ugnal 3. Place the first disc onto the disc holder. Press the DISC SKIP button to revolve the tray clockwise. Place other disc(s) on the disc holder(s).
DISC SKIP
I
\
~
"5
5. Press the OPEN/CLOSE button to close the tray. It takes a short while for your player to check the discs
6. [. . . ] :t:
TO STOP RECORDING Press the STOP/EJECT
button of Deck A.
TO ERASE A RECORDED TAPE 1) Press the FUNCTION button to TAPE. 2) Insert a tape with the side you want to erase facing 3) you. Press the RECORD button to start erasing.
TO INTERRUPT RECORDING Press the PAUSE button of Deck A. To resume recording; press the PAUSE button again.
i " ~ I I
REMOTE CONTROL 1) 2) 3) 4) 5) 6) 7) SPEAKERS RESET button SLEEPbutton BALANCE UR, SPEAKER '+'1'. ' buttons FUNCTION button TUNINGUPIDOWNIREPEATIRANDOM buttons DOLBY 3 STEREO button SKIPISEARCI-VPRESET buttons 11) 12) 13) 14) 15) 16) 17) 18) 19) MEMORYbutton OPEN/CLOSE button BANDbutton PRESETEQbutton X-BASSbutton PRO LOGIC button VOLUMEcontrolbuttons PlAY/PAUSEbutton POWEFI/STANDBY button 20) DISC SKIP button
8) STOP button 9) TIMERbutton 10) TESTbutton
1 !1
USING THE REMOTE CONTROL
CORRECTL y
. Point the Remote Control at the REMOTE SENSOR located on the unit. [. . . ]


