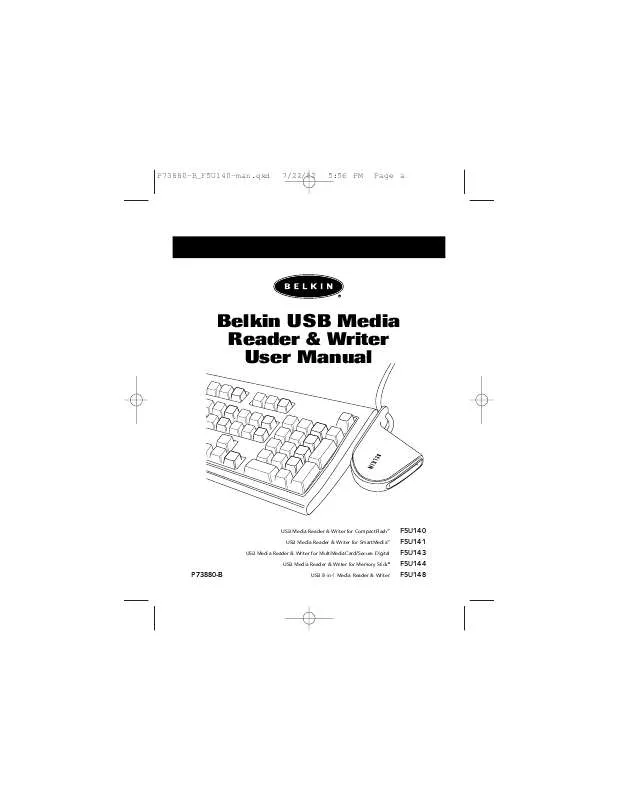
Detailed instructions for use are in the User's Guide.
[. . . ] This will load the setup application's main page. Click on the button that corresponds to your Media Reader. The "InstallShield Wizard" will now start. Click "Next" on each of the screens that are displayed, then click "Finish". [. . . ] Other capacities should work, too, even if they are not listed below: SmartMedia: Memory Stick: CompactFlash: 2, 4, 8, 16, 32, 64, and 128MB media 4, 8, 16, 32, 64, and 128MB media 4, 8, 16, 32, 48, 64, 160, 192, 256, 320, 384, and 512MB media 4, 8, 16, 32, 64, and 128MB media 170 and 340MB, and 1GB media
MultiMediaCard: 4, 8, 16, 24, 32, and 64MB media Secure Digital: IBM Microdrive:
Accessing Files and Data
1. Double-click on the drive icon assigned to your media card. A window will open displaying the contents of the currently installed media card. To move files to and from the removable drive, simply drag the file to the alternate location or use other file transfer methods that are standard in your computer's operating system.
7
P73880-B_F5U140-man. qxd
7/22/02
5:56 PM
Page 8
Installation Procedure for Windows Operating Systems (cont. )
Safe Removal of Media Cards and Readers
All Versions of Windows Operating System 1. Do not remove your media card from the Media Reader while data is being read or written to the card. Doing so could corrupt the media card, resulting in a loss of data. The correct way to remove the card is to go to "My Computer", right-click on the drive, and select "Eject" from the list. Depending on your operating system, this feature may not give you a prompt that says it was done. After clicking on "Eject", you can remove the card without corrupting the files on the card. To safely remove a Media Reader from your computer, click on the "Unplug or Eject Hardware" button found in the right-hand corner of the Windows task bar. Failure to follow this step could result in the loss or corruption of data stored on your media card.
8
P73880-B_F5U140-man. qxd
7/22/02
5:56 PM
Page 9
Installation Procedure for Windows Operating Systems (cont. )
Uninstalling Your Media Reader
All Versions of Windows Operating System To uninstall your Media Reader, click the "Start" button, select "Programs", then select "Belkin Flash Media Reader-Writer" from the program list. Choose the "Remove Belkin Flash Media Reader-Writer" option and follow the on-screen instructions. Your Windows operating system will prompt you to restart your computer to complete the uninstall procedure.
9
P73880-B_F5U140-man. qxd
7/22/02
5:56 PM
Page 10
Installation Procedure for Mac OS
Mac OS 8. 6OS 9. x
1. Insert the Belkin Media Reader Installer CD. a) Double-click on the "USB Media Reader" CD-ROM drive icon that appears on your desktop. b) Click on the Media Reader Installer icon. c) Select the driver for your Media Reader from the list and click the "Install" button. Follow the on-screen instructions to complete driver installation. Connect the Media Reader's USB plug to an available USB port on your Mac computer, or USB hub, and insert your media card. Once the media card is inserted into any of the single-slot Media Readers, the Media Reader will appear on your desktop as a standard Mac OS disk drive. If you wish to assign new drive names to the media card, use the Mac OS format utility to reformat the card. The two-slot Media Reader will appear on your desktop as two standard Mac OS disk drives if media cards are inserted into each of the two slots. [. . . ] This warranty does not apply if the product has been damaged by accident, abuse, misuse, or misapplication; if the product has been modified without the written permission of Belkin; or if any Belkin serial number has been removed or defaced. THE WARRANTY AND REMEDIES SET FORTH ABOVE ARE EXCLUSIVE IN LIEU OF ALL OTHERS, WHETHER ORAL OR WRITTEN, EXPRESSED OR IMPLIED. BELKIN SPECIFICALLY DISCLAIMS ANY AND ALL IMPLIED WARRANTIES, INCLUDING, WITHOUT LIMITATION, WARRANTIES OF MERCHANTABILITY AND FITNESS FOR A PARTICULAR PURPOSE. No Belkin dealer, agent, or employee is authorized to make any modification, extension, or addition to this warranty. [. . . ]


