User manual BENQ 1220ST
Lastmanuals offers a socially driven service of sharing, storing and searching manuals related to use of hardware and software : user guide, owner's manual, quick start guide, technical datasheets... DON'T FORGET : ALWAYS READ THE USER GUIDE BEFORE BUYING !!!
If this document matches the user guide, instructions manual or user manual, feature sets, schematics you are looking for, download it now. Lastmanuals provides you a fast and easy access to the user manual BENQ 1220ST. We hope that this BENQ 1220ST user guide will be useful to you.
Lastmanuals help download the user guide BENQ 1220ST.
Manual abstract: user guide BENQ 1220ST
Detailed instructions for use are in the User's Guide.
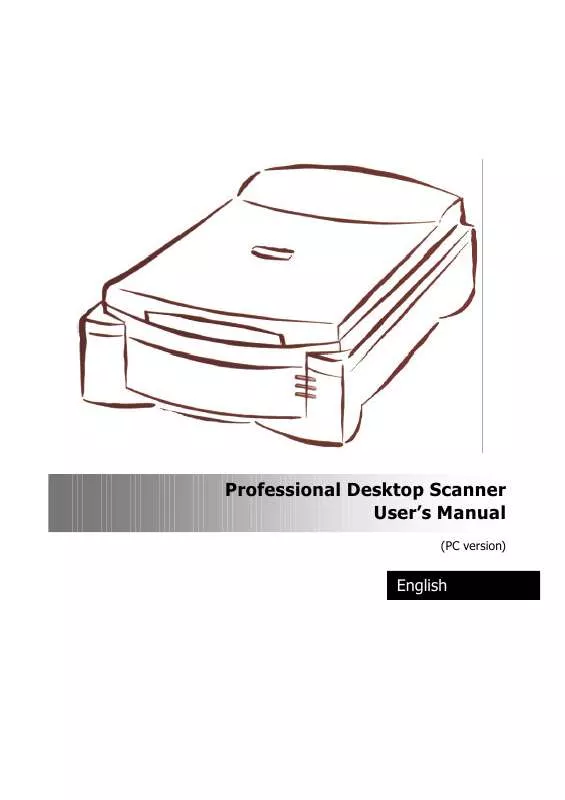
[. . . ] Professional Desktop Scanner User's Manual
(PC version)
English
MiraScan main screen
Combo Boxes (page 13) Menu Bar (page 9) Tool Bar (page 24)
Job List and Command Buttons (page 22)
Preview Area (page 24)
Status Area (page 39)
Copyright
Copyright © 1999 by this company. No part of this publication may be reproduced, transmitted, transcribed, stored in a retrieval system or translated into any language or computer language, in any form or by any means, electronic, mechanical, magnetic, optical, chemical, manual or otherwise, without the prior written permission of this company.
Disclaimer
This company makes no representations or warranties, either expressed or implied, with respect to the contents hereof and specifically disclaims any warranties, merchantability or fitness for any particular purpose. Further, this company reserves the right to revise this publication and to make changes from time to time in the contents hereof without obligation of this company to notify any person of such revision or changes.
Brands and product names are trademarks or registered trademarks of their respective companies.
IMPORTANT SAFETY INSTRUCTIONS
1. Save these instructions for future reference. [. . . ] You can first click to select the job in the Job List and then click this button to display its detailed information: You can either click OK to close this information window or click Save to save the information as a text file for your future reference.
Delete button
Use the Delete button to delete a scan job. First click to choose a scan job in the Job List, then click this button to delete that job.
Preview button
Use the Preview button to start previewing the image. Preview proceeds in color or in monochrome depending on the setting in the Image Type combo box.
Scan button
Use the Scan button to start scanning the image.
Exit button
Click on the Exit button to exit MiraScan.
23
English
Preview Area
The Preview Area is where you can see your image in rough quality and point to a pixel to read its value. You can also set the scanning area and view an instant preview of the effects caused by parameter changes from the Image functions. There are two rulers to help you set the scanning area. To the left and top of this area, rulers are shown to give you a reference for the dimension of the image. You can change the rule unit by pressing the Unit button. "P" represents pixel; "I" represents inch, and "M" represents millimeter. The Preview Area displays the preview image that is acquired after the Preview button is selected. Also, any parameter change made to the image is instantly displayed in it.
Unit button
Tool Bar
The Tool Bar consists of a series of useful tools that you can use to adjust the image more precisely.
Selection button
You can first click the Selection button and then adjust the selection area in the Preview Area. The selection area is a dotted rectangle in the Preview Area, and each selection area in an image represents a scan job. Only the part of image enclosed in the selection area will be scanned and 24
English transferred into the image editing software. In order to minimize the size of the scanned image file, it is better to select and scan only the necessary part of the image with selection area. Move the selection area by pointing the mouse cursor to the selection area. When the cursor turns into a crossed arrow, click and drag your mouse to move the selection area in the Preview Area. Adjust the size of selection area by moving the cursor over the edge of selection area. When the cursor turns into a double-sided arrow, click and drag your mouse to expand or shrink the selection area.
New Frame button
Use the New Frame button to add a new selection area to the Preview Area. (To do so, you can also use the Duplicate button in Job List). First click this button, then move the mouse cursor into the Preview Area. When the cursor becomes a cross, click and drag your mouse to create a new selection area. The new selection area (scan job) you just created will also be listed in the Job List. You can use the buttons in the Job List to delete or view detailed information of that job.
Hand button
The Hand button is used to move the preview image within the Preview Area. [. . . ] Otherwise, turn on the scanner, then enter Windows Control Panel and click Refresh in Device Manager tab of System. 5. 2. 2 The Auto Crop function sometimes fails. MiraScan performs the Auto Crop function by first judging the outline of the image. If the outline of the image can not be recognized properly, MiraScan will not be able to decide the correct shape to crop. [. . . ]
DISCLAIMER TO DOWNLOAD THE USER GUIDE BENQ 1220ST Lastmanuals offers a socially driven service of sharing, storing and searching manuals related to use of hardware and software : user guide, owner's manual, quick start guide, technical datasheets...manual BENQ 1220ST


