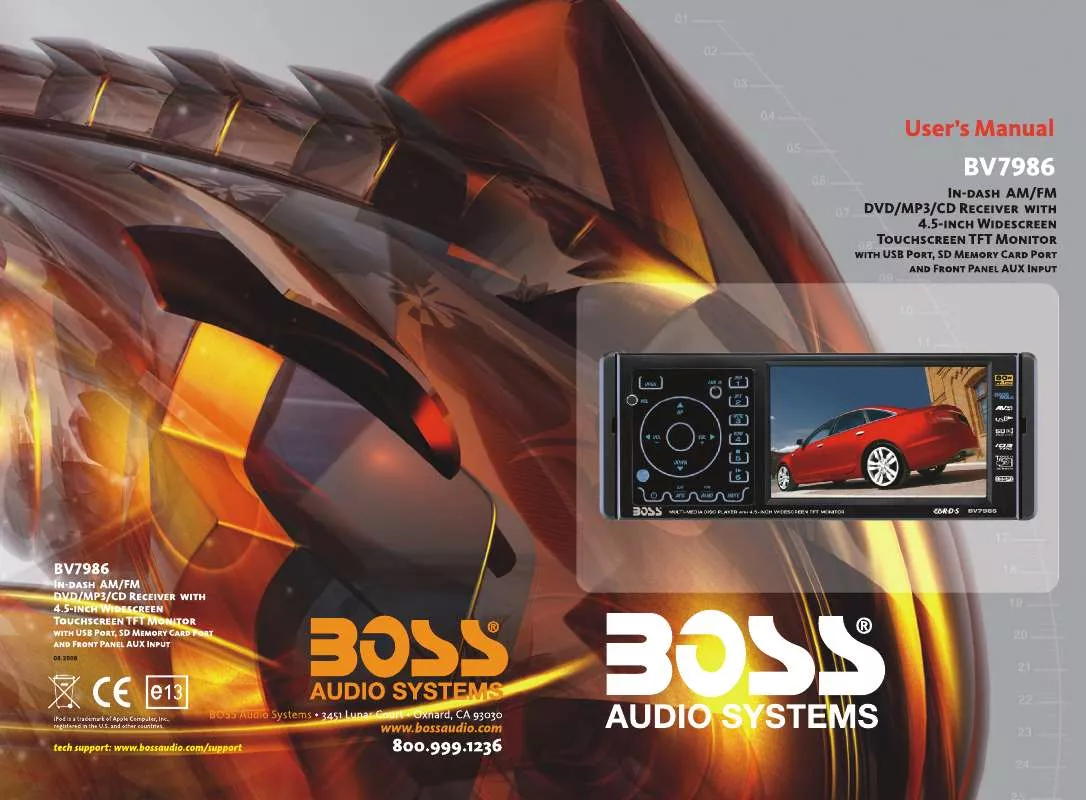
Detailed instructions for use are in the User's Guide.
[. . . ] Insert screws in two such locations on each side, and tighten securely.
NOTE: For the rear-mount installation, do not use the trim piece, backstrap or mounting case.
use two mounting screws aT-z: on each side
Press the RELEASE button to release the panel from the right side o f the head unit.
select two mountlng hole posltlons on each s~de head unlt of
Grasp the right side of the panel and pull to remove it. Immediately place the front panel in its protective case for safe and clean storage.
press RELEASE to release the front panel. . .
grasp the rl ht s~de of the paneeand pull to remove the oanel.
.
-
Fronr Panel
I
4
Be careful when handling the front panel!
1 . Do not drop front panel.
factory bezel or dashboard opening
I
I
place the front panel In ~ t s protectlve case. .
2. When detaching or reinstalling, do not put pressure
on the display.
3. [. . . ] Do not attempt to disassemble the front panel.
I
Push the front panel into the main body. You should hear a "click. " NOTE: If the panel fails to lock into position properly, the function of some controls may be impaired, and some segments of the display may not become illuminated. If this occurs, press RELEASE and reinstall the front panel.
push panel into main unit until you hear a "click. "
pull out to remove bezel
C
, .
I
insen levers until "click" occurs, and then use levers to - p o l l owheadunit
--
From%pane!conrtrells
GENERAL CONTROLS
-
POWER Press an button to turn unit ON. To turn head unit o i , press and hold POWER. __
-
AUDIO CONTROLS EQ Press repeatedly to cycle through five modes: FLAT, CLASSICAL, POP M, ROCK M or DSP OFF.
7 SUB
, I
DISPLAY To set clock, press and hold, then press the TUNEPRACK +I>> to change hours, cc/for minutes. RELEASE Press to release and remove the front panel.
I
I
Press and hold to engage subwoofer output ("SUBWOOFER" will appear in display). SOURCE Press repeatedly to choose desired audio source (Radio, CD or Aux in). Press again to return to normal operation.
-I
,
~
~
.
I
/
I
RADIO CONTROLS
,
I
I
1
i
I
, 1
!
I
MOIST Press if reception becomes noisy. Press again for normal stereo reception. ASIPS When pressed and held for several seconds, the tuner will search and store the first six strong stations as presets.
,
-
AUDIO BUTTON and UPIDOWN CONTROL Press the button repeatedly to access Volume, Bass, Treble, Balance and Fader functions. T o PAUSE a C D press PAUSE to stop playback temporarily. T o SKIP TRACKS press the I<< or >>I key to choose the next or preceding track. T o FAST FORWARD o r REVERSE press and hold the I<< or >>I key to the desired location on the disc. Releasing the button starts playback at the location. T o REPEAT a track press REPEAT to continuously repeat the current track. Press again
>>I
Audio DSP Audio Up/Down
to return to normal playback mode.
T o PREVIEW ALL TRACKS press CD SCAN to play the first several seconds of each track. Press it again to stop an play the current track being previewed. T o PLAY TRACKS I N RANDOM ORDER press SHUF to play ALL tracks on the CD in
Key. asslgnmen Enter A, B, C, 1 D, E, F, 2 G, H, 1 3 , J, Kg L, 4 M, N, 0 , 5/10 TRACK P Q, R, 6/10 TRACK UP , s, T u, 7 v, w, x, 8 Y, Z, SPACE, 9 CHARACTER SHIFT RIGHT -, +, 0 CHARACTER SELECT (A, B-8, 9)
-9
NOTE:
When in Normal Play mode and when in Searching File or Directory Mode, preset buttons 5 and 6 are assigned as 10 TRACK.
random order. Press again to cancel this function.
Remote control f unctians
POWER Use to turn the CD Receiver ON or OFF. AUDIO Press the button repeatedly to access Volume, Bass, Treble, Balance and Fader functions. [. . . ] The following wires are not used and should be isolated: GREY/BIACK GREEN VIOLET 1 WHITE/BIACK
2 . Keep the fader control AT CENTER POSITION to maintain the existing volume level
uwucmm SHM Sl HR RlGHl LR AUDIO SYSTEMS EMEtl
S
U
MN m
GHI 3 Sl HR
Auxiliar)( input feature
YZSPPCE
9
-
-+
0
This CD Receiver features an Auxiliary Input jack on the back side of the unit. An external audio source such as a portable audio player or a DVD player may be connected via this input jack.
/
SHUFFLE Press to play ALL tracks on the CD in random order. SCAN Press to hear first several seconds o f each track on current disc. [. . . ]


 BOSS BV7986 (6346 ko)
 BOSS BV7986 PART 2 (6346 ko)
