Detailed instructions for use are in the User's Guide.
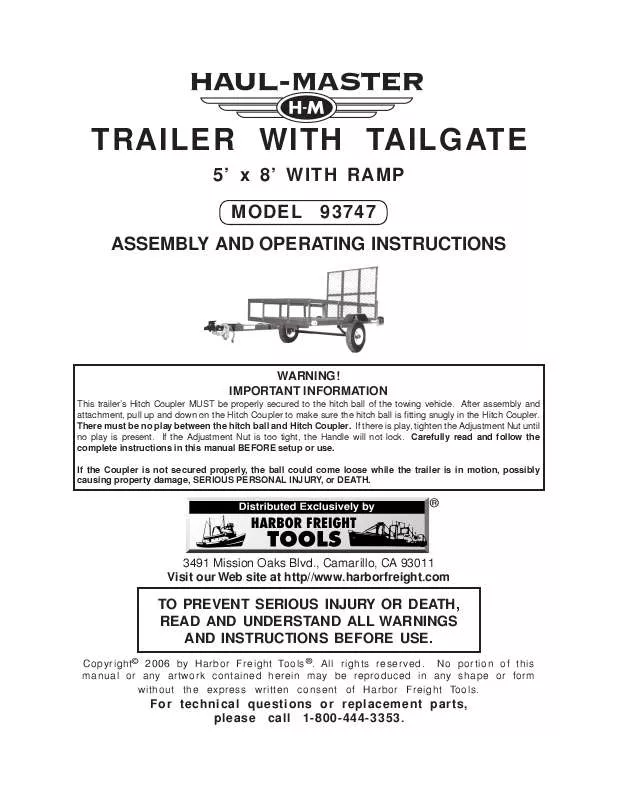
[. . . ] TRAILER WITH TAILGATE
5' x 8' WITH RAMP MODEL 93747
ASSEMBLY AND OPERATING INSTRUCTIONS
WARNING!IMPORTANT INFORMATION
This trailer's Hitch Coupler MUST be properly secured to the hitch ball of the towing vehicle. After assembly and attachment, pull up and down on the Hitch Coupler to make sure the hitch ball is fitting snugly in the Hitch Coupler. There must be no play between the hitch ball and Hitch Coupler. [. . . ] Secure the Chain to the Coupler Base, using a Flat Washer (C) and Nylon Nut (B). (See Figure D. )
3.
4.
B: 3/8"
Q JLK N LK
C: 3/8" D: 3/8" X 1-1/2"
F: 3/8" X 7/8"
Q N
14 FCB
IL
J: 1/2" X 1"
K: 1/2" L: 1/2"
I: 1/2" X 3-3/4""
FCB 15
DCB 17
FCB FCB 5
FRONT
6
FIGURE D SKU 93747 For technical questions, please call 1-800-444-3353. Page 10
5.
Slide the Hitch Coupler (14) onto the Coupler Base (15), and align the two top mounting holes of the Hitch Coupler with the two top mounting holes of the Coupler Base. Secure the Hitch Coupler to the Coupler Base, using the Hex Bolts (I), Flat Washers (L), and Nylon Nuts (K). (See Figure D. ) Lock the Coupler's (14) Trigger by inserting the Safety Pin (N) through the hole in the Trigger. Then, insert the "R" Pin (Q) through the hole in the Safety Pin. Attach a Fender Bracket (30), with a Hole Spacer (9), in front of the Axle (10) on the Left Side Rail (1L), using the Hex Bolts (O), Flat Washers (C), and Nylon Nuts (B). Attach a Fender Bracket (31), with a Hole Spacer (9), behind the Axle (10) on the Left Side Rail (1L), using the Hex Bolts (O), Flat Washers (C), and Nylon Nuts (B). (See Figure E, next page. ) Attach a Fender Bracket (31), with a Hole Spacer (9), in front of the Axle (10) on the Right Side Rail (1R), using the Hex Bolts (O), Flat Washers (C), and Nylon Nuts (B). Attach a Fender Bracket (30), with a Hole Spacer (9), behind the Axle (10) on the Right Side Rail (1R), using the Hex Bolts (O), Flat Washers (C), and Nylon Nuts (B). (See Figure E, next page. ) Attach a Fender (11) to the Fender Brackets (30, 31) on the Left Side Rail (1L), using the Hex Bolts (A), Washers (C), and Nylon Nuts (B). (See Figure E, next page. ) Attach the remaining Fender (11) to the Fender Brackets (30, 31) on the Right Side Rail (1R), using the Hex Bolts (A), Washers (C), and Nylon Nuts (B). (See Figure E, next page. ) Install a Tire/Wheel (12) assembly on each Hub Set (26). Then, secure the Tire/ Wheel assemblies, using the Lug Nuts (M). NOTE: Use a lug wrench (not included) to tighten the Lug Nuts (in a crisscross star pattern) to 90 Ft. /Lbs.
2.
3.
4.
5.
SKU 93747
For technical questions, please call 1-800-444-3353.
Page 11
B: 3/8" A: 3/8" X 1"
C: 3/8"
M: 1/2" O: 3/8" X 1-1/4"
30 11
31
12 9 31 M FRONT 11 OCB
9 9 30 31 30
ACB
FIGURE E
OCB
Phase 6:
1. Assemble the Tail Light Brackets (23) to the rear of the Left Side Rail (1L) and Right Side Rail (1R), using the Hex Bolts (A), Flat Washers (C), and Nylon Nuts (B). (See Figure F, next page. ) Attach the License Plate Bracket (13) with the Left Tail Light (21) to the Left Side Rail (1L), using the Hex Bolts (A), Flat Washers (C), and Nylon Nuts (B). NOTE: The Left Tail Light has a clear window at the bottom. (See Figure F, next page. ) Attach the Right Tail Light (22) to the Right Side Rail (1R), using the Hex Bolts (A), Flat Washers (C), and Nylon Nuts (B). (See Figure F, next page. ) For technical questions, please call 1-800-444-3353. Page 12
2.
3.
SKU 93747
4.
Open the Lens of the Side Running Lights (25). Run the Wire Lead of a Side Running Light through the center hole located at the front end of the Left Side Rail (1L). [. . . ] Visually inspect tires before and after each use. Check tread life quar terly and before/after storage. Check tail lights before each use and after storage. Check brake lights before each use and after storage. [. . . ]


