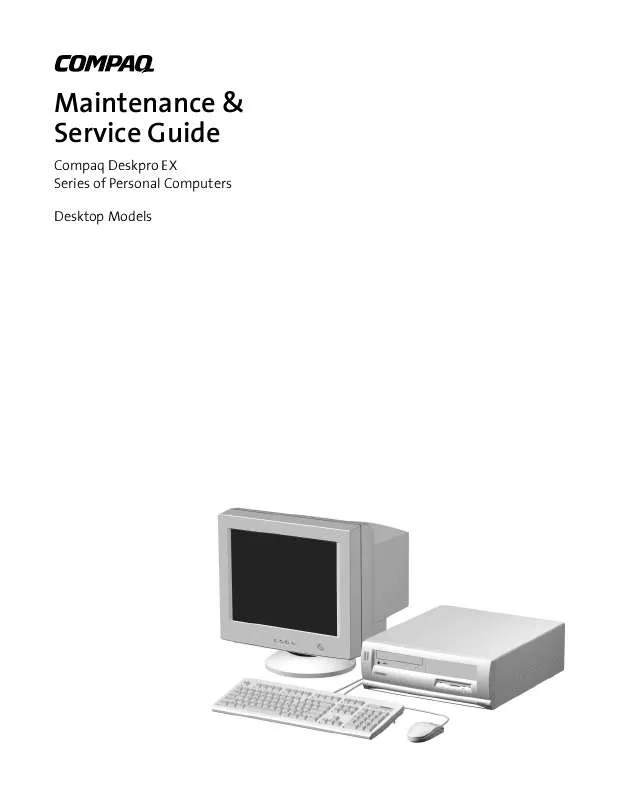
User manual COMPAQ DESKPRO EX DESKTOP MODELS MAINTENANCE AND SERVICE GUIDE
Lastmanuals offers a socially driven service of sharing, storing and searching manuals related to use of hardware and software : user guide, owner's manual, quick start guide, technical datasheets... DON'T FORGET : ALWAYS READ THE USER GUIDE BEFORE BUYING !!!
If this document matches the user guide, instructions manual or user manual, feature sets, schematics you are looking for, download it now. Lastmanuals provides you a fast and easy access to the user manual COMPAQ DESKPRO EX DESKTOP MODELS. We hope that this COMPAQ DESKPRO EX DESKTOP MODELS user guide will be useful to you.
Lastmanuals help download the user guide COMPAQ DESKPRO EX DESKTOP MODELS.
Manual abstract: user guide COMPAQ DESKPRO EX DESKTOP MODELSMAINTENANCE AND SERVICE GUIDE
Detailed instructions for use are in the User's Guide.
[. . . ] Maintenance & Service Guide
Compaq Deskpro EX Series of Personal Computers Desktop Models
Maintenance & Service Guide
Compaq Deskpro EX Series of Personal Computers Desktop Models
Notice
© 2000 Compaq Computer Corporation. Except for use in connection with the accompanying Compaq product, no part of this guide may be photocopied or reproduced in any form without prior written consent from Compaq Computer Corporation. COMPAQ, the Compaq logo, and Deskpro Registered in U. S. Patent and Trademark Office are trademarks of Compaq Information Technologies Group, L. P. [. . . ] To prevent damage to the unit, disconnect the power cord from the power source or the unit before beginning disassembly procedures.
2. Press in the button on each side of the front bezel to release the quick release cover latches 1. Slide the computer cover and front bezel forward approximately 1-inch (2. 5 cm); then, lift up and off the unit 2.
To replace the computer cover, reverse the previous steps.
Compaq Deskpro EX Series of Personal Computers
4-3
4. 4
Front Bezel
1. Prepare the computer for disassembly (Section 4. 2).
WARNING: Power is continuous to the system board and power supply even when the power switch is turned off. To prevent damage to the unit, disconnect the power cord from the power source or the unit before beginning disassembly procedures.
2. Remove the computer cover (Section 4. 3) and lay it down on its top on a soft, protected surface. Remove the five screws connecting the front bezel to the computer cover.
When removing the front bezel from the computer cover, the computer cover quick release buttons may fall out.
4. Press the two tabs down 1 and the two side quick release buttons in 1. Remove the front bezel from the computer cover 2.
When replacing the front bezel, be sure to reinstall the computer cover quick release buttons
To replace the front bezel, reverse the above procedure.
4-4
Removal and Replacement Procedures
4. 5
Bezel Blank
1. Prepare the computer for disassembly (Section 4. 2).
WARNING: Power is continuous to the system board and power supply even when the power switch is turned off. To prevent damage to the unit, disconnect the power cord from the power source or the unit before beginning disassembly procedures.
2. Remove the computer cover (Section 4. 3) and lay it down on its top on a soft, protected surface. Push the two snaps 1 down to release from the bezel blank tabs. Remove the bezel blank 2.
To install a bezel blank, reverse the removal procedure.
Compaq Deskpro EX Series of Personal Computers
4-5
4. 6
Power Switch/LED Cable
1. Prepare the computer for disassembly (Section 4. 2).
WARNING: Power is continuous to the system board and power supply even when the power switch is turned off. To prevent damage to the unit, disconnect the power cord from the power source or the unit before beginning disassembly procedures.
2. Remove the computer cover (Section 4. 3). Disconnect the flat ribbon cable and the CD audio cable from the CD-ROM drive. Disconnect the power/LED cable from the system board 1. Pinch the two tabs of the power switch assembly together 2 and pull the assembly 3 from the chassis. Pinch the two tabs of the Drive Activity Light assembly together 2 and pull the assembly 4 from the chassis. Pinch the two tabs of the Power-on Light assembly together 2 and pull the assembly 5 from the chassis.
To install a power switch/LED cable, reverse the above procedure.
4-6
Removal and Replacement Procedures
4. 7
Mass Storage Devices
The Compaq Deskpro EX Series of Personal Computers desktop model supports up to four drives in various configurations.
Reference Configuration
1 2 3 Two standard 5. 25-inch, half-height bays for optional drives One standard 3. 5-inch, 1. 44-MB diskette drive One standard 3. 5-inch, side-mounted hard drive
To verify the type and size of the mass storage devices installed in the computer, run Computer Setup. [. . . ] If it does, it is necessary to clear the CMOS memory using push button switch SW50. To clear and reset the configuration, perform the following procedure: 1. Prepare the computer for disassembly (Section 4. 2).
CAUTION: The power cord must be disconnected from the power source before pushing the Clear CMOS Button (NOTE: All LEDs on the board should be OFF). Failure to do so may damage the system board.
2. [. . . ]
DISCLAIMER TO DOWNLOAD THE USER GUIDE COMPAQ DESKPRO EX DESKTOP MODELS Lastmanuals offers a socially driven service of sharing, storing and searching manuals related to use of hardware and software : user guide, owner's manual, quick start guide, technical datasheets...manual COMPAQ DESKPRO EX DESKTOP MODELS


