User manual CONTAX SWI INSTALLATION REV B
Lastmanuals offers a socially driven service of sharing, storing and searching manuals related to use of hardware and software : user guide, owner's manual, quick start guide, technical datasheets... DON'T FORGET : ALWAYS READ THE USER GUIDE BEFORE BUYING !!!
If this document matches the user guide, instructions manual or user manual, feature sets, schematics you are looking for, download it now. Lastmanuals provides you a fast and easy access to the user manual CONTAX SWI. We hope that this CONTAX SWI user guide will be useful to you.
Lastmanuals help download the user guide CONTAX SWI.
Manual abstract: user guide CONTAX SWIINSTALLATION REV B
Detailed instructions for use are in the User's Guide.
[. . . ] Installation Guide
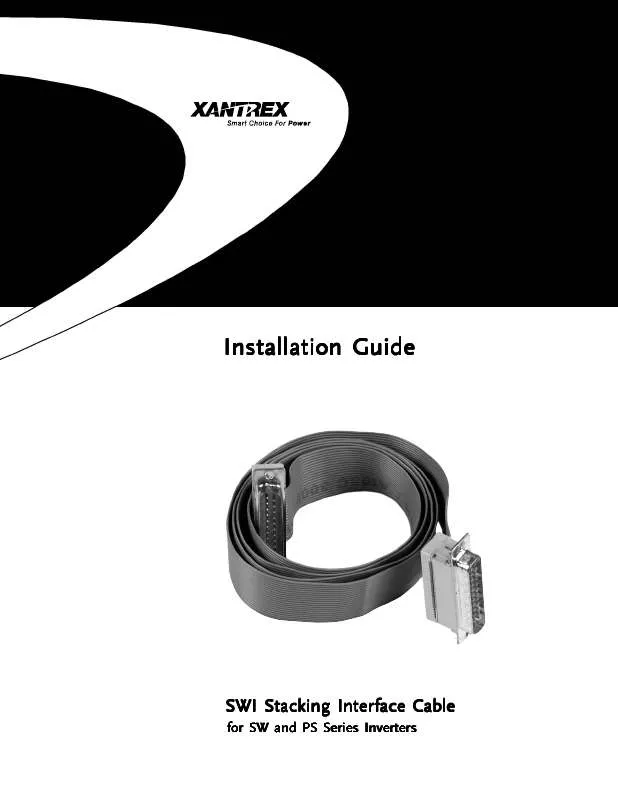
Cable SWI Stacking Interface Cable
for SW and PS Series Inverters
About Xantrex Xantrex Technology Inc. , is a world-leading supplier of advanced power electronics and controls with products from 50-watt mobile units to 1 MW utility-scale systems for wind, solar, batteries, fuel cells, microturbines, and backup power applications in both grid-connected and stand-alone systems. Xantrex products include inverters, battery chargers, programmable power supplies, and variable speed drives that convert, supply, control, clean, and distribute electrical power. Trademarks Xantrex is a registered trademark of Xantrex Technology Inc. Notice of Copyright Stacking Interface Cable Installation Guide © October 2001 Xantrex International. [. . . ] In this mode, the inverters act independently of each other; however, their output is phase locked and synchronized 180 degrees out-of-phase. Both units can independently charge the batteries or provide battery backup power during a utility outage. NOTE: Use tape to label the inverters as INVERTER 1 (L1) and INVERTER 2 (L2), for future reference.
INVERTER 1 (L1)
PS STACKING PORT
NEGATIVE (-) BLACK TERMINAL
POSITIVE (+) RED TERMINAL
SWI SERIES STACKING INTERFACE CABLE NEGATIVE (-) BLACK INTERCONNECT CABLE POSITIVE (+) RED INTERCONNECT CABLE (not used in installations with dual disconnects)
PS STACKING PORT
NEGATIVE (-) BLACK TERMINAL
POSITIVE (+) RED TERMINAL
INVERTER 2 (L2)
Figure 2-1 PS Series DC Interconnect Cables and SWI Series Stacking Cable
© 2001 Xantrex Technology Inc. · Connect one of the inverter's positive terminals to the DC disconnect. · Connect the DC disconnect to the positive terminal of the battery bank. · Connect the Series Stacking Cable (SWI) to the STACKING port of both inverters. · Connect the DC chassis ground lugs of both inverters together using a heavy gauge wire. · Connect the negative end of the battery bank to a solid earth ground (refer to inverter installation manual). NOTE: Connect the positive and negative wires to the batteries as show in the illustration below. This ensures an even charge and discharge through the battery bank.
Inverter 1 (L1)
Positive Tie Negative Tie
+
Series Stacking Cable (SWI) NOTE: Series Stacking Cable connects on AC side for SW inverters
DC Disconnect
+
+
+
Inverter 2 (L2)
Chassis Ground
+
+
DC Ground
Figure 2-3 Series Stacking Using One DC Disconnect (Block Diagram)
© 2001 Xantrex Technology Inc. All Rights Reserved.
P/N 975-0013-01-01 Rev B 10/01
9
2. 0 INSTALLATION
Series Stacking (continued) Series Stack DC Wiring (two disconnect devices) When stacking two inverters using two DC disconnect devices, connect the units and batteries as follows (refer to Figure 2-4): · Tie the inverter's negative terminals together using an appropriate length of cable (sized to fit). · Connect a cable from the L1 inverter's negative terminal to the negative terminal of the battery bank. · Connect a cable from the L2 inverter's negative terminal to the negative terminal of the battery bank. · Connect a cable from the L1 inverter's positive terminals to the DC disconnect. · Connect a short cable from the DC disconnect to the positive terminal of the battery bank. · Connect a cable from the L2 inverter's positive terminal to the DC disconnect. · Connect a short cable from the DC disconnect to the positive terminal of the battery bank. · Connect the Series Stacking Cable (SWI) to the STACKING port of both inverters. · Connect the inverter's DC chassis ground lugs together using a heavy gauge wire. NOTE: Connect the positive and negative wires to the batteries as show in the illustration below. This ensures an even charge and discharge through the battery bank.
Inverter 1 (L1)
+
Negative Tie DC Disconnect
Series Stacking Cable (SWI) NOTE: Series Stacking Cable connects on AC side for SW inverters
+
DC Disconnect
+
+
Inverter 2 (L2)
Chassis ground
+
+
DC Ground
Figure 2-4 Series Stacking Using Two DC Disconnects (Block Diagram) 10
© 2001 Xantrex Technology Inc. All Rights Reserved.
P/N 975-0013-01-01 Rev B 10/01
2. 0 INSTALLATION
Series Stacking (continued) Wiring with a Conduit Box When wiring a stacked pair of inverters using a conduit box, a longer DC cable must be supplied to connect the negative terminals of the inverters together. [. . . ] Switch ON the main service panel's circuit breakers feeding the inverters. Verify the inverters are charging the batteries and powering the sub-panel (refer to the operator's manual). Replace all covers and panels on the inverters and sub-panel. The stacked inverter system is now ready for use. [. . . ]
DISCLAIMER TO DOWNLOAD THE USER GUIDE CONTAX SWI Lastmanuals offers a socially driven service of sharing, storing and searching manuals related to use of hardware and software : user guide, owner's manual, quick start guide, technical datasheets...manual CONTAX SWI


