User manual DEI ORION D600
Lastmanuals offers a socially driven service of sharing, storing and searching manuals related to use of hardware and software : user guide, owner's manual, quick start guide, technical datasheets... DON'T FORGET : ALWAYS READ THE USER GUIDE BEFORE BUYING !!!
If this document matches the user guide, instructions manual or user manual, feature sets, schematics you are looking for, download it now. Lastmanuals provides you a fast and easy access to the user manual DEI ORION D600. We hope that this DEI ORION D600 user guide will be useful to you.
Lastmanuals help download the user guide DEI ORION D600.
Manual abstract: user guide DEI ORION D600
Detailed instructions for use are in the User's Guide.
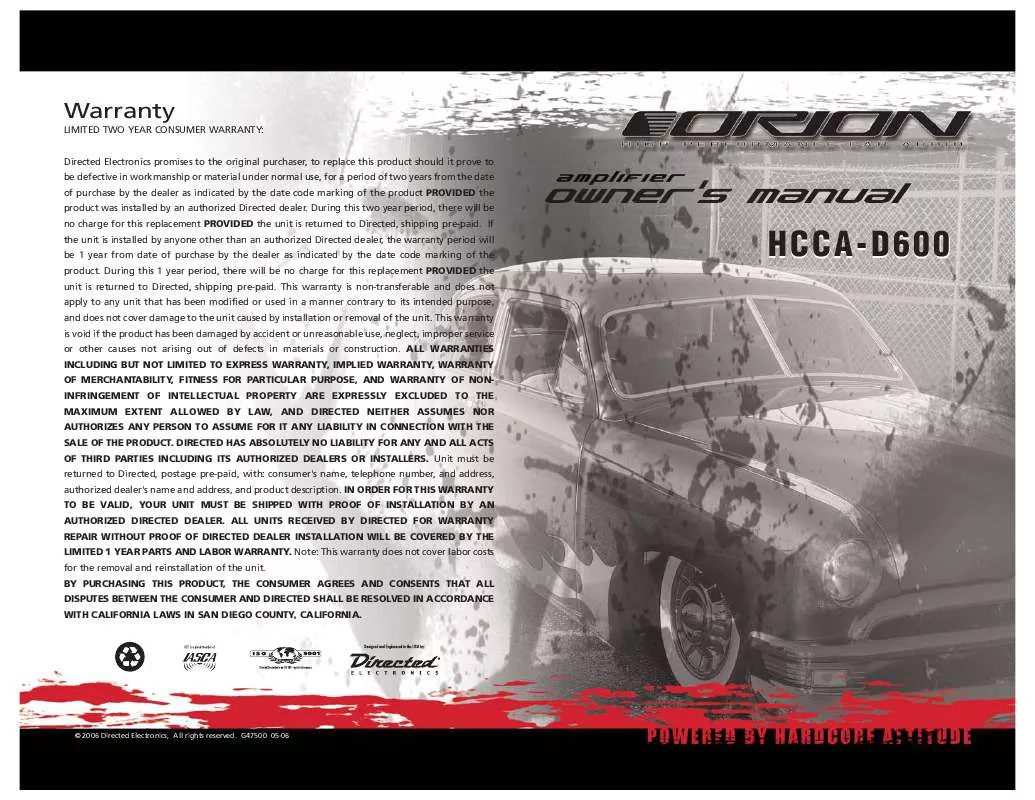
[. . . ] Warranty
LIMITED TWO YEAR CONSUMER WARRANTY: Directed Electronics promises to the original purchaser, to replace this product should it prove to be defective in workmanship or material under normal use, for a period of two years from the date of purchase by the dealer as indicated by the date code marking of the product PROVIDED the product was installed by an authorized Directed dealer. During this two year period, there will be no charge for this replacement PROVIDED the unit is returned to Directed, shipping pre-paid. If the unit is installed by anyone other than an authorized Directed dealer, the warranty period will be 1 year from date of purchase by the dealer as indicated by the date code marking of the product. During this 1 year period, there will be no charge for this replacement PROVIDED the unit is returned to Directed, shipping pre-paid. [. . . ] To do this you must utilize the MASTER/SLAVE and PHASE switch settings. On the master amplifier, set the switch setting to MASTER. The signal is then routed through RCA Line Out to the RCA Line In on the other (slave) amplifier. The slave amplifier must have the MASTER/SLAVE switch set to the SLAVE position. On the master amplifier make sure the PHASE swtich is set to the 0 position (factory default). On the slave amplifier set the PHASE switch to 180, exactly opposite of the master amp. Refer to the Phase Switches section of this guide. On the slave amplifier be sure to turn the Intelli-Bass control to 0 (zero). For the speaker connections, connect the positive (+) speaker lead from the speaker to the positive (+) speaker terminal of the master amplifier. On the negative (-) speaker connection, take the negative (-) speaker terminal of the master amplifier and connect it directly to the negative (-) speaker terminal of the (slave) amplifier. The remaining positive (+) speaker terminal of the (slave) amplifier must be connected to the negative (-) speaker lead from the speaker. The impedance of the speaker must not exceed 1W. NOTE: For best results, connect both negative speaker terminals on the master amp to both negative terminals on the slave amp using at least 12 AWG cable.
MASTER AMPLIFIER
PHASE
SLAVE AMPLIFIER
PHASE
MASTER
SLAVE
0°
180°
MASTER
SLAVE
0°
180°
AMPLIFIER INSTALLATION
Choosing Mounting Locations
The location of your amplifier will depend on several important issues. Due to the low profile size of the Orion amplifiers, there are many possible installation locations that will yield satisfactory amplifier performance. Always mount the amplifier in a place that protects the amplifier from the elements. In addition, mount the amplifier on a stable, flat surface.
12
© 2006 Directed Electronics--all rights reserved
NOTE:
The wiring connections to the power, remote and speaker terminals should be accomplished before the amplifier is mounted. Mounting amplifiers upside down is not recommended and may cause premature thermal shutdown. Do not mount any amplifier in the engine compartment. Amplifiers are not designed to endure the harsh environment of the exterior elements.
NOTE:
WARNING!
Passenger Compartment
If you are going to mount the amplifier in the passenger compartment, make sure you have adequate room for ventilation. The amplifiers have been designed to make under-seat mounting possible. When mounting your amplifier under a seat or similar area, keep a minimum of 1" of clearance around the amplifier for adequate cooling.
Trunk Compartment
Mounting your amplifier in the trunk provides excellent performance as long as you do not restrict the airflow around the heatsink of the amplifier. For optimal results, mount the amplifier with as much clearance as possible. [. . . ] Enjoy your awesome Orion sound system.
Step 5
Step 6
Step 7
Step 8 Step 9 Step 10
Step 11
Step 12
16
© 2006 Directed Electronics--all rights reserved
Troubleshooting Tips
Symptom No output Low or no remote turn-on Check remote turn-on voltage at voltage amplifier and repair as needed. Check power wire's integrity and check for speaker shorts. Probable Cause Action To Take
Fuse blown
Power wires not connected Check power wire and ground connections and repair or replace as needed. Audio input not connected Check RCA connections and repair or replace as needed. [. . . ]
DISCLAIMER TO DOWNLOAD THE USER GUIDE DEI ORION D600 Lastmanuals offers a socially driven service of sharing, storing and searching manuals related to use of hardware and software : user guide, owner's manual, quick start guide, technical datasheets...manual DEI ORION D600


