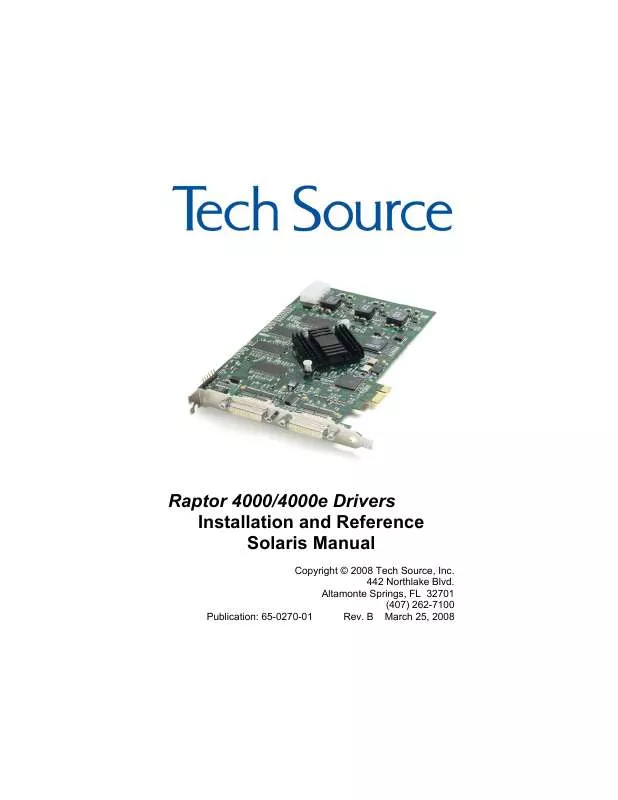
User manual EIZO RAPTOR 4000E
Lastmanuals offers a socially driven service of sharing, storing and searching manuals related to use of hardware and software : user guide, owner's manual, quick start guide, technical datasheets... DON'T FORGET : ALWAYS READ THE USER GUIDE BEFORE BUYING !!!
If this document matches the user guide, instructions manual or user manual, feature sets, schematics you are looking for, download it now. Lastmanuals provides you a fast and easy access to the user manual EIZO RAPTOR 4000E. We hope that this EIZO RAPTOR 4000E user guide will be useful to you.
Lastmanuals help download the user guide EIZO RAPTOR 4000E.
You may also download the following manuals related to this product:
Manual abstract: user guide EIZO RAPTOR 4000E
Detailed instructions for use are in the User's Guide.
[. . . ] Raptor 4000/4000e Drivers Installation and Reference Solaris Manual
Copyright © 2008 Tech Source, Inc. Altamonte Springs, FL 32701 (407) 262-7100 Publication: 65-0270-01 Rev. B March 25, 2008
Addendum Information Date Released Changes made to: REVISION NUMBER A B CHANGES Initial Release Added support for dual head
March 25, 2008
DATE 9-12-07 3-25-08
The Tech Source logo and Tech Source Raptor are trademarks of Tech Source, Inc. Sun, Sun Microsystems, Sun Ultra, Sun Enterprise, Sun Blade, and Solaris are trademarks or registered trademarks of Sun Microsystems, Inc. [. . . ] For example, /dev/fbs/rapafp0 is the first head seen by the system, /dev/fbs/rapafp1 will be the second head seen by the system.
©2008 Tech Source Inc.
7
Part #65-270-01
3. 4
Changing Resolution and Bit-Depths
The default resolution can be determined using the Auto-Detect feature if you are using a monitor that supports DDC2B/EDID protocol. Connection to the monitor must occur during the boot process for the DDC/EDID protocol to be effective. For more information about the functionality of the DDC2B/EDID protocol with your Raptor card, please refer to Appendix A.
3. 4. 1 Resolution
The resolution of the Raptor 4000/4000e card can be changed through the atcconfig utility. By using this utility, the user can select a resolution to be displayed, which will be written in the OWconfig file. This utility is described in Section 3. 5. If DDC is not used, or if the monitor doesn't report a valid resolution, then the software will check for a valid resolution specified in the /usr/openwin/server/etc/OWconfig file. If a valid resolution is specified and a reference for the timing numbers occurs in the rapafpresinfo file, then that resolution is used. If the timing numbers are not specified or there is no specific resolution in the OWconfig file, then the default resolution will be set to 2048x2048@60, analog. The examples in this chapter use rapafp0 as the device name. Note: The device number corresponding to rapafp# of your card is assigned by the operating system and could vary for each head. The following table lists the different Raptor cards and their device name locations. The device name will have the card's minor number appended to it. For example, the first instance of a Raptor 4000/4000e card will have a device name and number of rapafp0 for the first head and rapafp1 for the second head. The second instance will have a device name and number of rapafp2 for the first head and rapafp3 for the other head. Raptor Card 4000 (First Head) 4000 (Second Head) 4000e (First Head) 4000e (Second Head) Device Name /dev/fbs/rapafp0 /dev/fbs/rapafp1 /dev/fbs/rapafp2 /dev/fbs/rapafp3
4. 1. 1 Starting the X server
Determine the device for your card(s) by running the command, dmesg | grep rapafp. Use the device name as the option to the following commands. For the examples below, we assume that the first head of your device is assigned as /dev/fbs/rapafp0 and the second head as /dev/fbs/rapafp1. To start the Xserver type:
©2008 Tech Source Inc.
13
Part #65-270-01
prompt#
/usr/openwin/bin/X dev /dev/fbs/rapafp0
This will start the Xserver only on the first head. If you want to start the Xserver in multiscreen configuration on both heads, both device names should be specified on the command line. For example:
prompt# /usr/openwin/bin/X dev /dev/fbs/rapafp0 \ dev /dev/fbs/rapafp1
4. 1. 2 xinit
The xinit program can be directly used to start the X Window System server. The xinit format is as follows: xinit [[client] options] [ -- [server] [display] options ]
If no specific client program is given on the command line, xinit will look for a file in the user's home directory called . xinitrc to run as a shell script to start up client programs. If no such file exists, xinit will use the following as a default: xterm -geometry +1+1 -n login \ -display :0 If no specific server program is given on the command line, xinit will look for a file in the user's home directory called . xserverrc to run as a shell script to start up the server. [. . . ] must also be set to true in order for the configuration in nvram to take effect. To set this variable to true type: ok 6. true
Save your settings and reset the system by typing: At the ok prompt, type : ok reset-all
8.
Once the system is reset, all console messages will be directed to the Raptor 4000/4000e card.
NOTE: To restore the default graphics device as the console when using the video-mode method, set the use-nvramrc?variable to false as given below: ok setenv use-nvramrc? [. . . ]
DISCLAIMER TO DOWNLOAD THE USER GUIDE EIZO RAPTOR 4000E Lastmanuals offers a socially driven service of sharing, storing and searching manuals related to use of hardware and software : user guide, owner's manual, quick start guide, technical datasheets...manual EIZO RAPTOR 4000E


 EIZO RAPTOR 4000E BROCHURE (183 ko)
 EIZO RAPTOR 4000E INSTALLATION AND REFERENCE MANUAL FOR LINUX (446 ko)
