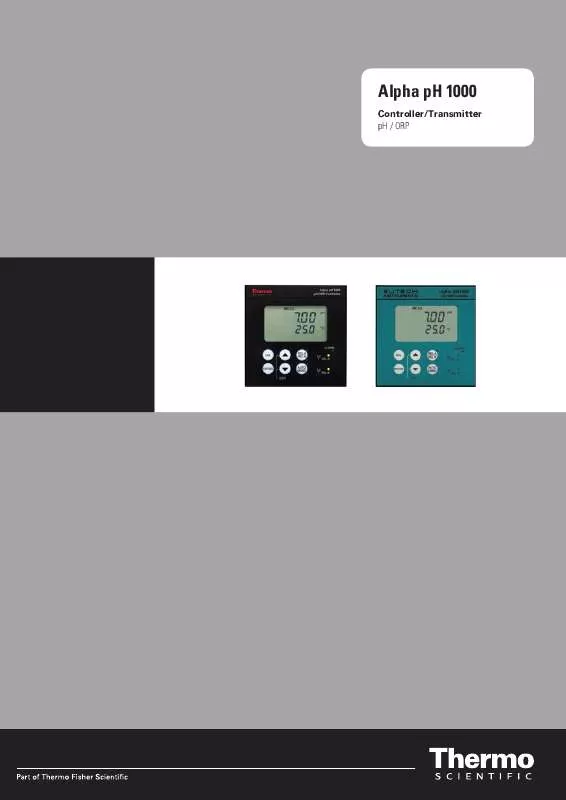
Detailed instructions for use are in the User's Guide.
[. . . ] Alpha pH 1000
Controller/Transmitter pH / ORP
ROSS and the COIL trade dress are trademarks of Thermo Fisher Scientific Inc. AQUAfast, Cahn, ionplus, KNIpHE, No Cal, ORION, perpHect, PerpHecT, PerpHecTion, pHISA, pHuture, Pure Water, Sage, Sensing the Future, SensorLink, ROSS, ROSS Ultra, Sure-Flow, Titrator PLUS and TURBO2 are registered trademarks of Thermo Fisher. 1-888-pHAX-ION, A+, All in One, Aplus, AQUAsnap, AssuredAccuracy, AUTO-BAR, AUTOCAL, AUTO DISPENSER, Auto-ID, AUTO-LOG, AUTO-READ, AUTO-STIR, Auto-Test, BOD AutoEZ, Cable-Free, CERTI-CAL, CISA, DataCOLLECT, DataPLUS, digital LogR, DirectCal, DuraProbe, Environmental Product Authority, Extra Easy/Extra Value, FAST QC, GAP, GLPcal, GLPcheck, GLPdoc, ISEasy, KAP, LabConnect, LogR, Low Maintenance Triode, Minimum Stir Requirement, MSR, NISS, One-Touch, One-Touch Calibration, One-Touch Measurement, Optimum Results, Orion Star, Pentrode, pHuture MMS, pHuture Pentrode, pHuture Quatrode, pHuture Triode, Quatrode, QuiKcheK, rf link, ROSS Resolution, SAOB, SMART AVERAGING, Smart CheK, SMART STABILITY, Stacked, Star Navigator 21, Stat Face, The Enhanced Lab, ThermaSense, Triode, TRIUMpH, Unbreakable pH, Universal Access are trademarks of Thermo Fisher. Guaranteed Success and The Technical Edge are service marks of Thermo Fisher. [. . . ] Upper display shows current process temperature and lower display shows "P. °C" to indicate process temperature. SETUP 3) Press and keys to adjust the process temperature value, between -9. 9 and 125°C. HO LD 4) After setting the process temperature value, press ENTER key. Upper display shows current calibration temperature and lower display shows "C. °C". 5) Press and keys to adjust the calibration temperature value, between -9. 9 and 125°C. 7) Continue with additional Advanced Set-up procedures, or return to Measurement mode by pressing and (escape) simultaneously.
25. 0 25. 0
15
7. 3
Control Relay A/ Control Relay B (SP1/SP2) sub-function
The SP1 option sets operating parameters for Relay A; the SP2 option sets operating parameters for relay B. Since these groups have the same set-up parameters, they are described together. 7. 3. 1
SETUP HOLD
Entering Set point 1 (Set point 2) sub-function
Sp1 4. 00
Sp1
pH
Enter Advanced Set-up mode. Press the ENTER key and scroll to Advanced Set-up security code "22". 2) Press or key to scroll until upper display shows SP1 (SP2). 7. 3. 2 Selecting set point values This lets you choose the value that will cause your controller to activate (i. e. 1) Follow directions in 7. 3. 1 to enter Control Relay mode. If you are in this mode, skip to step 2. The upper display shows current set point value and lower display shows SP1 (SP2). 3) Press or key to enter value for Set point 1 (Set point 2). Your controller will activate at the value you select. 4) Press ENTER key to confirm your selection. 5) Proceed to 7. 3. 3 step 3, or return to Measurement mode by pressing the and keys simultaneously (escape).
1)
SETUP HOLD
SETUP HOLD
Sp1
7. 3. 3 Choosing High or Low set points Select a low set point to activate controller when the pH/ORP value goes below the low set point; select a high set point to activate controller when the value overshoots the high set point. Using both SP1 and SP2, you can select lo/lo, lo/hi, hi/lo, or hi/hi set points. 1) Follow directions in 7. 3. 1 to enter Control Relay mode. Scroll with the or keys until upper display shows Lo or Hi (for low or high set point) and the lower display shows SP1 (SP2). 3) Press the or keys to select low (lo) or high (hi) set point for SP1 (SP2). [. . . ] When applying for authorisation, please include data requiring the reason of return. Items must be carefully packed to prevent damage in shipment and insured against possible damage or loss. Thermo Scientific will not be responsible for any damage resulting from careless or insufficient packing. Warning: Shipping damage as a result of inadequate packaging is the user/distributor's responsibility, whoever applicable. [. . . ]


