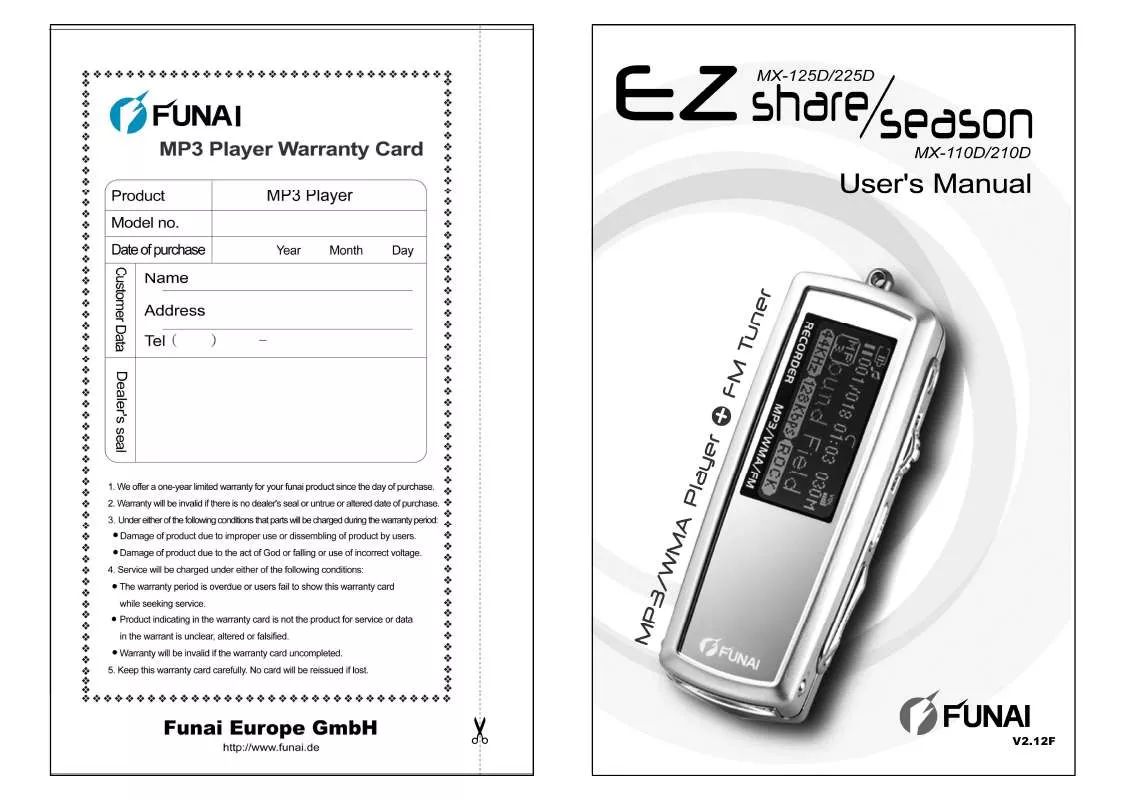
Detailed instructions for use are in the User's Guide.
[. . . ] V2. 12F
About FUNAI website
URL: http://www. funai. de From the FUNAI website, you can learn more about our company, keep informed of the latest news about FUNAI, read more about our products, download related software and receive technical support. You can download the latest version of firmware to keep the player in optimal condition at all times.
Product features
Unique design
Mirror surface design; special grid-structure for thumbnail pictures; changeable panels; and unique blue and white backlight.
World-premiered player-to-player data transfer function
Exclusive data transfer kit to allow player-to-player data transfer for sharing of music, voice and file data.
Changeable cabinets to match your moods (MX-125D / 225D series)
High-quality aluminum alloy cabinets in a wide variety of colors allow you to change the appearance of the player to match your moods everyday.
Multilingual display support
FUNAI makes no representation for the errors, omissions or updates of this document. FUNAI also makes no representation for the data or music files lost of the player. Users should download the latest version of the user's manual from our website. [. . . ] Press REC button again to stop recording. The player will automatically save the recording file in the VOICE directory. The name of recording files will be assigned in numerical order, e. g. V001, V002, V003, etc.
41
42
Listening to FM channels
The earphone is the antenna of FM radio in the player, thus insert the earphone previously otherwise FM channels will not be found/searched. There are two kinds of FM band, one is US/Europe Band (87MHz~108MHz) and the other is Japanese Band (76MHz~91MHz). Just press and hold the MODE button in FM mode to switch the two modes. When the player is in Japanese Band, the display on the player will show "JPN", if it's in US/Europe Band, "JPN" will be disappeared.
Listening to FM channels
Auto search: When you push once Scroll button forward (to the right) or backward (to the left), the player will automatically search the next or previous FM frequency with stronger signal.
or Frequency adjustment: Press and hold Scroll button forward (to the right) or backward (to the left), you can adjust the FM frequency rapidly.
There are 20 FM channels can be stored in the player. Press the Scroll button once will skip to next FM channel (CH01~CH20). Press AB button once will skip to previous FM channel. The player will automatically save the frequency to the current FM channel before skip to other channel.
or
or
Frequency fine tuning: If you want to increase the frequency with 0. 1MHz, push and hold Scroll button forward (to the right) or backward (to the left), and release Scroll button, push once Scroll button forward (to the right); If you want to decrease 0. 1MHz, push once Scroll button backward (to the left).
43
44
Recording an FM program
File management
Selecting a functionAfter entering the File mode, select a function with the Scroll button: DELETE, FILE SEND and RECEIVE. Press Scroll button to confirm selection as shown in the picture below.
Recording an FM program If you like the FM program you are listening to, you can record it on the player. It will record the program instead of the voice from the MIC. Press REC button again to stop recording as shown in the picture below.
After recording When the recording is completed, the player will stay in FM mode. If you want to listen to the recorded program, press Mode button to switch to Music mode. Select the file you have just recorded, i. e. F###. WAV, to start playing it back
DELETESelect DELETE to launch to the delete screen. Scroll the Scroll button up (left) and down (right) to select the file you want to delete. Press Scroll button to confirm deletion. If you want to abort deletion, wait for a while, the player will return to the menu automatically as shown in the picture below or press MODE button to exit.
45
46
File management
Setup
You can personalize your player from Setup. Items in the Setup may vary from one firmware version to another.
Setup Items:
Refer to Connecting your player with another player (p. 34) for details about FILE SEND and RECEIVE.
47
48
Setup
Setting up the player
In Setup mode, scroll the Scroll button up (left) and down (right) to select an item. Press Scroll button to confirm selection and launch to the submenu of the selected item.
Setup
EQ
Includes NORMAL, ROCK, JAZZ, CLASSICAL, POP, U. BASS, BLUES, CLUB, DANCE, FULL BT, FULL TRE, L. HALL, LIVE, PARTY, REGGAE, SKA, SOFT, S. ROCK, and TECHNO.
After launching to the submenu of the selected item, personalize the settings. Press Scroll button once to save changes.
REC. TYPE
You can select different sampling rates to suit your demands. The greater the sampling rate, the better the recording quality. [. . . ] MX-110D / MX-125D: 9 hours (8KHz, 32Kbps), max. MX-210D / MX-225D: 18 hours (8KHz, 32Kbps), max. USB 2. 0 Full Speed / USB 1. 1 -5~45 Specification
Firmware update failure Firmware update failure
If your player is not responding after a firmware update failure, follow the instructions below to recover it. Close the firmware update program (Firmware Download). [. . . ]


