User manual GARMIN GPSMAP 2010
Lastmanuals offers a socially driven service of sharing, storing and searching manuals related to use of hardware and software : user guide, owner's manual, quick start guide, technical datasheets... DON'T FORGET : ALWAYS READ THE USER GUIDE BEFORE BUYING !!!
If this document matches the user guide, instructions manual or user manual, feature sets, schematics you are looking for, download it now. Lastmanuals provides you a fast and easy access to the user manual GARMIN GPSMAP 2010. We hope that this GARMIN GPSMAP 2010 user guide will be useful to you.
Lastmanuals help download the user guide GARMIN GPSMAP 2010.
You may also download the following manuals related to this product:
Manual abstract: user guide GARMIN GPSMAP 2010
Detailed instructions for use are in the User's Guide.
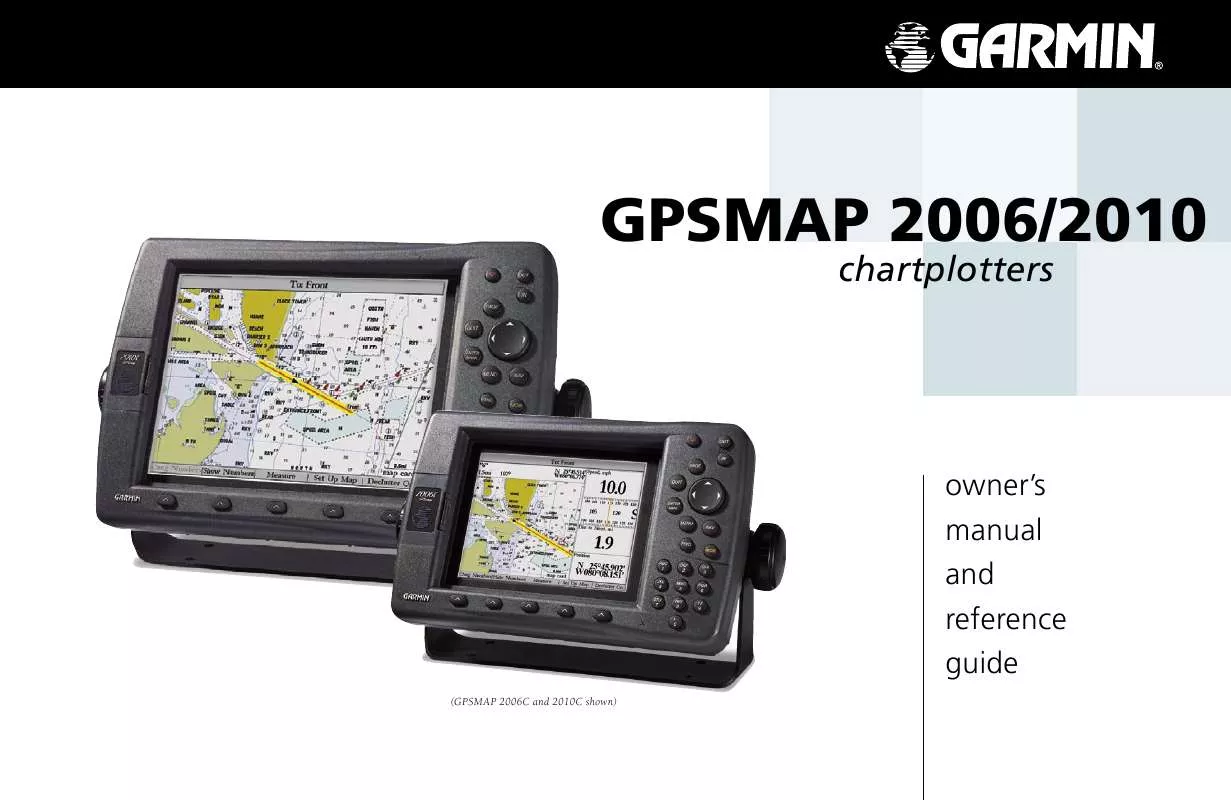
[. . . ] GPSMAP 2006/2010
chartplotters
owner's manual and reference guide
(GPSMAP 2006C and 2010C shown)
Introduction Foreword © Copyright 2001-2003 Garmin Ltd. All Rights Reserved Garmin International, Inc. , 1200 East 151st Street, Olathe, KS 66062, U. S. A. 913/397. 8200 or 800/800. 1020 Fax 913/397. 8282 Garmin (Europe) Ltd. , Unit 5, The Quadrangle, Abbey Park Industrial Estate, Romsey SO51 9DL, U. K. 44/0870. 8501241 Fax 44/0870. 8501251 Garmin Corporation, No. [. . . ] You may also activate a `Go To' for any point, on any list. With any list point highlighted, press the NAV key. You will see `Go To <point name>' appear, then press ENTER/MARK.
Choose a waypoint from either the `User' or `Nearest From Current Position' tab list.
Selecting a `Go To' Graphically
A graphical `Go To' may be used to select one of three items from the map display: an existing waypoint, an on-screen map item (roads, rivers, cities, navaids, etc. ), or a new map point (non-map item). If you are selecting a map item as the `Go To' destination, the GPSMAP 2006/2010 automatically uses the name of the map item, but the point is not stored in the waypoint list. See page 36 for creating waypoints using map items. If you are selecting a new map point (non-map item) as the `Go To' destination, the GPSMAP 2006/2010 automatically creates or moves a waypoint named `MAP' at the cursor position.
The waypoint or map item name will automatically appear when highlighted and NAV is pressed. 41
Reference TracBack Navigation
To activate an existing waypoint or map item as a `Go To' from the map display:
1. Use the ARROW KEYPAD to highlight the waypoint or map item on screen and press NAV. You will see `Go To <waypoint name>', then press ENTER/MARK. You may also highlight the waypoint or map item, press ENTER/MARK to review it first, press NAV and then press ENTER/MARK.
To activate a new map point (non-map item) as a `Go To' from the map display:
1. Use the ARROW KEYPAD to move the arrow cursor to the desired position. Press NAV, you will see `Go To MAP Point' highlighted, then press ENTER/MARK.
TracBack Navigation (Follow Track)
`Go To MAP Point' allows you to navigate to a spot on the map which is not a waypoint or map item.
The second method of navigating to a destination is by using the TracBack or Follow Track feature. The TracBack function allows you to retrace your path using the track log automatically stored in the receiver's memory, which eliminates the need to store waypoints along the way. TracBack routes are created by reducing your track log into a route of up to 254 turns and activating a route along those points. Once activated, a TracBack route leads you along the stored track log points, so it's a good idea to clear the existing track log before the start of your current trip. To clear the track log and define a starting point for a TracBack route:
1. Press the MENU key to display the Main Menu page. Using the ARROW KEYPAD, highlight the `Tracks' tab, then highlight the `Active' tab to the right. Press the `Clear' SOFT KEY to select the `Clear' option. Highlight the `OK' field and press ENTER/MARK to confirm
You must first save the track log before you can use the `Follow Track' feature. The Save feature allows you to store up to 20 track logs from certain times and dates. From the Main Menu, use the ARROW KEYPAD to highlight the `Track' tab, then highlight the `Active' tab to the right. [. . . ] The wide beam tends to show longer fish returns than the narrow beam.
200kHz - 10° Cone Angle 72" coverage at 30'
50kHz - 40° Cone Angle 20' coverage at 30'
Wide Cone Angle
Narrow Cone Angle
89
Appendix H Understanding the Graph
Understanding the Graph
It is important to understand that the unit does not display a 3-D representation of the underwater environment. The unit can display multiple things at the same time, but cannot determine where the return originated only when it was received. Examples 1 and 2 provide a look at the underwater world from a top view, and illustrate how these views would be displayed on the graph. On both graphs it appears the fish and tree are side by side as shown in Example 1. [. . . ]
DISCLAIMER TO DOWNLOAD THE USER GUIDE GARMIN GPSMAP 2010 Lastmanuals offers a socially driven service of sharing, storing and searching manuals related to use of hardware and software : user guide, owner's manual, quick start guide, technical datasheets...manual GARMIN GPSMAP 2010


 GARMIN GPSMAP 2010 Release Note (25 ko)
 GARMIN GPSMAP 2010 Installation Instruction (1626 ko)
