User manual GARMIN GPSMAP 232
Lastmanuals offers a socially driven service of sharing, storing and searching manuals related to use of hardware and software : user guide, owner's manual, quick start guide, technical datasheets... DON'T FORGET : ALWAYS READ THE USER GUIDE BEFORE BUYING !!!
If this document matches the user guide, instructions manual or user manual, feature sets, schematics you are looking for, download it now. Lastmanuals provides you a fast and easy access to the user manual GARMIN GPSMAP 232. We hope that this GARMIN GPSMAP 232 user guide will be useful to you.
Lastmanuals help download the user guide GARMIN GPSMAP 232.
You may also download the following manuals related to this product:
Manual abstract: user guide GARMIN GPSMAP 232
Detailed instructions for use are in the User's Guide.
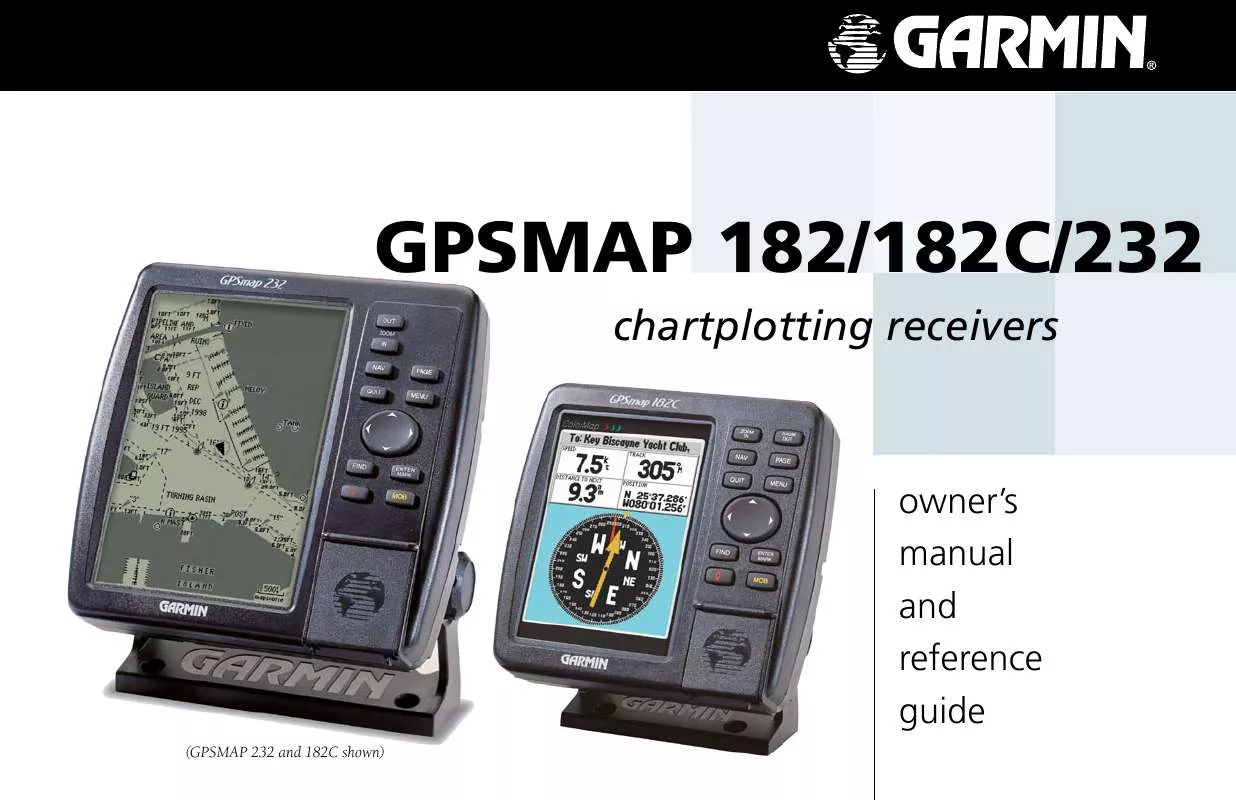
[. . . ] GPSMAP 182/182C/232
chartplotting receivers
owner's manual and reference guide
(GPSMAP 232 and 182C shown)
© 2004 Garmin Ltd. or its subsidiaries
Introduction Foreword
Garmin International, Inc. , 1200 East 151st Street, Olathe, KS 66062, U. S. A. 913/397. 8200 or 800/800. 1020 Fax 913/397. 8282 Garmin (Europe) Ltd. , Unit 5, The Quadrangle, Abbey Park Industrial Estate, Romsey SO51 9DL, U. K. 44/0870. 8501241 Fax 44/0870. 8501251 Garmin Corporation, No. [. . . ] As you add each new waypoint to the route, the data window at the top of the map display will show the waypoint/map item name, bearing and distance from your location, and coordinates of the cursor. The bottom of the display will show you the number of available and used points. A route line will appear on the map to indicate each completed leg, and a dotted line will appear to indicate the distance and bearing to the arrow cursor from the last route waypoint. Repeat steps 4 and 5 until you have finished defining all route waypoints. When finished press QUIT twice to return to the Route List Page or press MENU, highlight `Edit as Text' and press ENTER/MARK to return to the Route Review Page.
Reference Creating Routes
Route Tab and Route Options Menu
You will see `ADD' below the cursor as you add points.
41
Reference Creating Routes
To create a route using text from the Route Review Page:
1. Press the MENU key twice to display the Main Menu Page. Use the ARROW KEYPAD to highlight the `Route' tab and press the MENU key to display the route options page or you may also highlight the first available blank route slot and press ENTER/MARK. (Skip to step 4 if you use this method. ) 3. Select the `New Route' option and press ENTER/MARK. Press MENU, select `Edit as text' and press ENTER/MARK. Use the ARROW KEYPAD to highlight the first field under the word "Waypoint" and press ENTER/MARK. From the `Find' menu, highlight `Waypoints' and press ENTER/MARK. (You may also choose from other points, such as Cities, Tide Stations, etc. from this list. ) From either the "By Name" or "Nearest" tab lists, choose the waypoint you want and press ENTER/MARK. (See page 35 for searching for waypoints by name. ) 7. From the Waypoint Review Page, `OK' will be automatically highlighted. You may use the `Show Map' option to view the point on the map, then press QUIT when done viewing to return to the Waypoint Review Page. Press ENTER/MARK to add the point to the route. The next field down on the list will automatically highlight. Keep using the methods on steps 5-7 until the desired route points have been entered. Press QUIT to return to the Route List Page.
Choose the category you want to add a route point from.
Choose a waypoint from either the `By Name' or `Nearest' tab list.
42
Route List Page
Reference Route List Page
The GPSMAP 182/182C/232 Route List Page displays all the routes currently stored in memory, along with a descriptive name for each route. Once a route has been created, it can be activated and used for navigation with the NAV key. [. . . ] It in not necessary to force the card and about 1/2" will still be exposed when it is properly inserted. If the unit is on, a confirmation tone will sound and a message will display on the screen noting the card details when the card has been properly installed and accepted. Close the cover.
The first time you insert a data card, the unit will take a few seconds to read the card.
If you insert a data card and get a `card format not recognized' message, try removing the card and reinserting it. If the card is still not recognized, contact Garmin Support or your Garmin dealer for assistance. [. . . ]
DISCLAIMER TO DOWNLOAD THE USER GUIDE GARMIN GPSMAP 232 Lastmanuals offers a socially driven service of sharing, storing and searching manuals related to use of hardware and software : user guide, owner's manual, quick start guide, technical datasheets...manual GARMIN GPSMAP 232


 GARMIN GPSMAP 232 (1963 ko)
 GARMIN GPSMAP 232 Release Note (25 ko)
