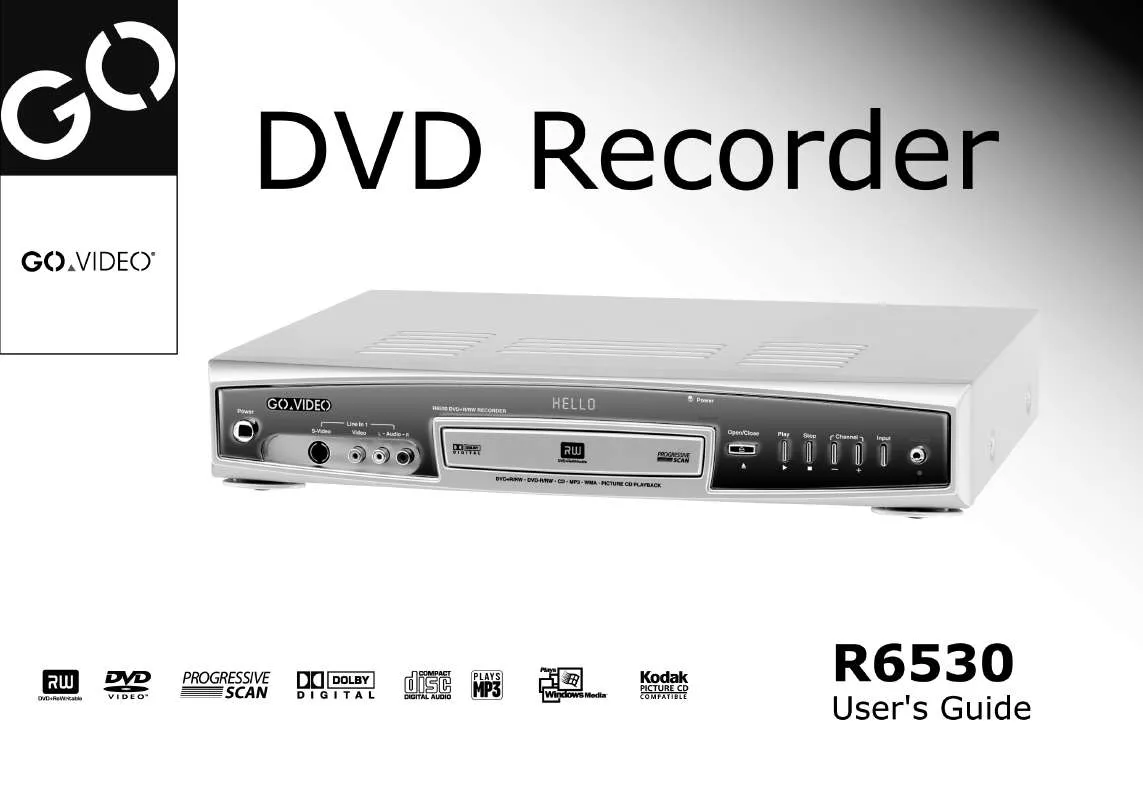
User manual GOVIDEO R6530 Product Manual
Lastmanuals offers a socially driven service of sharing, storing and searching manuals related to use of hardware and software : user guide, owner's manual, quick start guide, technical datasheets... DON'T FORGET : ALWAYS READ THE USER GUIDE BEFORE BUYING !!!
If this document matches the user guide, instructions manual or user manual, feature sets, schematics you are looking for, download it now. Lastmanuals provides you a fast and easy access to the user manual GOVIDEO R6530. We hope that this GOVIDEO R6530 user guide will be useful to you.
Lastmanuals help download the user guide GOVIDEO R6530.
You may also download the following manuals related to this product:
Manual abstract: user guide GOVIDEO R6530Product Manual
Detailed instructions for use are in the User's Guide.
[. . . ] Unpack Your DVD Recorder
· · · · · · · · · R6530 DVD recorder (1) Remote control (1) 1. 5V AAA alkaline batteries (2) Audio/video cable (1) RF (Antenna) cable (1) User's guide (1) Quick reference guide (1) Warranty registration card (1) DVD+RW disc (1)
Insert Remote Control Batteries
1 Remove battery cover on back of remote control. 2 Insert two 1. 5V AAA batteries, paying attention to the correct polarities (+/-). In case warranty service is required, please take a moment to attach your receipt to this manual and write down your Serial Number, located on the back panel of the DVD Recorder: __________________________________.
R6530 DVD Recorder
© 2003. "Dolby", "Pro Logic", and the double D symbol are trademarks of Dolby Laboratories. [. . . ] · To edit an event, simply select it and press Play /Enter. · To delete an entry, press Clear. 10 Press On/Standby on the remote control to put the R6530 in Standby mode. 11 When the starting time for the recording is reached, the unit will automatically begin recording according to your settings. · To stop a Timer Recording in progress, simply press the On/Standby button on the remote control. · If you press the Stop button during a Timer Recording, you will be instructed to press the On/Standby button.
R6530 DVD Recorder
30
Chapter 4 :: Basic Disc Playback
DVD Playback
Basic Setup Getting Started
Playing a DVD
Before you begin: · Turn on the DVD player using the front panel Power button. If the unit is in Standby mode, press On/Standby on the remote control to power on the unit. The green Power indicator will glow on the front panel display. · Turn on your TV, and set it to the video input connected to the DVD player. · Turn on your audio system (if using an external amplifier/audio system), and set it to the input connected to the DVD player. 1 Press Open/Close on the remote control or front panel to open the disc drawer. 2 Place the disc in the drawer with the label side facing up and playback side facing down. If the disc has two sides, place the disc with the desired playback side facing down. 3 Press Open/Close again to close the disc drawer. 4 Press Play /Enter on the remote control or front panel. · Many discs will load and begin playing automatically when the disc drawer closes. Most rental DVDs have disc menus to aid in navigation; see "Disc Menu Navigation" on page 33. · If the disc is a DVD+R/+RW, the disc menu will appear; see "About R6530 Disc Menus" on page 32. · If the disc is scratched, dirty, or not encoded for Region 1, you will receive an error message and the disc will not play. · Always press Stop to stop playback of a disc before powering off the player.
DVD Playback Help Advanced Settings
31
DVD Recording
Additional DVD Playback Options
· · · · · · · · · · · Press Volume +/- to adjust the playback volume. Press Pause/Step again to advance one frame at a time (DVD only). Press Play /Enter to resume normal playback. [. . . ] To reduce the risk of electric shock, do not remove the unit cover or back. Refer servicing to qualified personnel only.
WARNING:
TO AVOID HAZARDOUS EXPOSURE TO INVISIBLE LASER RADIATION, DO NOT OPEN OR REMOVE/DEFEAT LASER TRANSPORT PROTECTIVE HOUSING.
CLASS 1 LASER PRODUCT
This appliance is classified as a CLASS 1 LASER PRODUCT. The CLASS 1 LASER PRODUCT MARKING is located on the rear panel.
Note to CATV System Installer
This reminder is provided to call the CATV system installer's attention to Article 820-40 of the National Electronic Code that provides guidelines for proper grounding and, in particular, specifies that the cable ground shall be connected to the grounding system of the building, as close to the point of cable entry as practical.
51
Getting Started
· If the product does not operate normally by following the operating instructions. Adjust only those controls that are covered by the operating instructions as an improper adjustment of other controls may result in damage and will often require extensive work by a qualified technician to restore the product to its normal operation, · If the product has been dropped or damaged in any way, and · When the product exhibits a distinct change in performance this indicates a need for service.
User/Installer Caution
Your authority to operate this FCC certified equipment could be voided if you make changes or modifications not expressly approved by the manufacturer, who is responsible for compliance with Part 15 FCC rules. [. . . ]
DISCLAIMER TO DOWNLOAD THE USER GUIDE GOVIDEO R6530 Lastmanuals offers a socially driven service of sharing, storing and searching manuals related to use of hardware and software : user guide, owner's manual, quick start guide, technical datasheets...manual GOVIDEO R6530


 GOVIDEO R6530 Quick Reference (1098 ko)
