User manual HITACHI VTM190A
Lastmanuals offers a socially driven service of sharing, storing and searching manuals related to use of hardware and software : user guide, owner's manual, quick start guide, technical datasheets... DON'T FORGET : ALWAYS READ THE USER GUIDE BEFORE BUYING !!!
If this document matches the user guide, instructions manual or user manual, feature sets, schematics you are looking for, download it now. Lastmanuals provides you a fast and easy access to the user manual HITACHI VTM190A. We hope that this HITACHI VTM190A user guide will be useful to you.
Lastmanuals help download the user guide HITACHI VTM190A.
Manual abstract: user guide HITACHI VTM190A
Detailed instructions for use are in the User's Guide.
[. . . ] TABLE OF CONTENTS
HITACHI
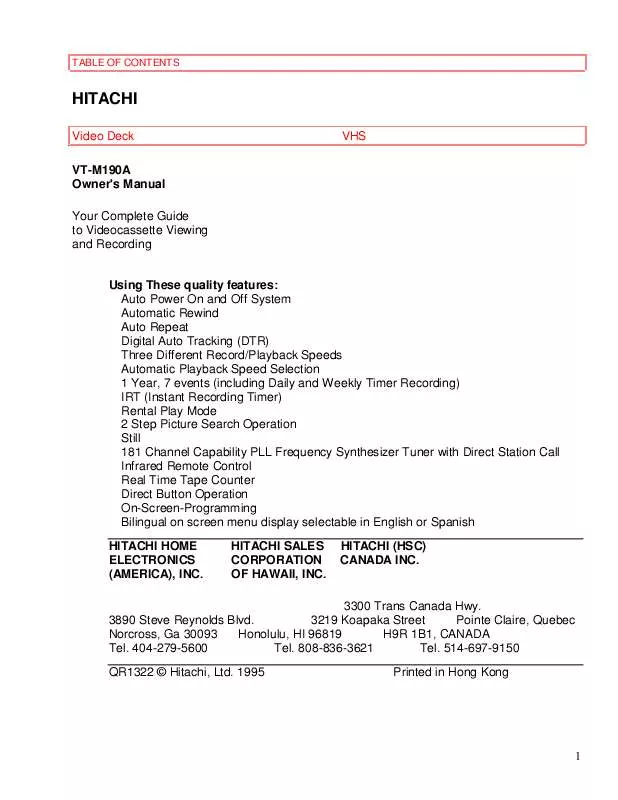
Video Deck VT-M190A Owner's Manual Your Complete Guide to Videocassette Viewing and Recording Using These quality features: Auto Power On and Off System Automatic Rewind Auto Repeat Digital Auto Tracking (DTR) Three Different Record/Playback Speeds Automatic Playback Speed Selection 1 Year, 7 events (including Daily and Weekly Timer Recording) IRT (Instant Recording Timer) Rental Play Mode 2 Step Picture Search Operation Still 181 Channel Capability PLL Frequency Synthesizer Tuner with Direct Station Call Infrared Remote Control Real Time Tape Counter Direct Button Operation On-Screen-Programming Bilingual on screen menu display selectable in English or Spanish HITACHI HOME ELECTRONICS (AMERICA), INC. HITACHI SALES CORPORATION OF HAWAII, INC. 3219 Koapaka Street Pointe Claire, Quebec Norcross, Ga 30093 Honolulu, HI 96819 H9R 1B1, CANADA Tel. 514-697-9150 QR1322 © Hitachi, Ltd. [. . . ] Select item 3 (INITIALIZE) with number buttons.
22
CHANNEL MEMORY PROGRAMMING (Without a Cable Box)
2 Select item 1 (CHANNEL SET UP) with number buttons.
3 Select item 3 (ADD/DELETE CH) with number buttons.
4 Enter the desired channel using the number buttons. You must precede single-digit channel numbers with a zero (02, 03, 04 and so on).
5 Press ADD/DELETE button so that "DELETE" flashes on the display. The channel is deleted from the VCR.
23
CHANNEL MEMORY PROGRAMMING (Without a Cable Box)
For next channel you wish to delete, select that channel and follow step [5]. If you press ADD/DELETE button again, the channel is memorized again. To check the channel(s) that has been deleted, press CH ADDING PRESET CHANNELS 1 Press MENU button on the remote control. Select item 3 (INITIALIZE) with number buttons. or button.
2 Select item 1 (CHANNEL SET UP) with number buttons.
3 Select item 3 (ADD/DELETE CH) with number buttons.
24
SETTING THE CLOCK
4 Enter the desired channel using the number buttons. The channel flashes.
You must precede single-digit channel numbers with a zero (02, 03, 04 and so on). 5 Press ADD/DELETE button so that "ADD" flashes on the display. The channel is added to the VCR.
For next channel you wish to add, select that channel and follow step [5]. If you press ADD/DELETE button again, the channel is deleted again. To check the channel(s) that has been added, press CH or button.
SETTING THE CLOCK
Set the clock accurately for proper automatic timer recording. We suggest that you use a TV or radio station as your time source. 25
SETTING THE CLOCK
VCR Power must be on. Turn on the TV and set the TV channel to the same video output channel located on the back of the VCR. (CH 3 or 4) Press VCR/TV button on the remote control so that "VCR" appears on the display. You must use remote control for this procedure. In the example below, the clock is to be set to: DATE SETTING TIME 1 Press MENU button on the remote control. Wednesday 1st March, 1995 5:40 PM
2 Select item 3 (INITIALIZE) with number buttons.
3 Select item 2 (SETTING CLOCK) with number buttons. The MONTH digits flash.
26
SETTING THE CLOCK
4 Enter your desired MONTH with number buttons.
5 Enter your desired DAY with number buttons.
6 Enter your desired YEAR with number buttons. The day of the week will change automatically.
7 Enter your desired HOUR with number buttons.
8 Enter your desired MINUTE with number buttons.
27
SETTING THE CLOCK
9 Select AM(1) or PM(2) with number buttons.
Press ADD/DELETE button to go back one step from current step during steps [4] to [9]. 10
Press MENU or SELECT button to start the clock. [. . . ] HITACHI CANADA WARRANTY CARD (Back)
Hitachi VIDEO PRODUCTS are guaranteed to be free from defects in workmanship and material. If any failure resulting from either workmanship or material defect should occur under normal and proper usage within the period stated hereunder from the original provable date of purchase, such failure should be repaired at no cost to the buyer, provided the defective product is brought to a HITACHI AUTHORIZED SERVICE CENTER in Canada.
NOTE: The GOLD CARD becomes the proof of your warranty. it assures you of a personalized quality service and it is accepted by our authorized service centres everywhere in Canada.
However, to receive your exclusive Hitachi GOLD CARD, you must include a copy of your bill of sale with the return portion of this warranty registration card. "GOLD" WARRANTY PERIOD Video Tape Recorder, Tuner, Timer, 1 year parts and labour. [. . . ]
DISCLAIMER TO DOWNLOAD THE USER GUIDE HITACHI VTM190A Lastmanuals offers a socially driven service of sharing, storing and searching manuals related to use of hardware and software : user guide, owner's manual, quick start guide, technical datasheets...manual HITACHI VTM190A


