Detailed instructions for use are in the User's Guide.
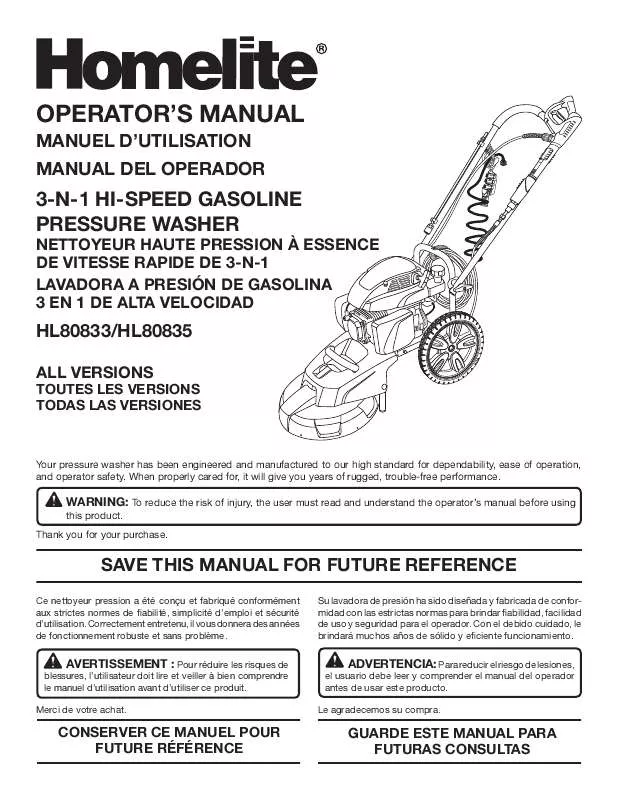
[. . . ] Your pressure washer has been engineered and manufactured to our high standard for dependability, ease of operation, and operator safety. When properly cared for, it will give you years of rugged, trouble-free performance. WARNiNg: To reduce the risk of injury, the user must read and understand the operator's manual before using this product. A - Nozzle holder with spring clip (porte-buses avec agrafe à ressort, sujetador de boquillas con resorte de soporte) B - Quick connect nozzles (buse à raccord rapide, boquilla de conexión rápida) C - Soap BlasterTM nozzle (Soap BlasterTM buse, Soap BlasterTM boquilla) D - Injection hose with filter (flexible d'injection avec filtre, manguera de inyección con filtre) E - Self-coiling garden hose (tuyau d'arrosage en spirale, manguera de jardín que se enrollaautomáticamente) F - Cleaning deck (pont de nettoyer, unidad de limpieza) G - High pressure hose storage strap (rangement de tuyau haute pression de sangle, tira para almacenamiento de la manguera de alta presión) H - Spray wand (lance de pulvérisation, tubo rociador) I - Garden hose storage strap (rangement de tuyau d'arrosage, almacenamiento de la manguera de jardín) J - Handlebar (poignée du guidon, mango) K - Trigger with lock out (gâchette avec verrou, gatillo con seguro) L - Trigger handle (poignée à gâchette, mango del gatillo) M - Trigger handle holders (supports de ensemble de gâchette, sujetadores del mango del gatillo) N - High pressure hose (tuyau haute pression, manguera de alta presión) O - Choke lever (levier de volet de départ, palanca del anegador) P - Nozzle cleaning tool (outil de nettoyage de buse, limpiador del boquilla) Q - Engine switch (commutateur de moteur, interruptor del motor) R - Fuel cap (bouchon du réservoir, tapa del tanque de combustible) S - Starter grip with rope (poignée du lanceur avec corde, mango del arrancador con cuerda) T - Fuel tank (réservoir de carburant, tanque del combustible) U - Oil cap / dipstick (bouchon / jauge d'huile, tapa del aceite con varilla de nivel) V - Front carrying handle (poignée de transport avant, mango de acarreo delantero) W - Rear carrying handle (poignée de transport arrière, mango de acarreo trasero) A - Handle spacers (espaceurs de la poignée, espaciadors de la mango) B - Handlebar (poignée du guidon, mango) C - Handle knob (verrou de la poignée, perilla del mango) D - Acorn nut (écrou borgne, tuerca ciega) E - Handle bolts retracted until flush with spacer (boulons de poignée rentré à affleurement avec espaceur, pernos del mango retraídos hasta alinearse con el espaciador) A - Nozzle opening (entretien de buse, abertura de la boquilla) B - After tightening securely, nozzle opening should be pointed in same direction as spray bar, (assurer ensuite que l'ouverture de la buse est orientée dans la même direction que la barre de pulvérisation, luego de ajustarla correctamente la abertura de la boquilla y el tubo rociador deben apuntar hacia la misma dirección) This product has many features for making its use more pleasant and enjoyable. [. . . ] Place pressure washer on a flat, level surface. Unscrew the oil cap / dipstick by turning counterclockwise. Using 4-stroke engine lubricant (SAE 10W30), add engine oil until the fluid level rises to the upper fill level on the dipstick (18 oz. Do not run the pump without the water supply connected and turned on. Turn on the garden hose then squeeze the trigger to relieve air pressure; hold the trigger until a steady stream of water appears. Grasp recoil starter and pull slowly until resistance is felt. Give recoil starter a short, brisk pull to start the engine. NOTE: Do not allow the recoil starter to snap back after starting; return it gently to its original place. Engine run for several seconds, then push choke in. let To stop the engine: Put the engine switch in the OFF position. To disconnect a nozzle from the trigger handle once the cleaning job is complete: Turn off the pressure washer and shut off the water supply. Point nozzle in a safe direction and pull trigger to release water pressure. Engage the lock out on the trigger handle by pushing up on the lock out until it clicks into the slot. Remove the nozzle by placing hand over nozzle then pulling back the quick-connect collar. NOTE: When using detergent, the coiled high pressure hose can be relocated to the high pressure hose storage strap located behind the handlebar instead of the strap located on the rear carrying handle. Use only detergents designed for pressure washers; household detergents, acids, alkalines, bleaches, solvents, flammable material, or industrial grade solutions can damage the pump. Many detergents may require mixing prior to use. Spray the detergent on a dry surface using long, even, overlapping strokes. To prevent streaking, do not allow detergent to dry on the surface. For long range detergent application: With the Soap BlasterTM nozzle installed on the spray wand and the engine shut off, pull nozzle up until it clicks into place. For short range detergent application: With the Soap BlasterTM nozzle installed on the spray wand and the engine turned off, push the Soap BlasterTM nozzle down as far as it will go. Before shutting off the engine: Place the injection hose in a bucket of clean water. [. . . ] You are responsible for presenting your engine to a CHONGQING RATO POWER CO. The warranty repairs should be completed in a reasonable amount of time, not to exceed 30 days. Warranty service can be arranged by contacting either your selling dealer or a CHONGQING RATO POWER CO. IMPORTANT NOTE: This warranty statement explains your rights and obligations under the Emission Control System Warranty (ECS Warranty), which is provided to you by CHONGQING RATO POWER CO. [. . . ]


